I picked up a piece of 4’x’8’x1/8″ Masonite (hardboard) from Lowe’s today. A 4’x8′ sheet of hardboard is enough to do all four panels and then some. About $7.
The door panel, laying on the piece of hardboardI’m going to use this to repair my driver-side door panel, which has a warped and torn and decayed backing, but still has some vinyl with a few years left (maybe). So first, I’m going to separate the vinyl from the hardboard, and use the hardboard for a template to cut out the new door panel.
What is left of the driver-side door panel backing.There’s the vinyl, then there’s a trim piece (like beading) that goes around the perimeter. There are staples all around the perimeter holding on the beading, but the staples don’t go completely through the door panel. They’re not bent like normal staples — just stuck in a little.
The vinyl (back view), after it is separated from the hardboard.Because my panel’s hardboard backing is in pieces (and some pieces are missing), I have to re-assemble it. But it’s also warped badly, so I’m going to try to flatten it before I try to put the pieces together. My approach is to wet the hardboard, and lay it out flat with some heavy weight stacked on top. At the Vanagonauts website someone name Chris talks about this very thing.
There are only three cuts to be made — the rectangular pocket opening, and the two circles for the window crank and door latch handle. Then, I will need to drill the holes around the edge of the backing (and NOT through the vinyl, of course) for the press-in fasteners that hold the panel to the door itself.
I broke a piece on one of the tail lights where the stud is mounted. The nut underneath was a little too rusty – I probably should have Kroil’ed it first. Also found a huge wasp nest condominium inside one of the headlights.
Work time: 45 minutes. Photos following:
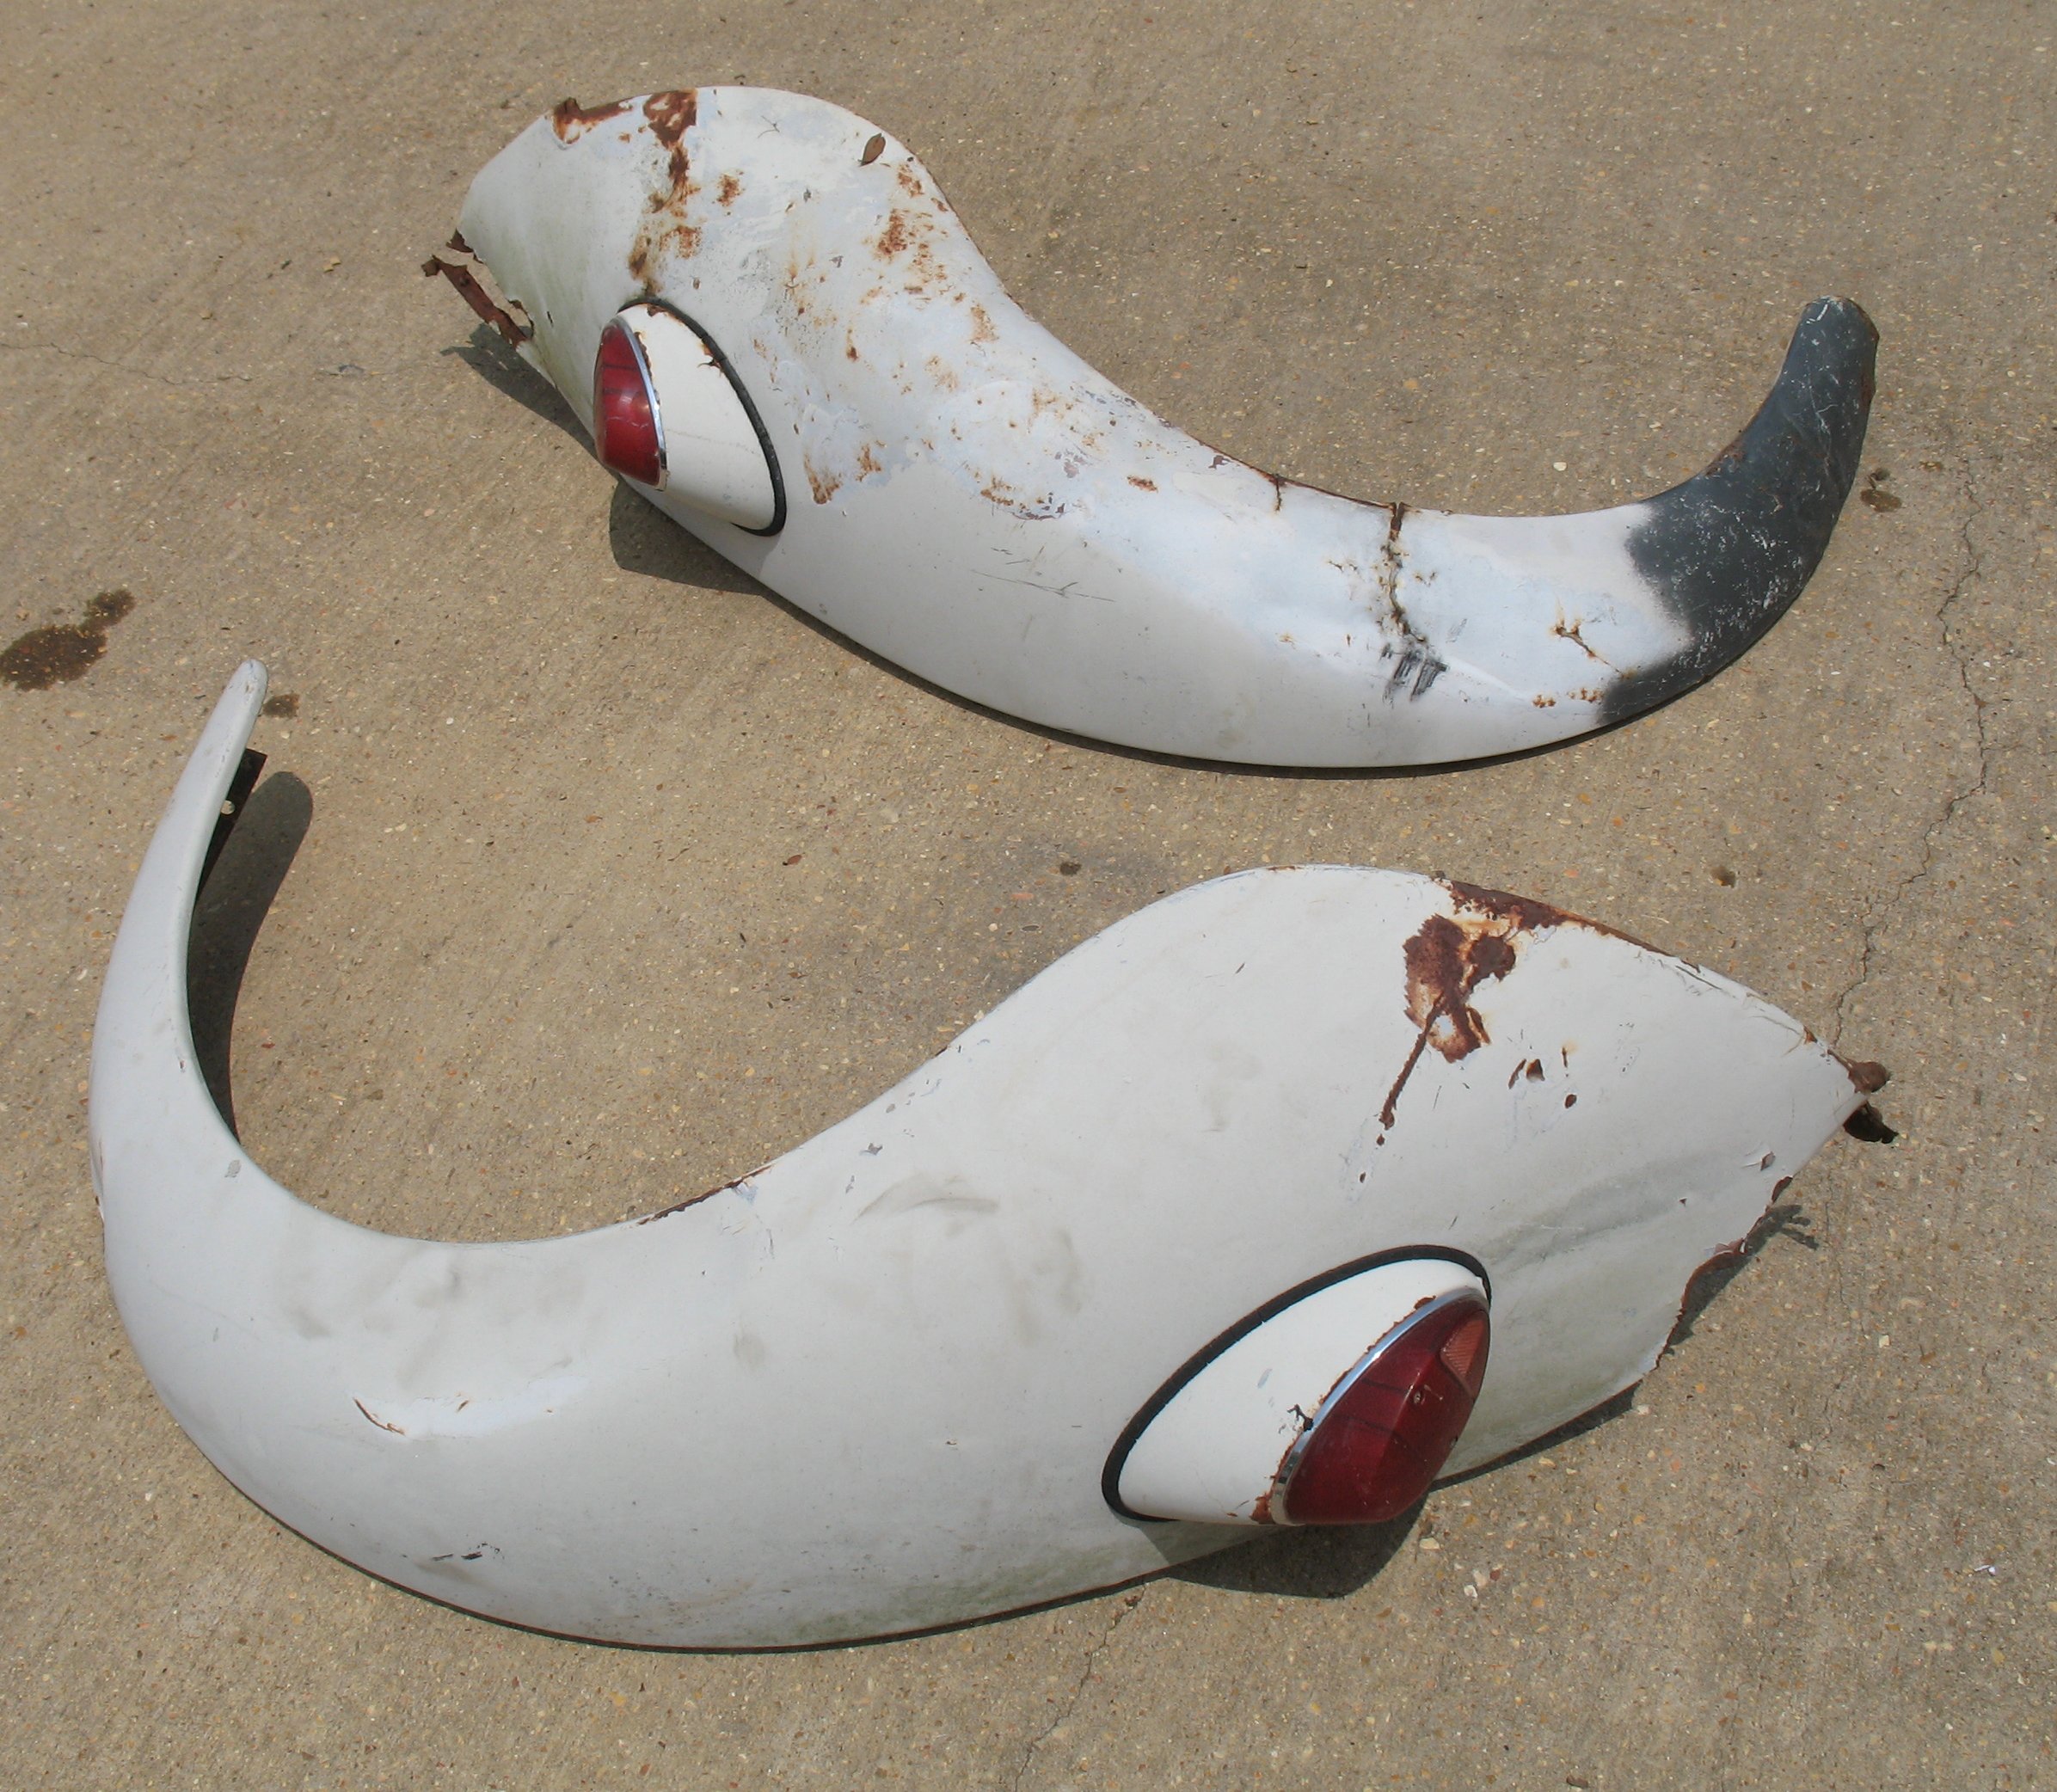
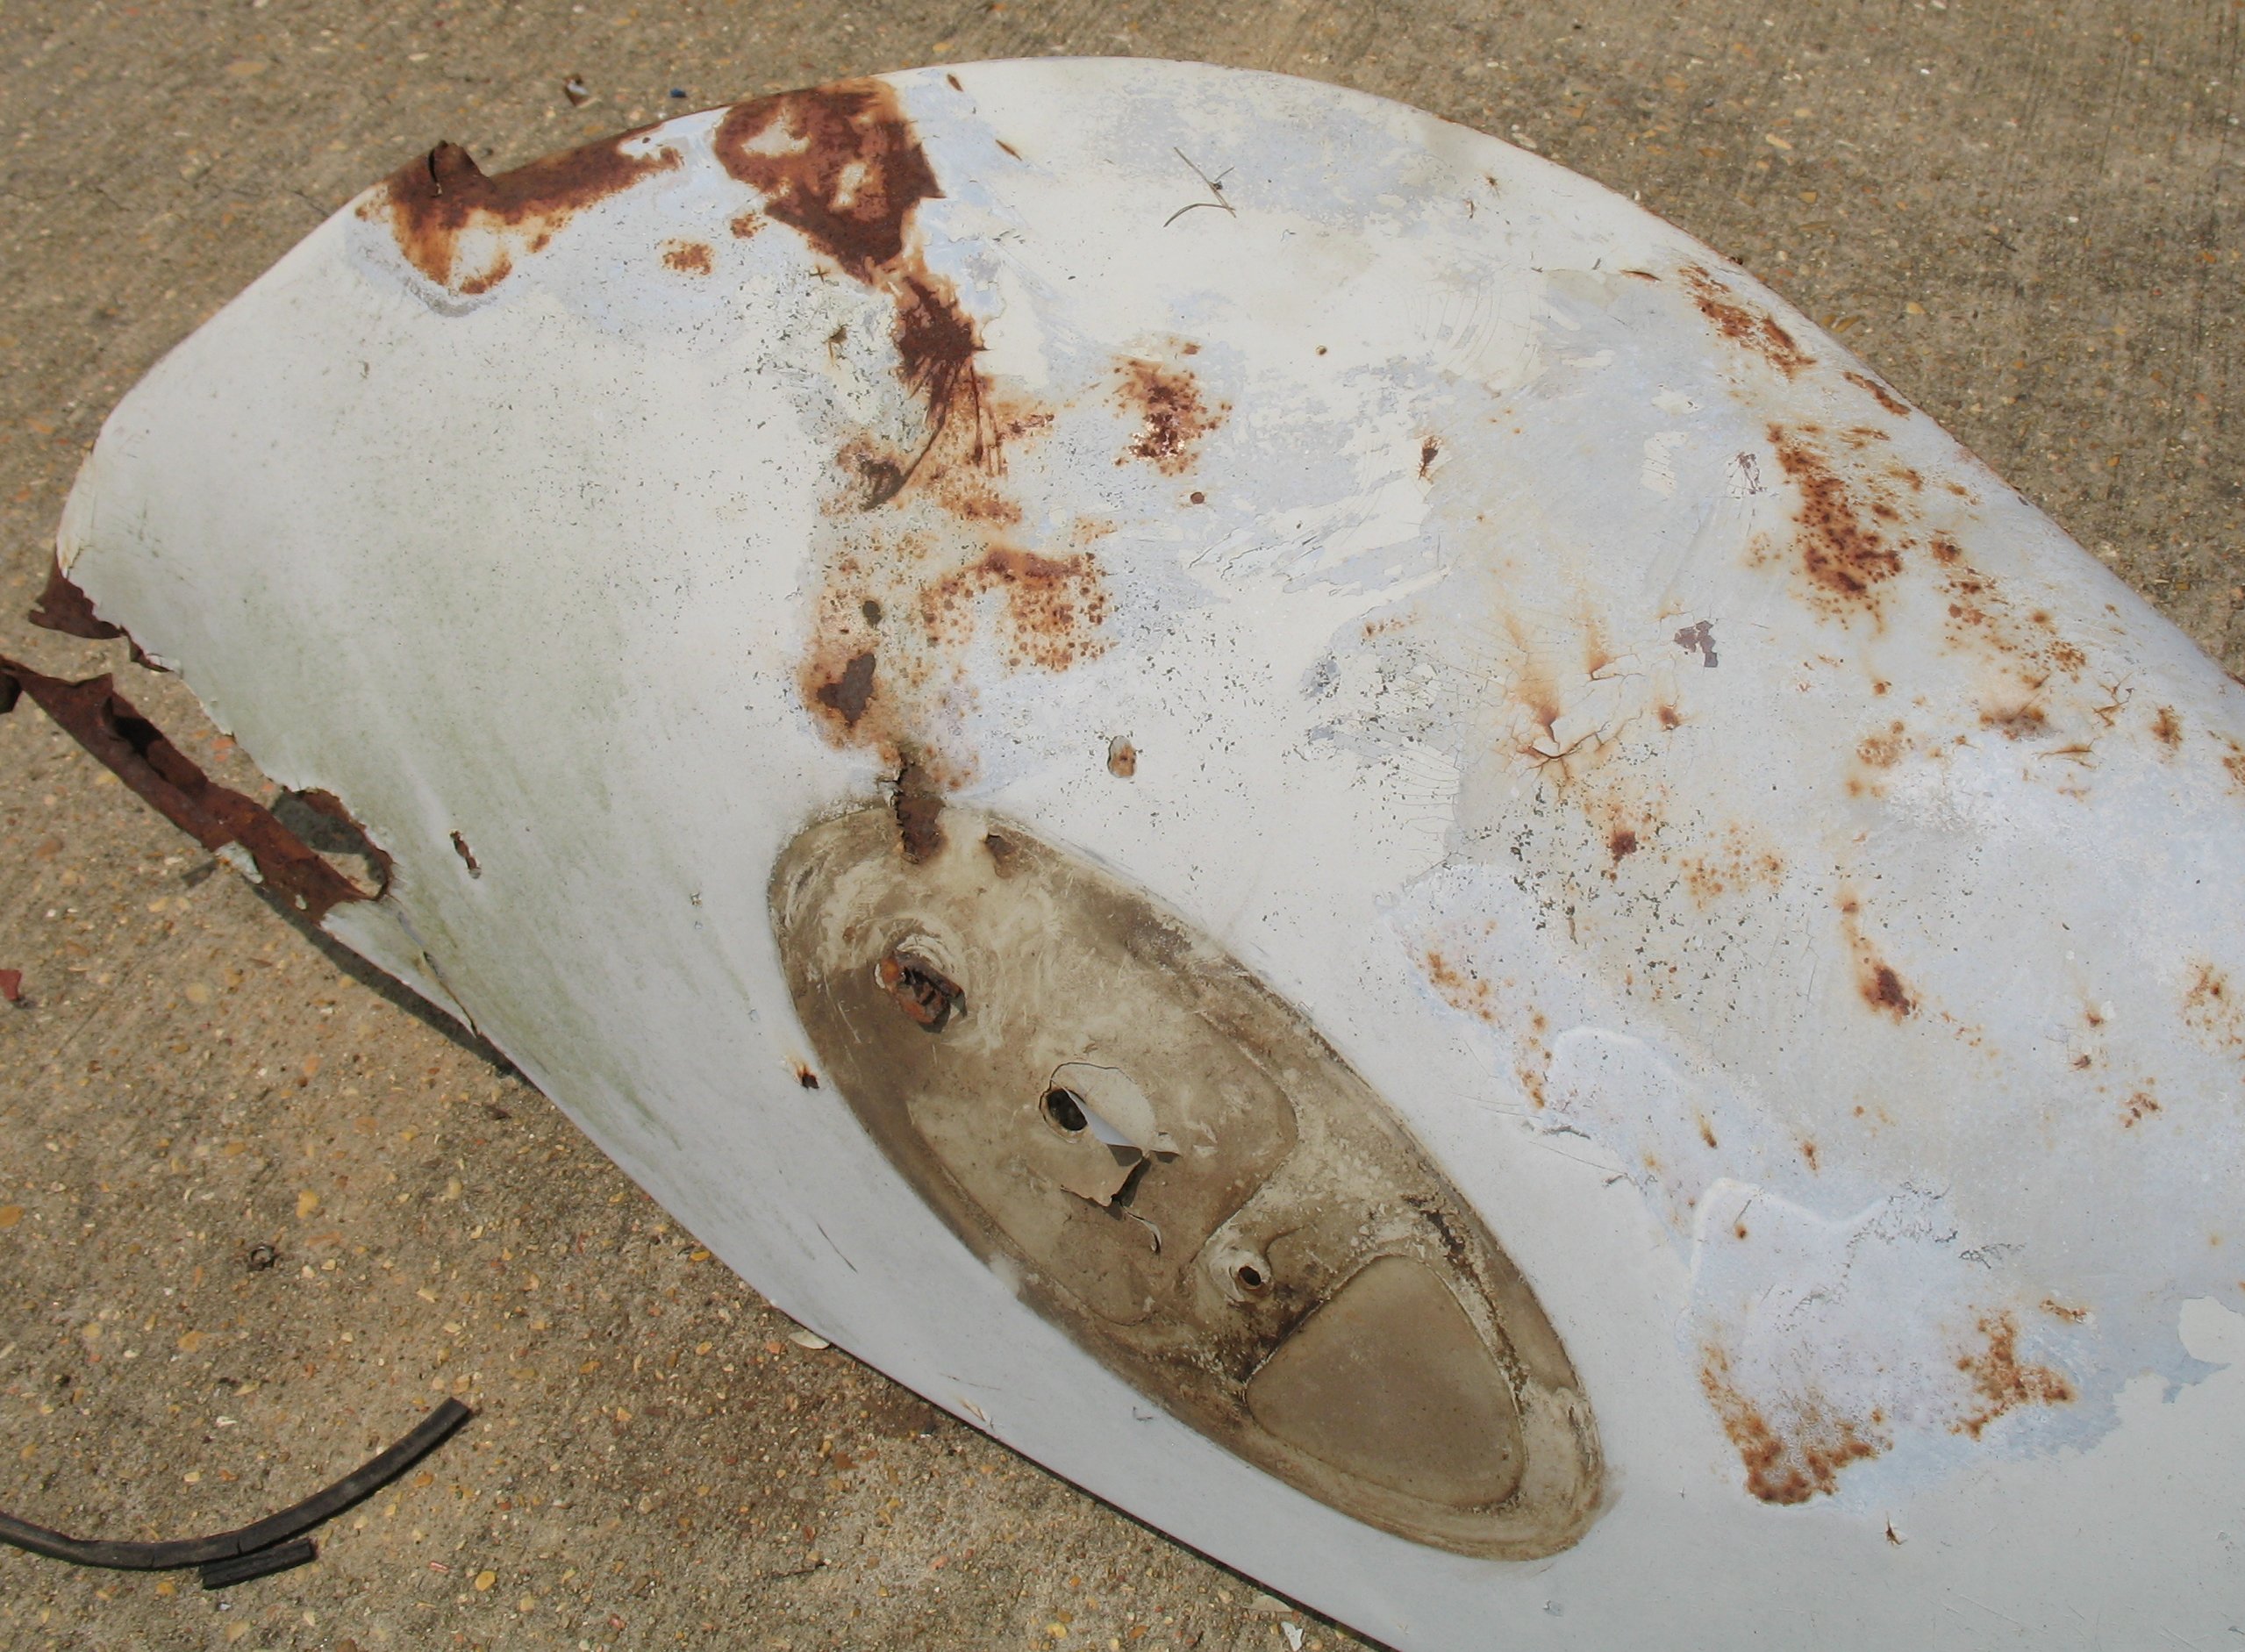
Rear fenders.
Fenders. In all their glory…
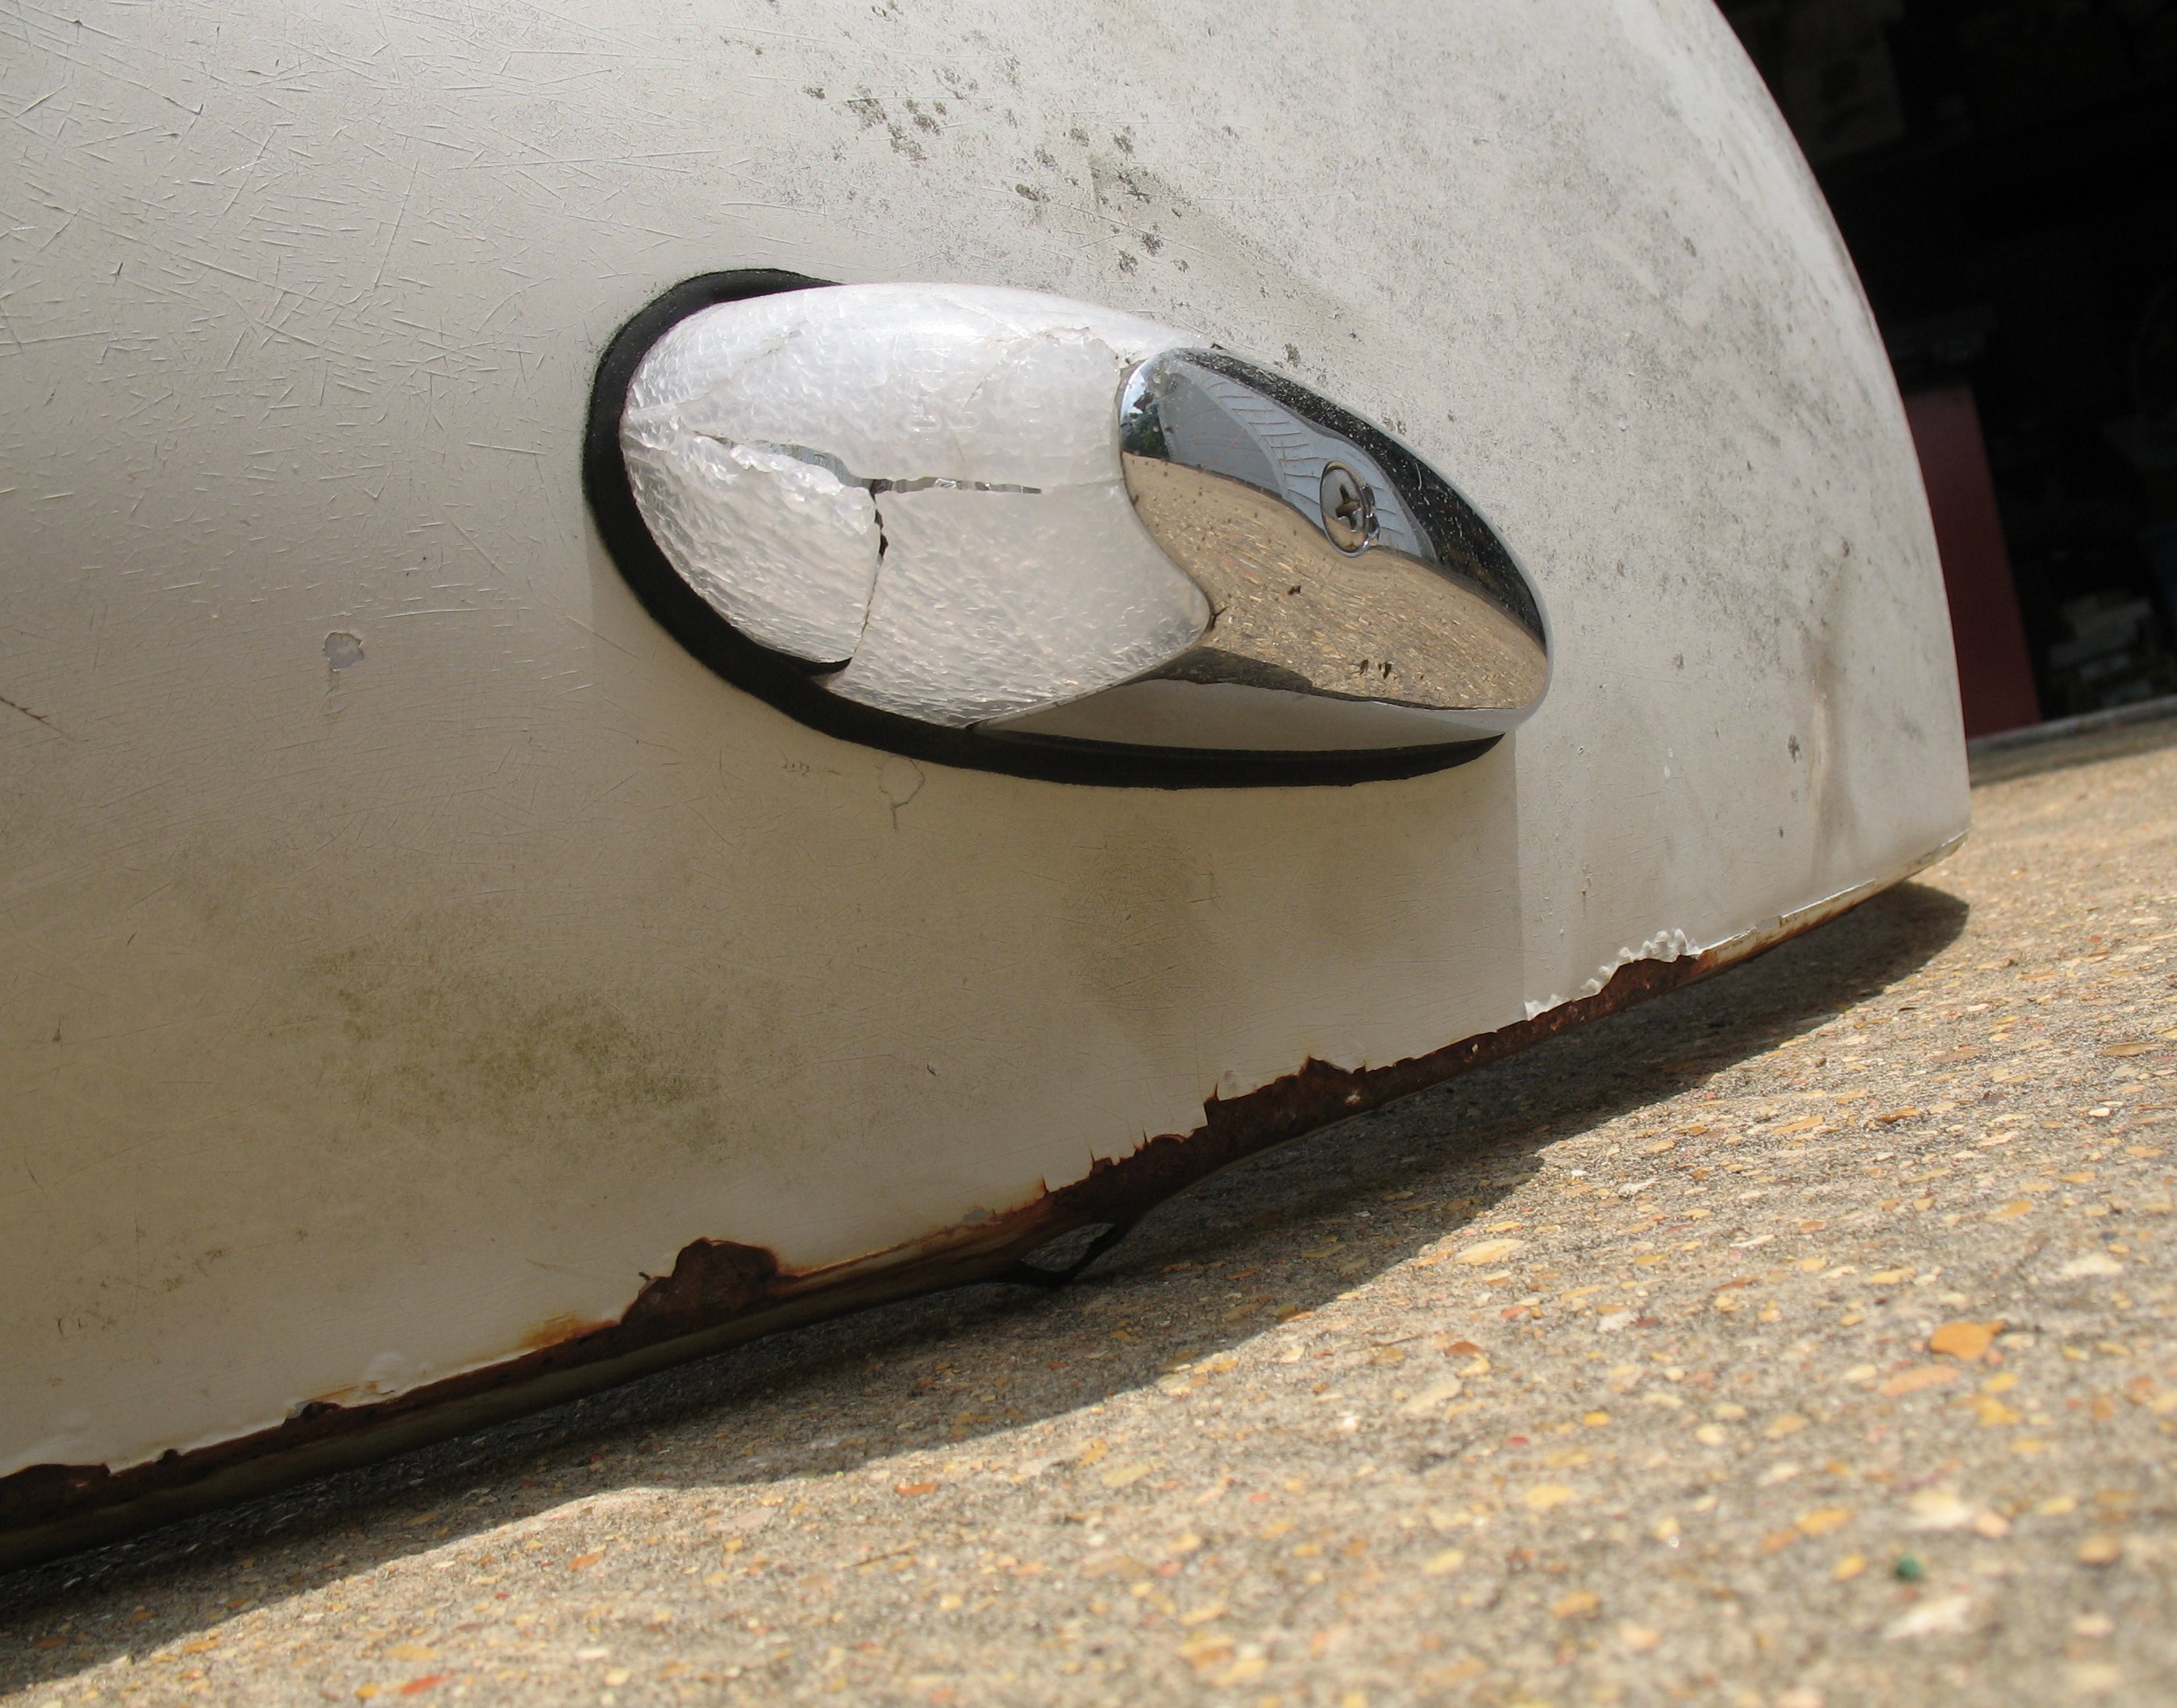
Front turn signals are frosty. They aren’t supposed to be.
Taking apart the turn signal.
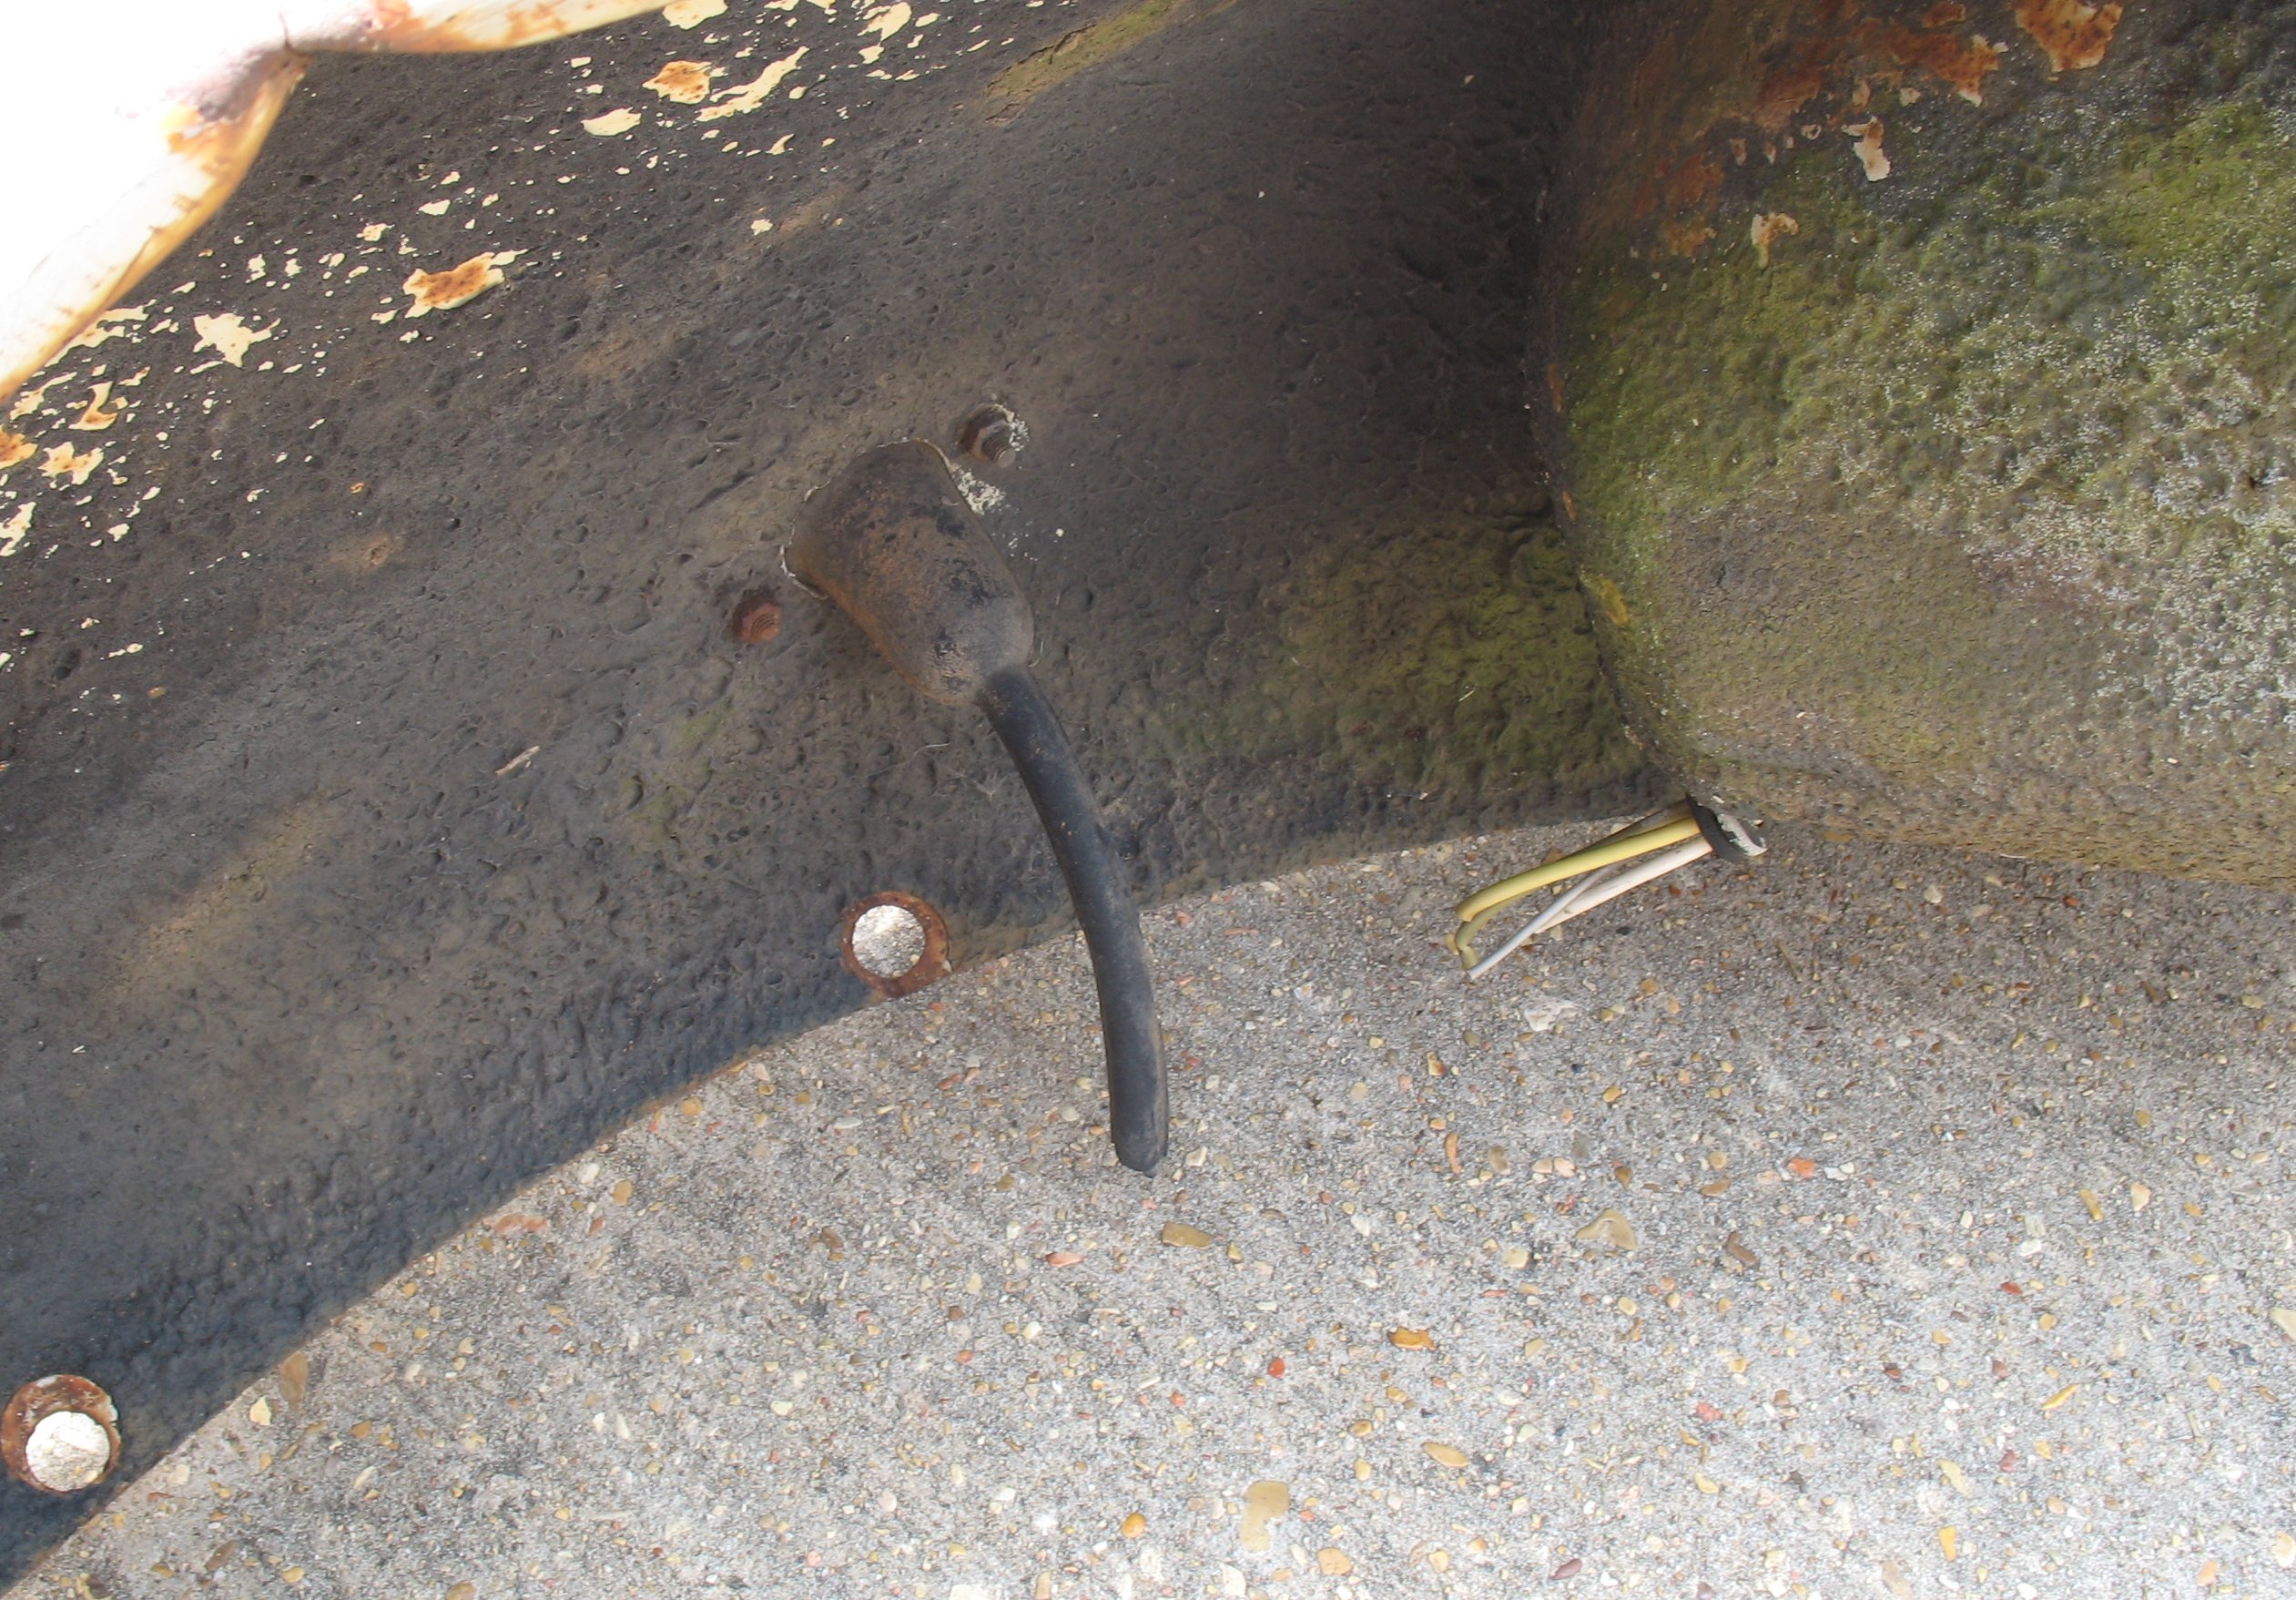
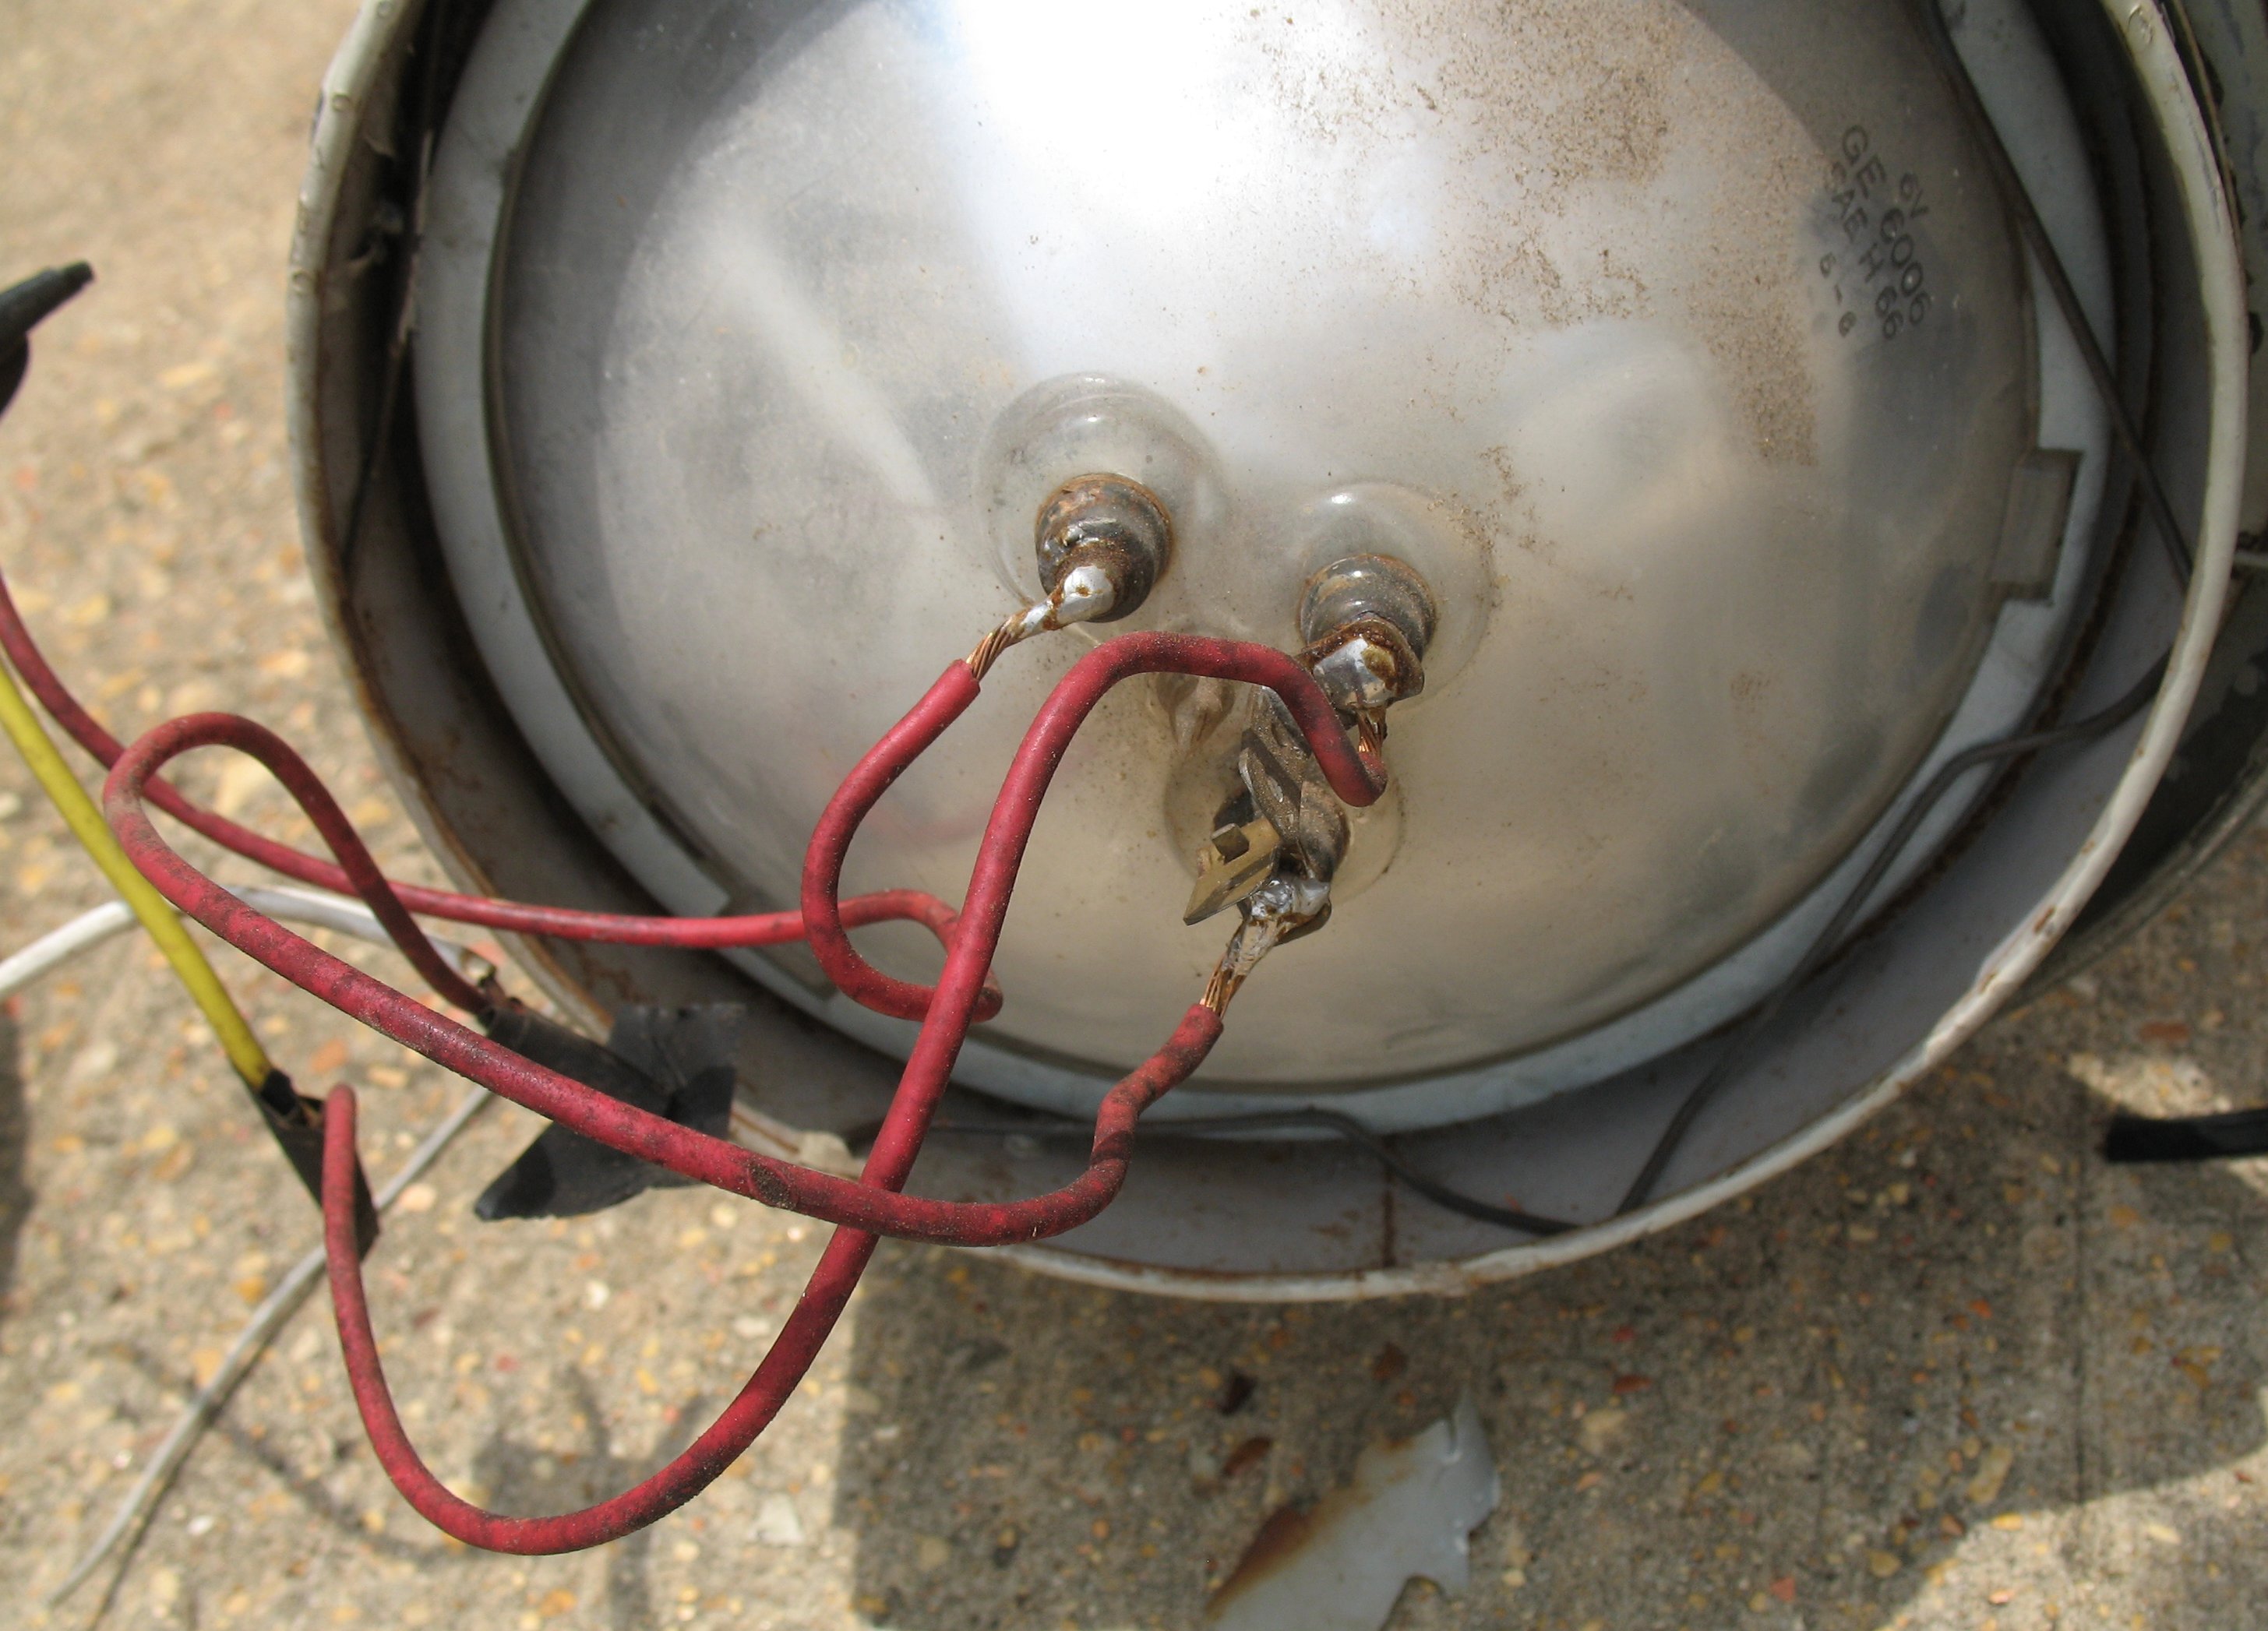
Underneath the lights. All the wiring had been cut in preparation for conversion to ‘dune buggy’.
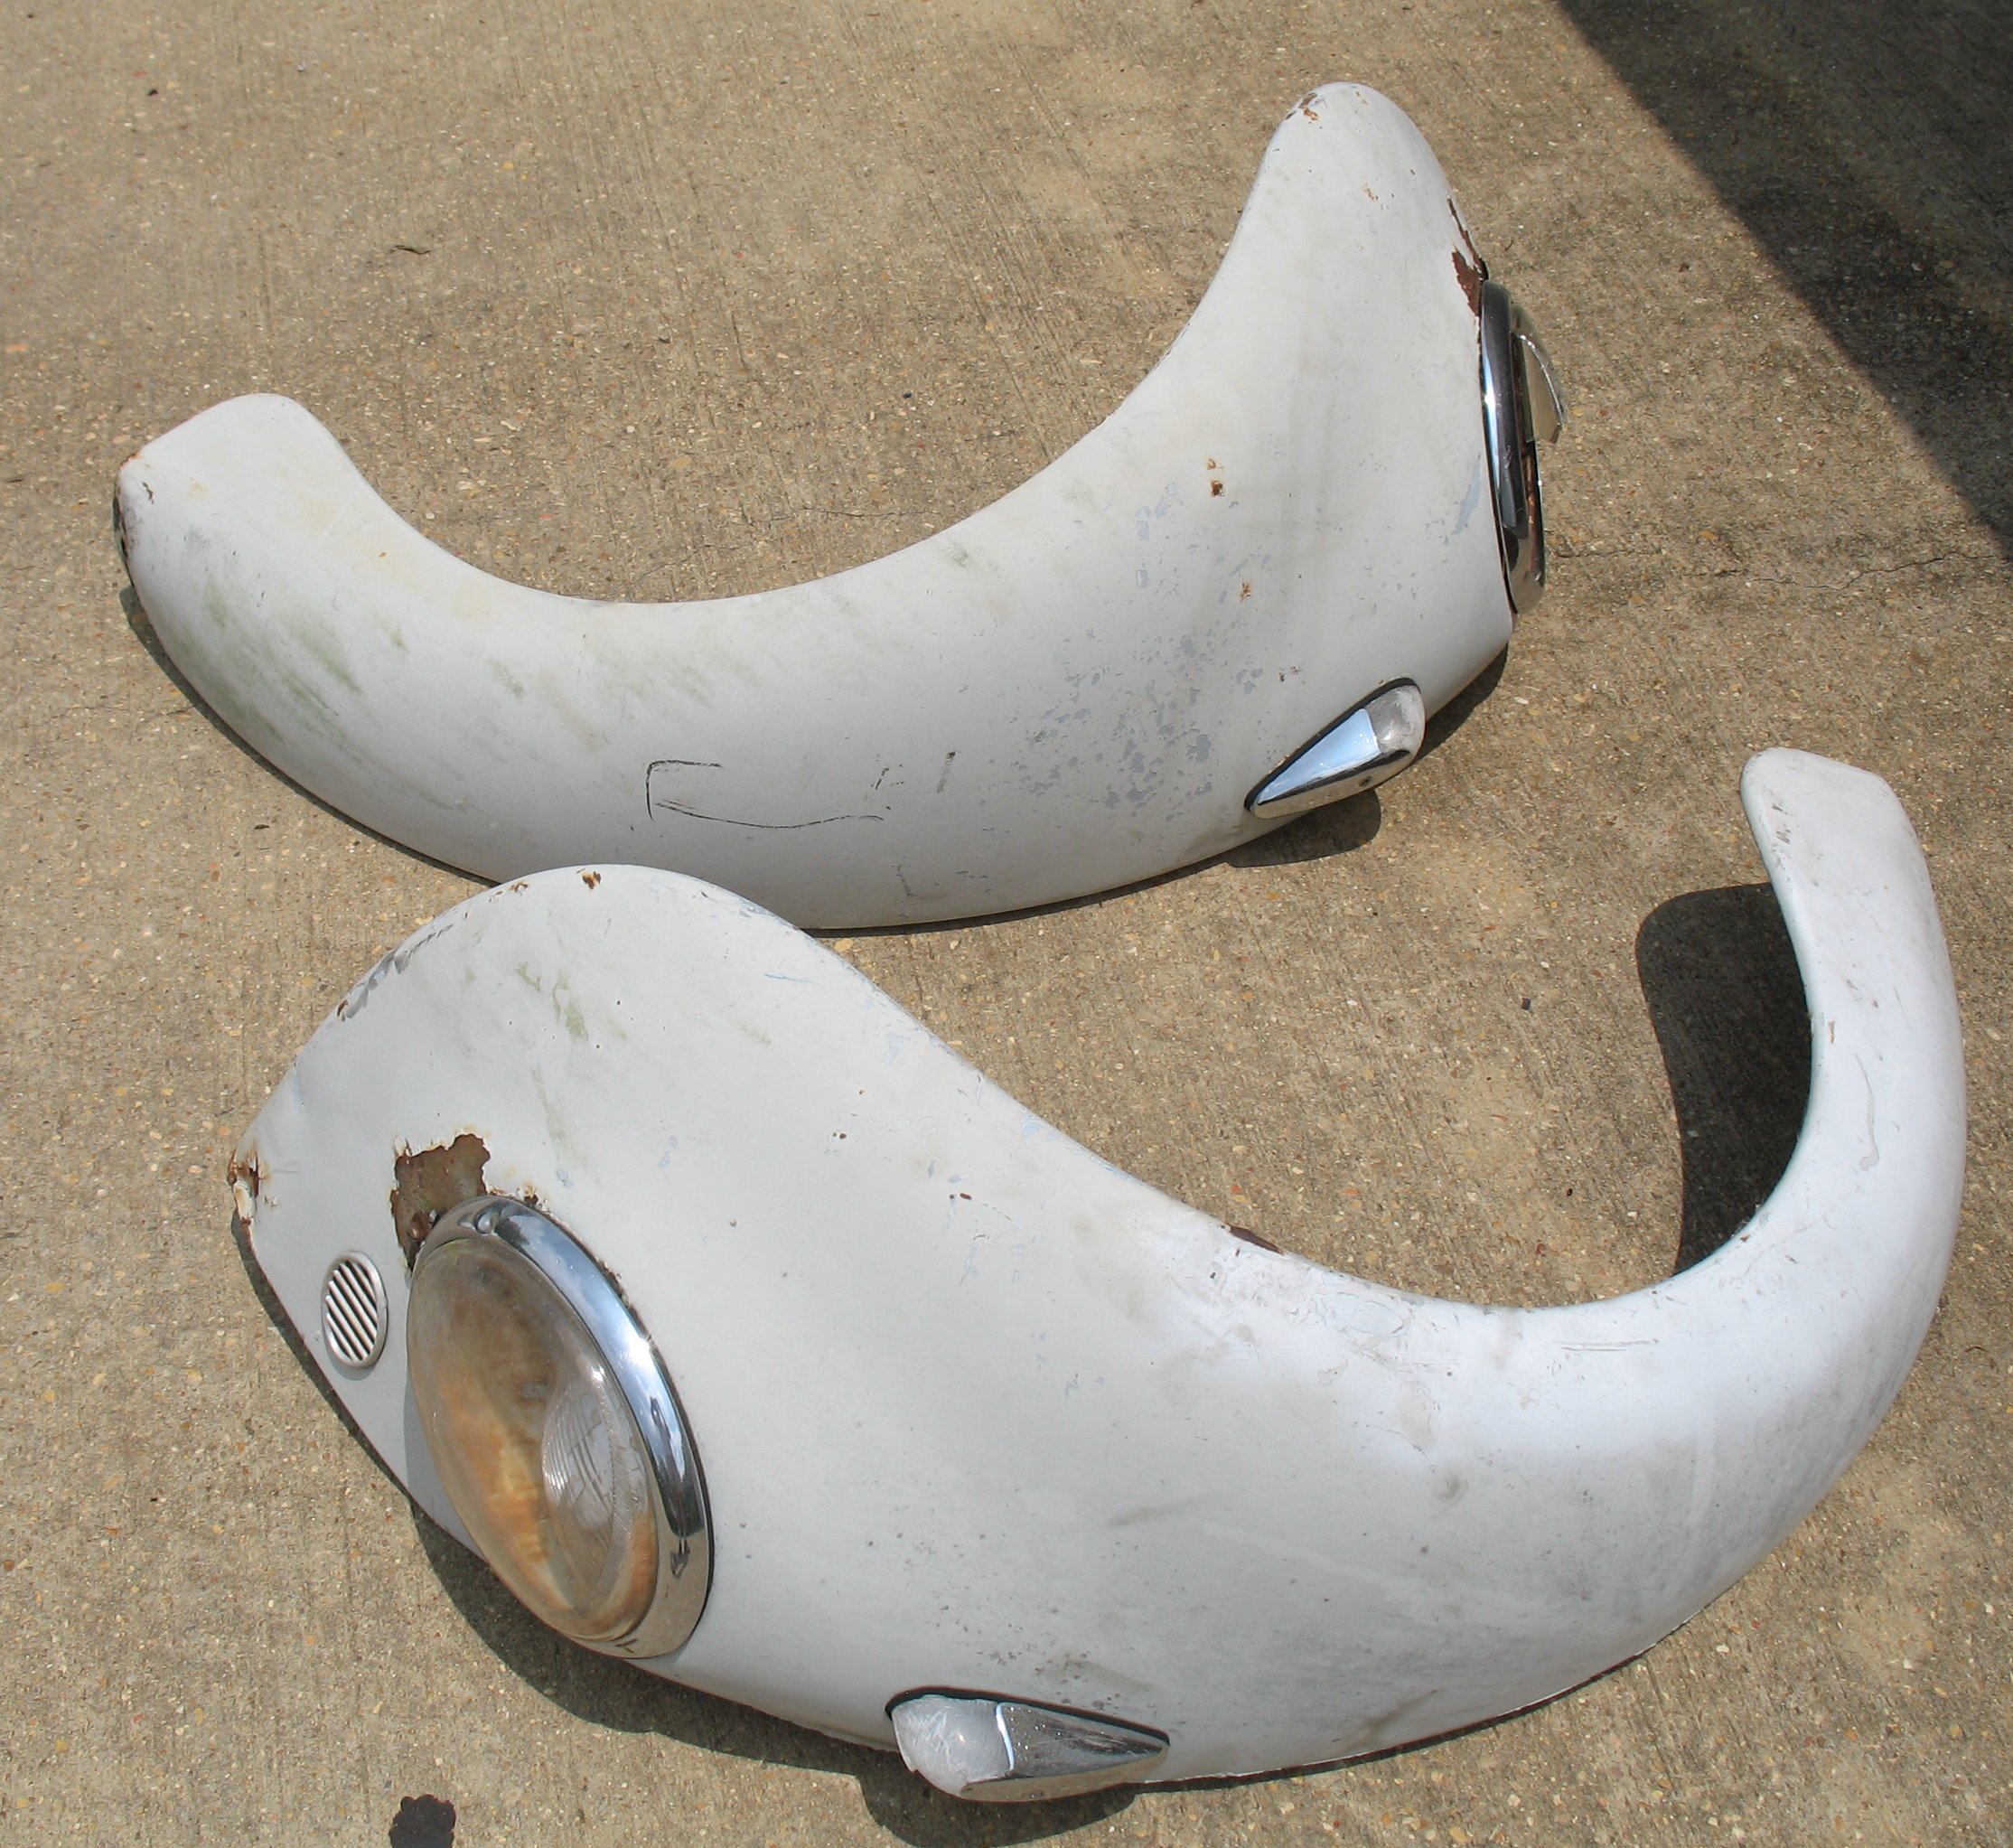
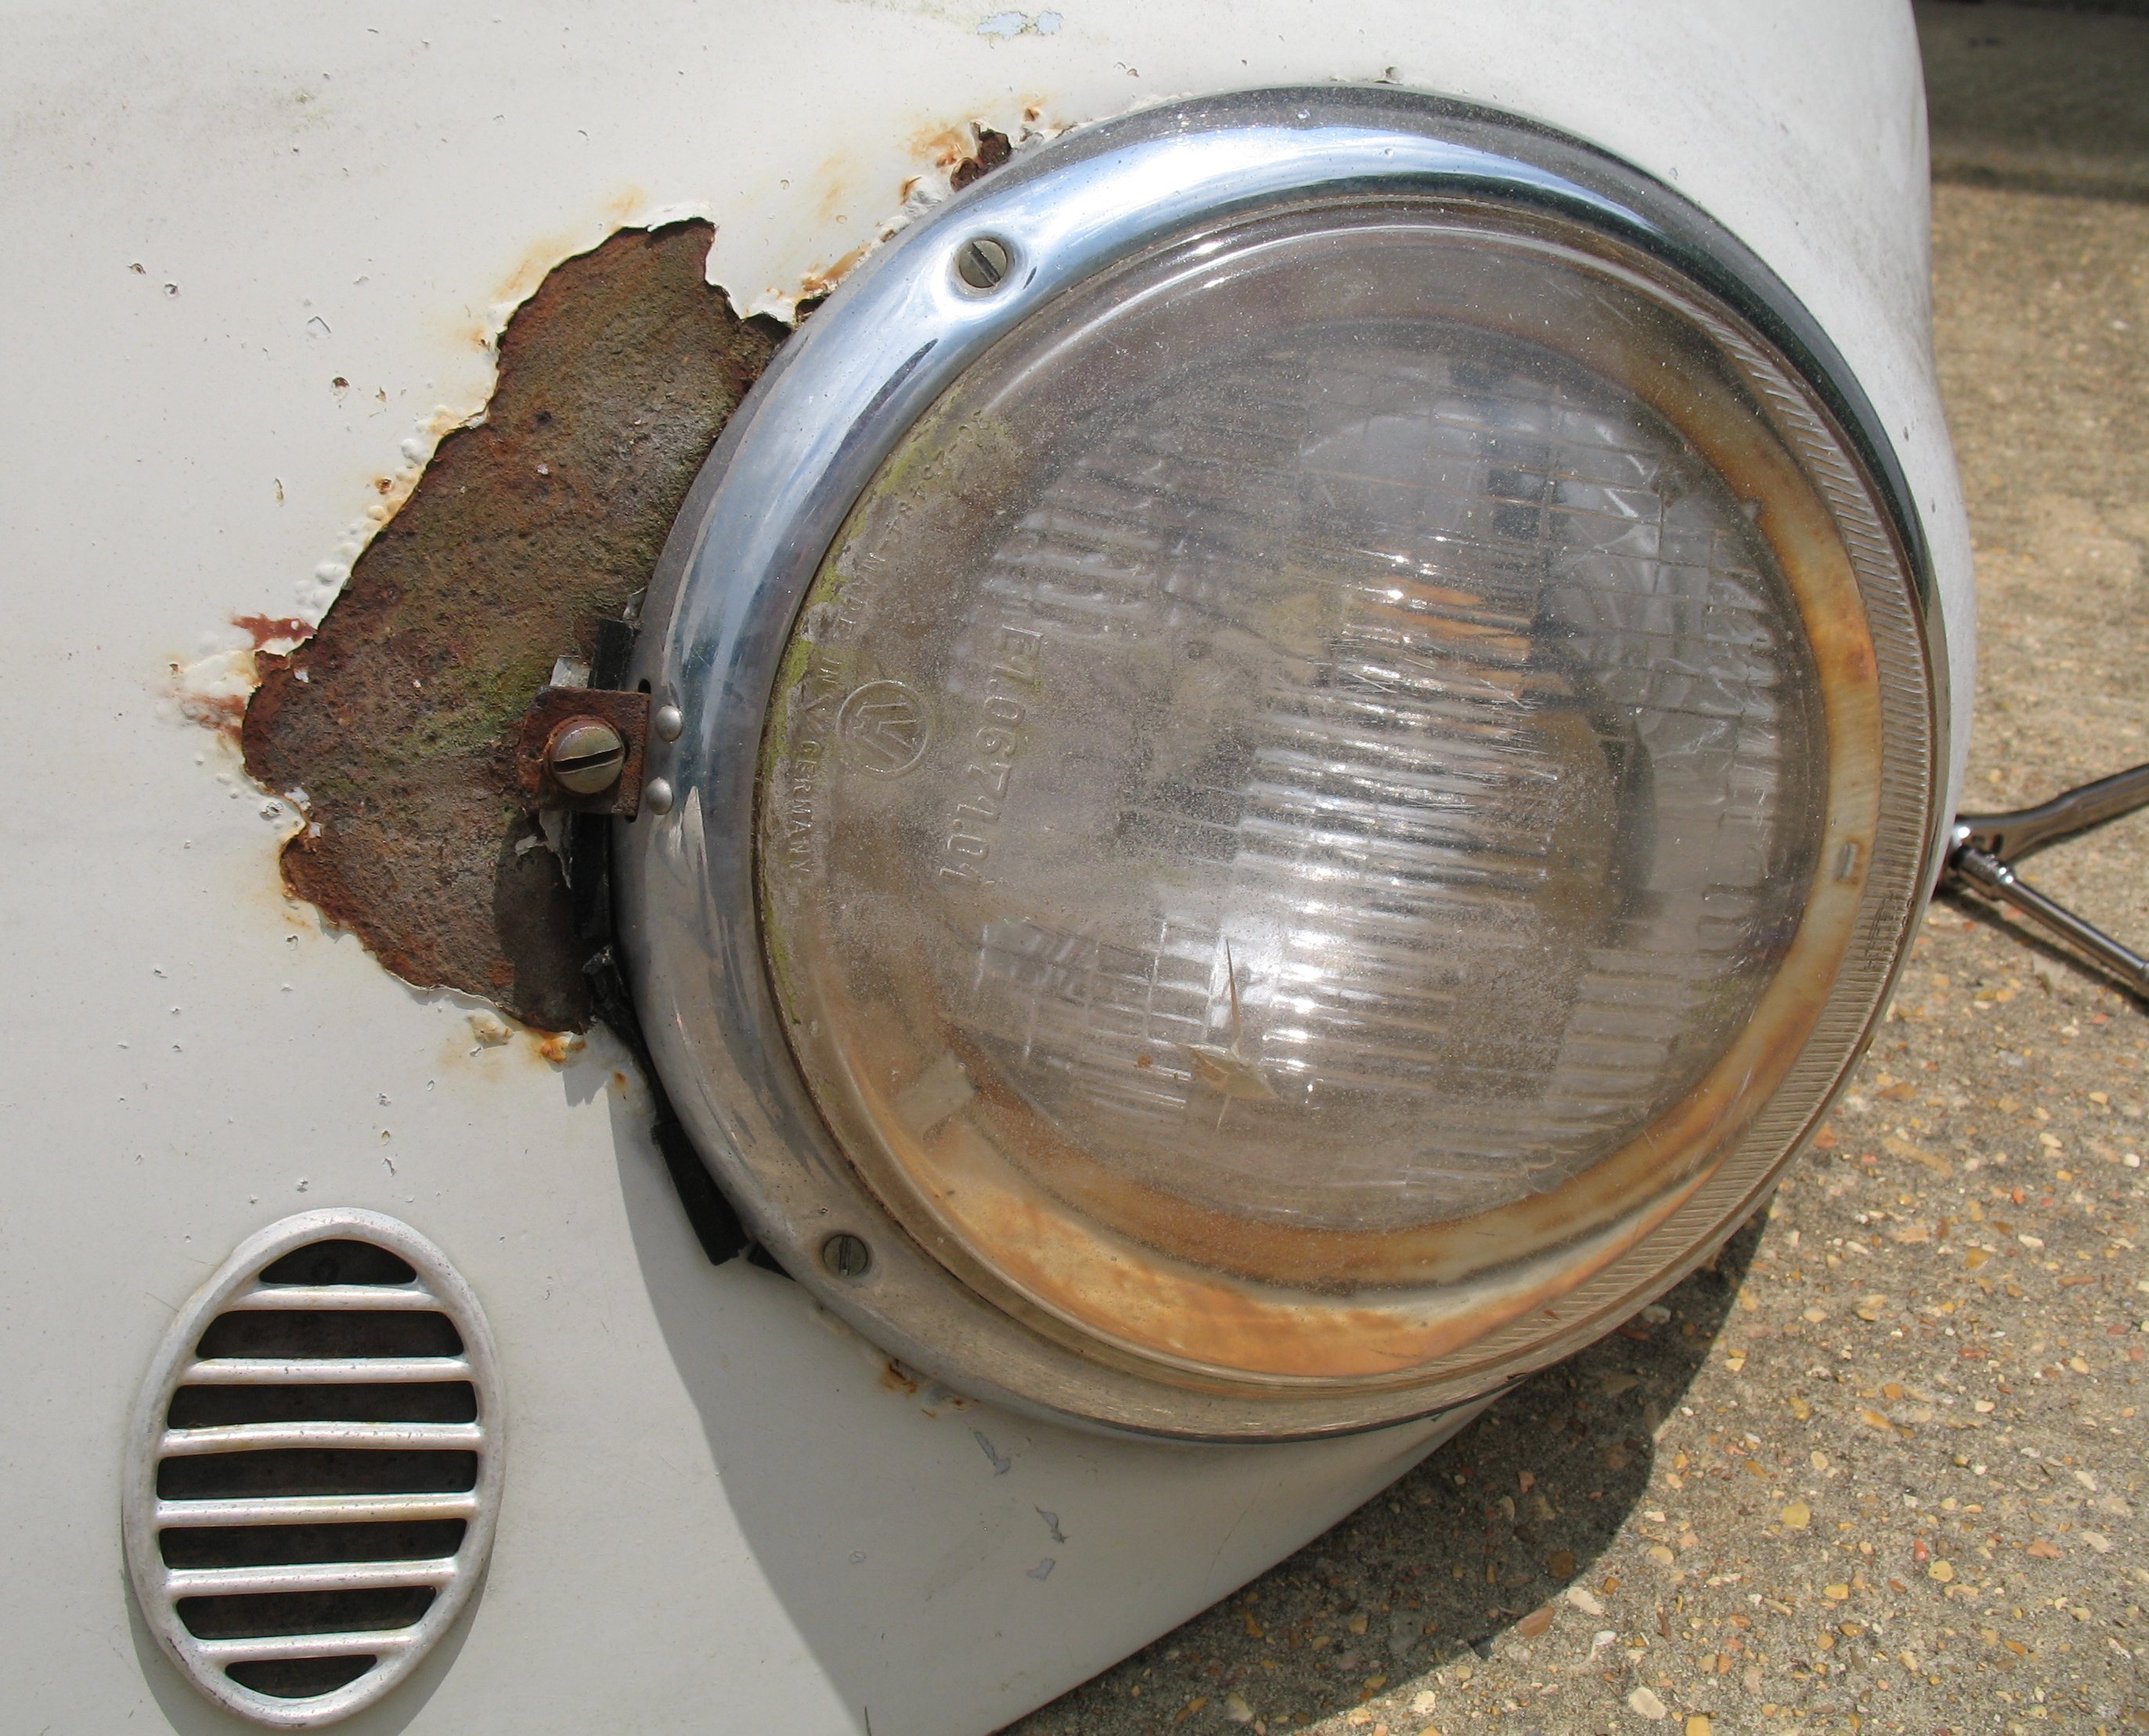
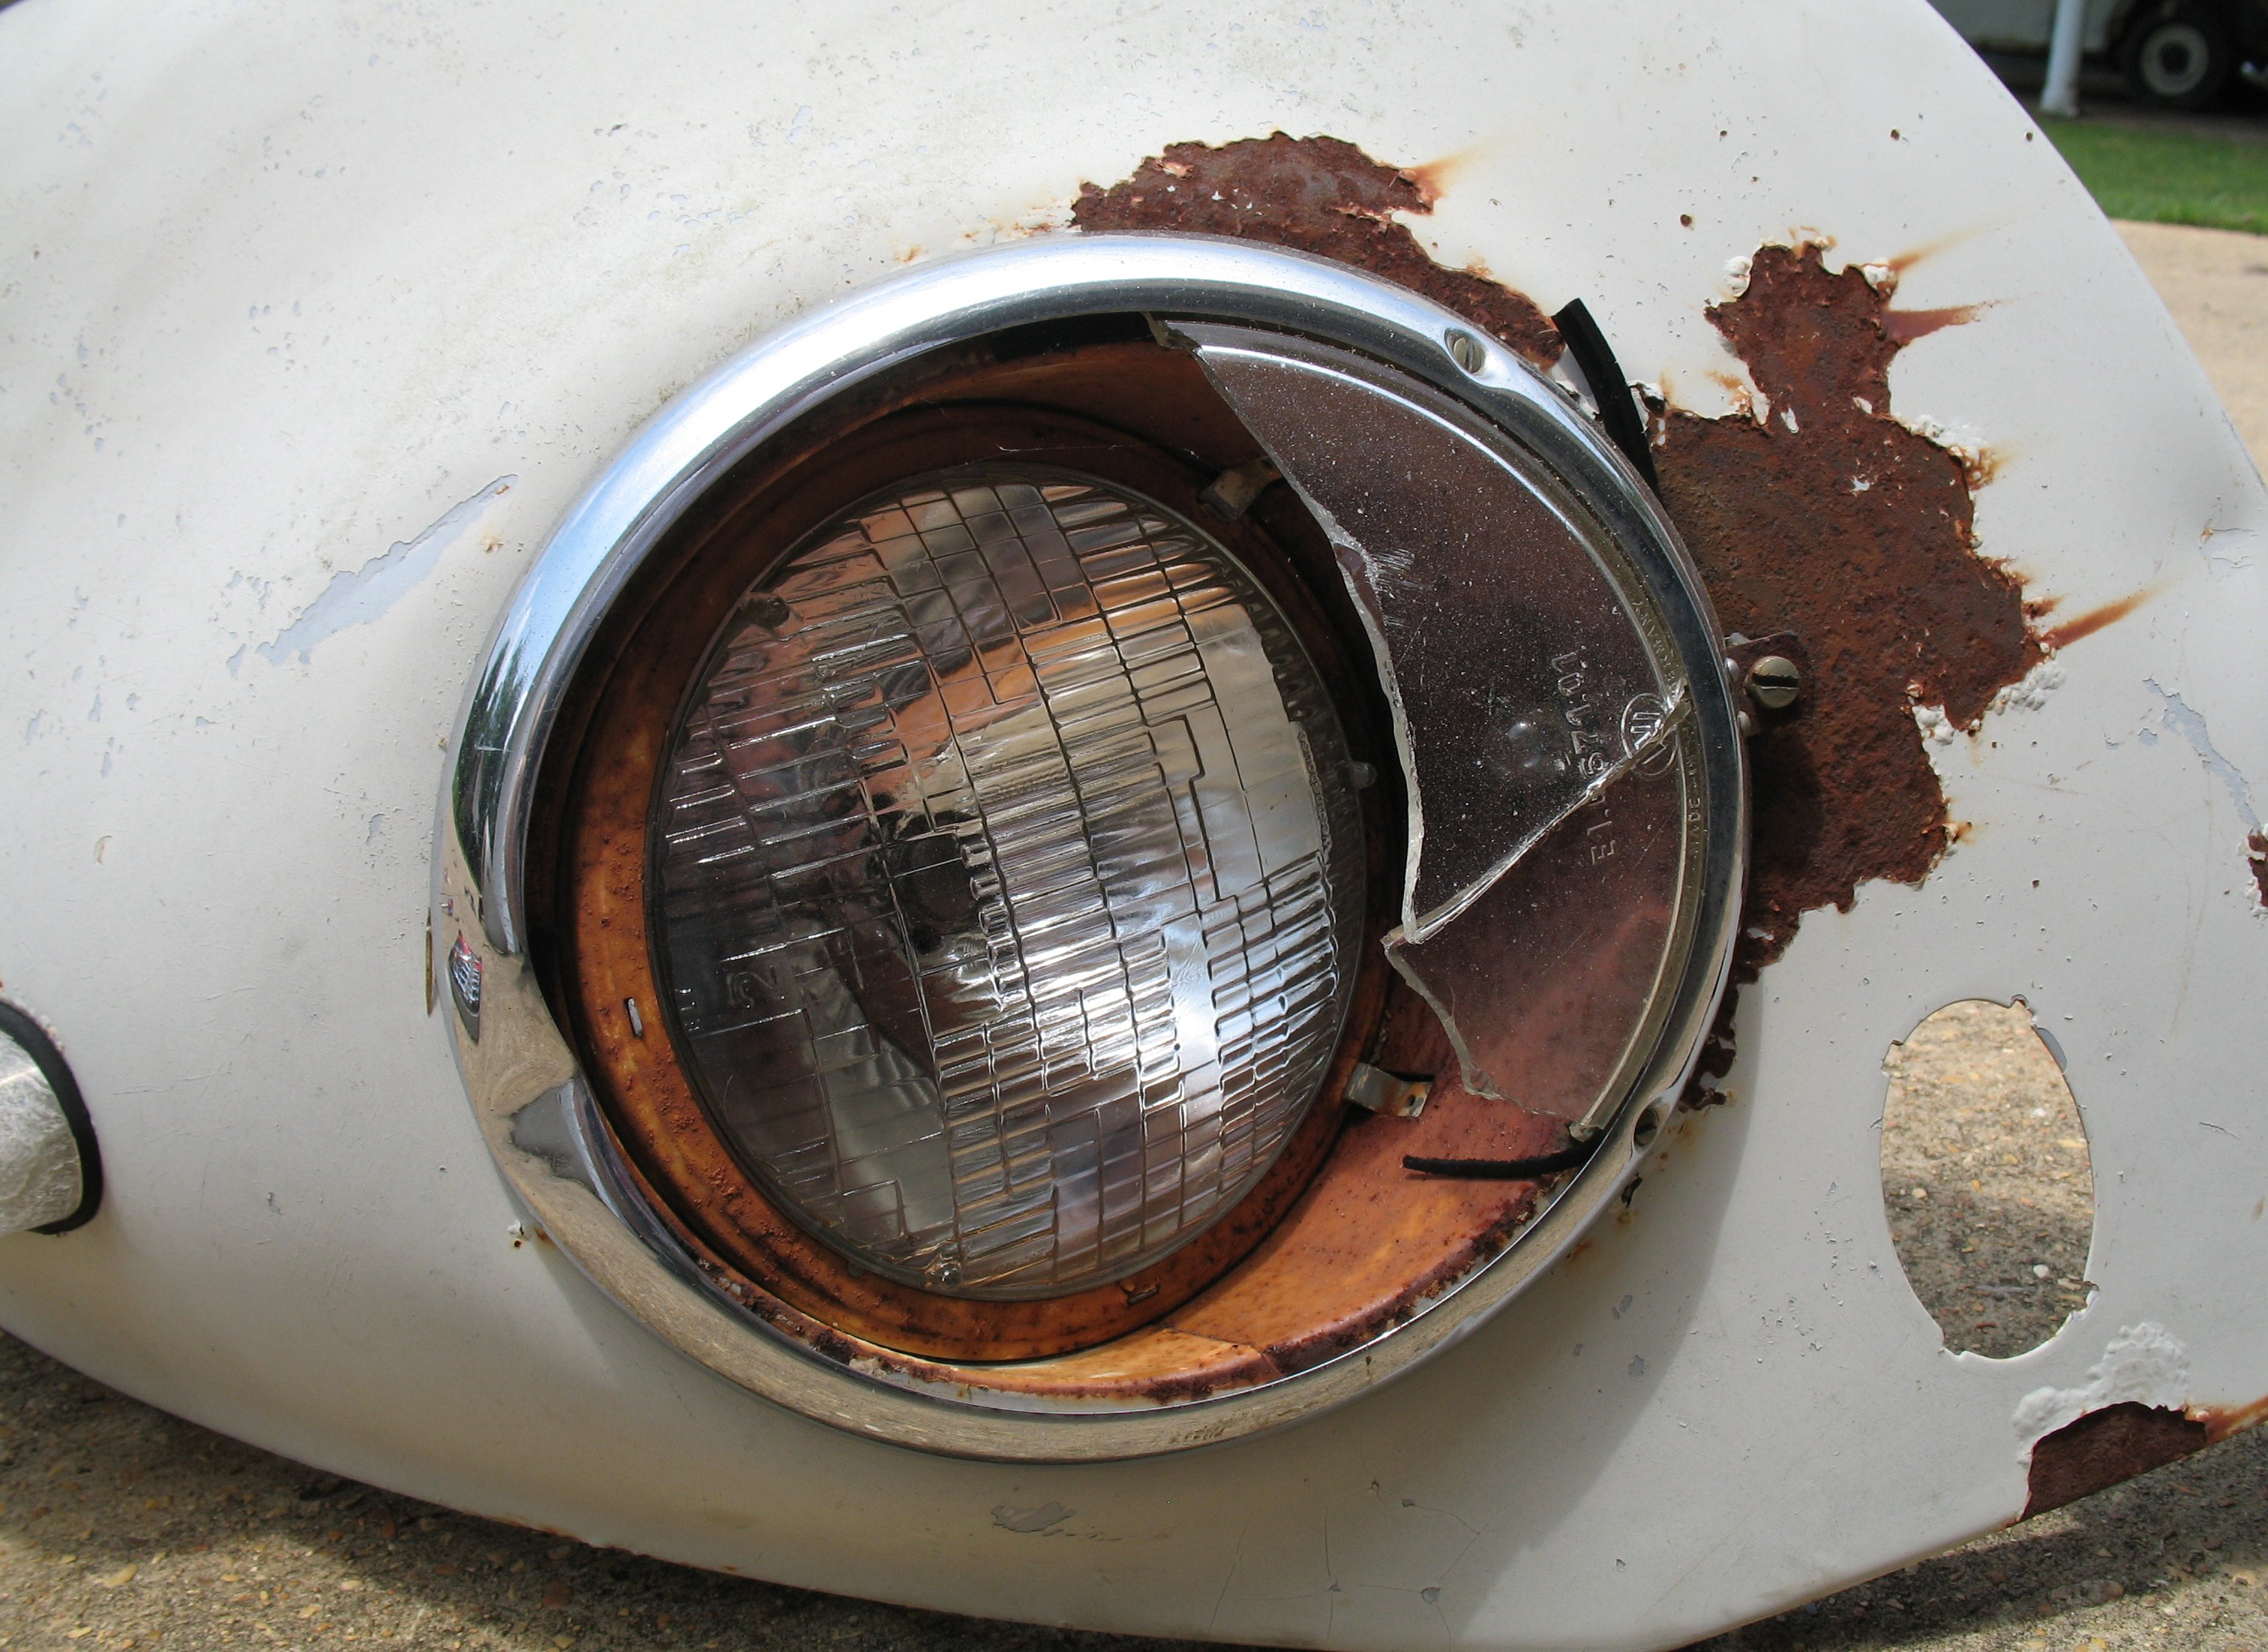
Front light. I think the glass covers are so much cooler-looking than later bugs’ lights.
Hmm. Is the wiring normally soldered on to the lights directly?
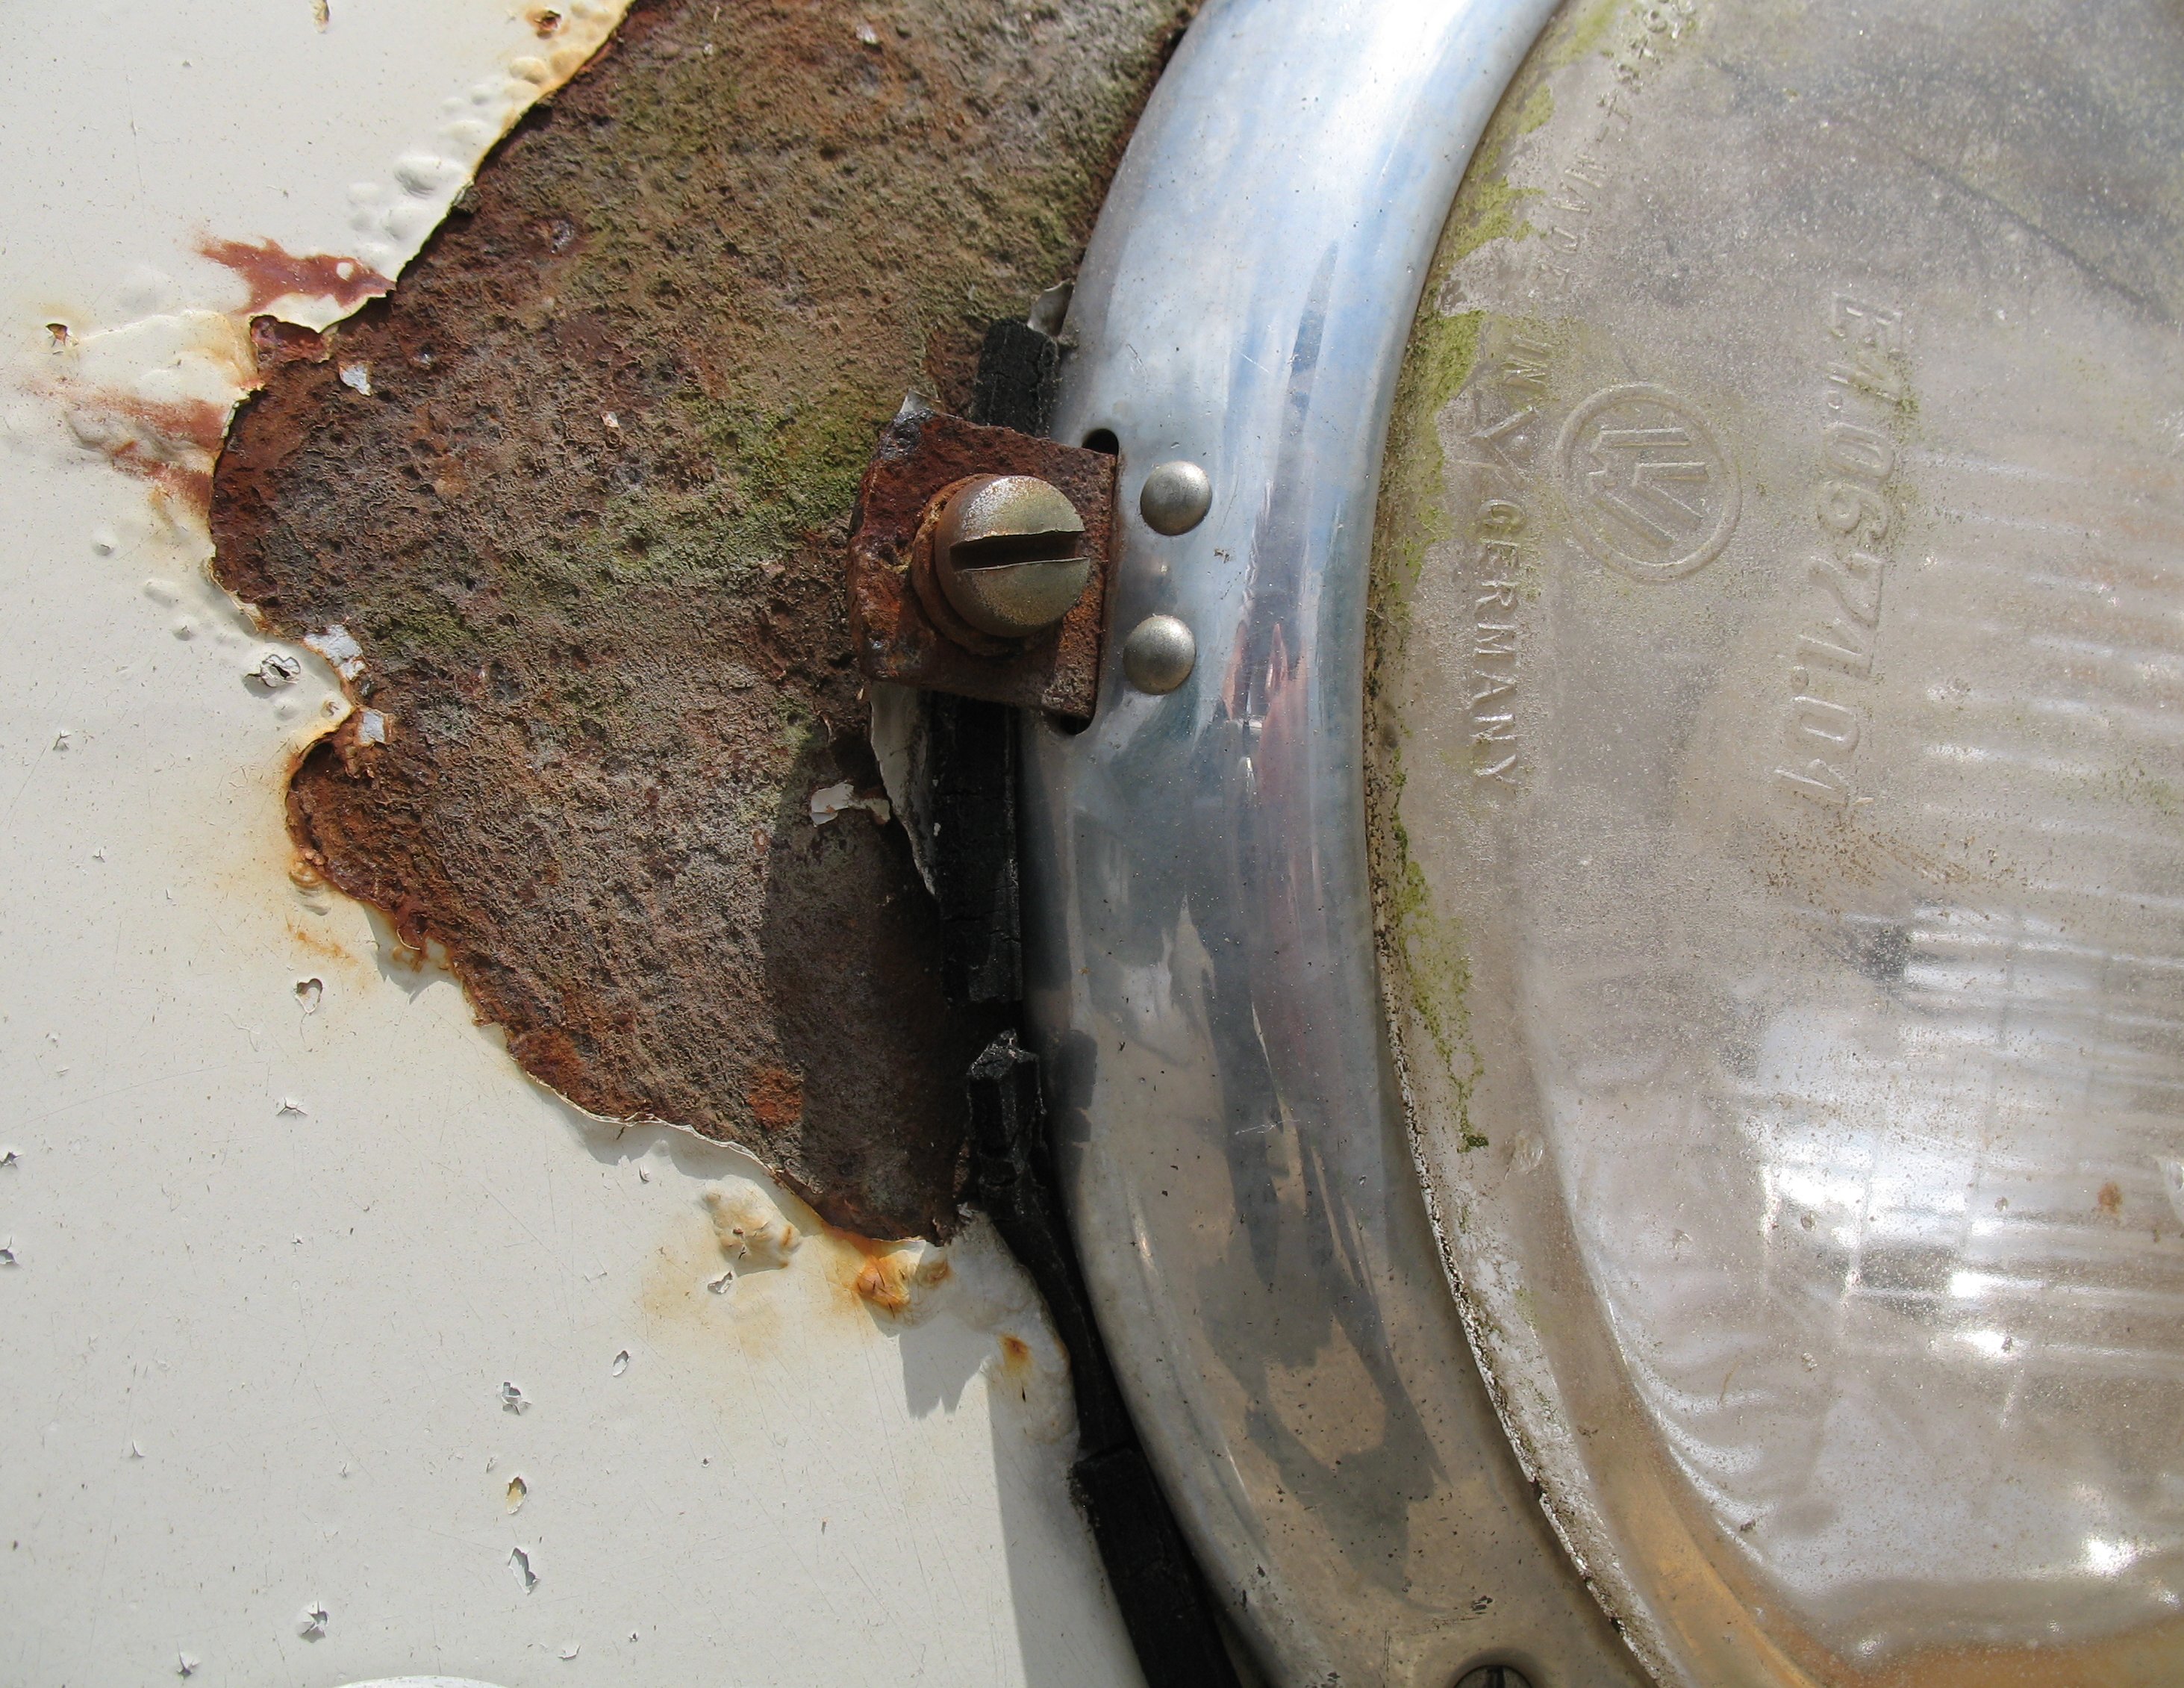
Headlight housing.
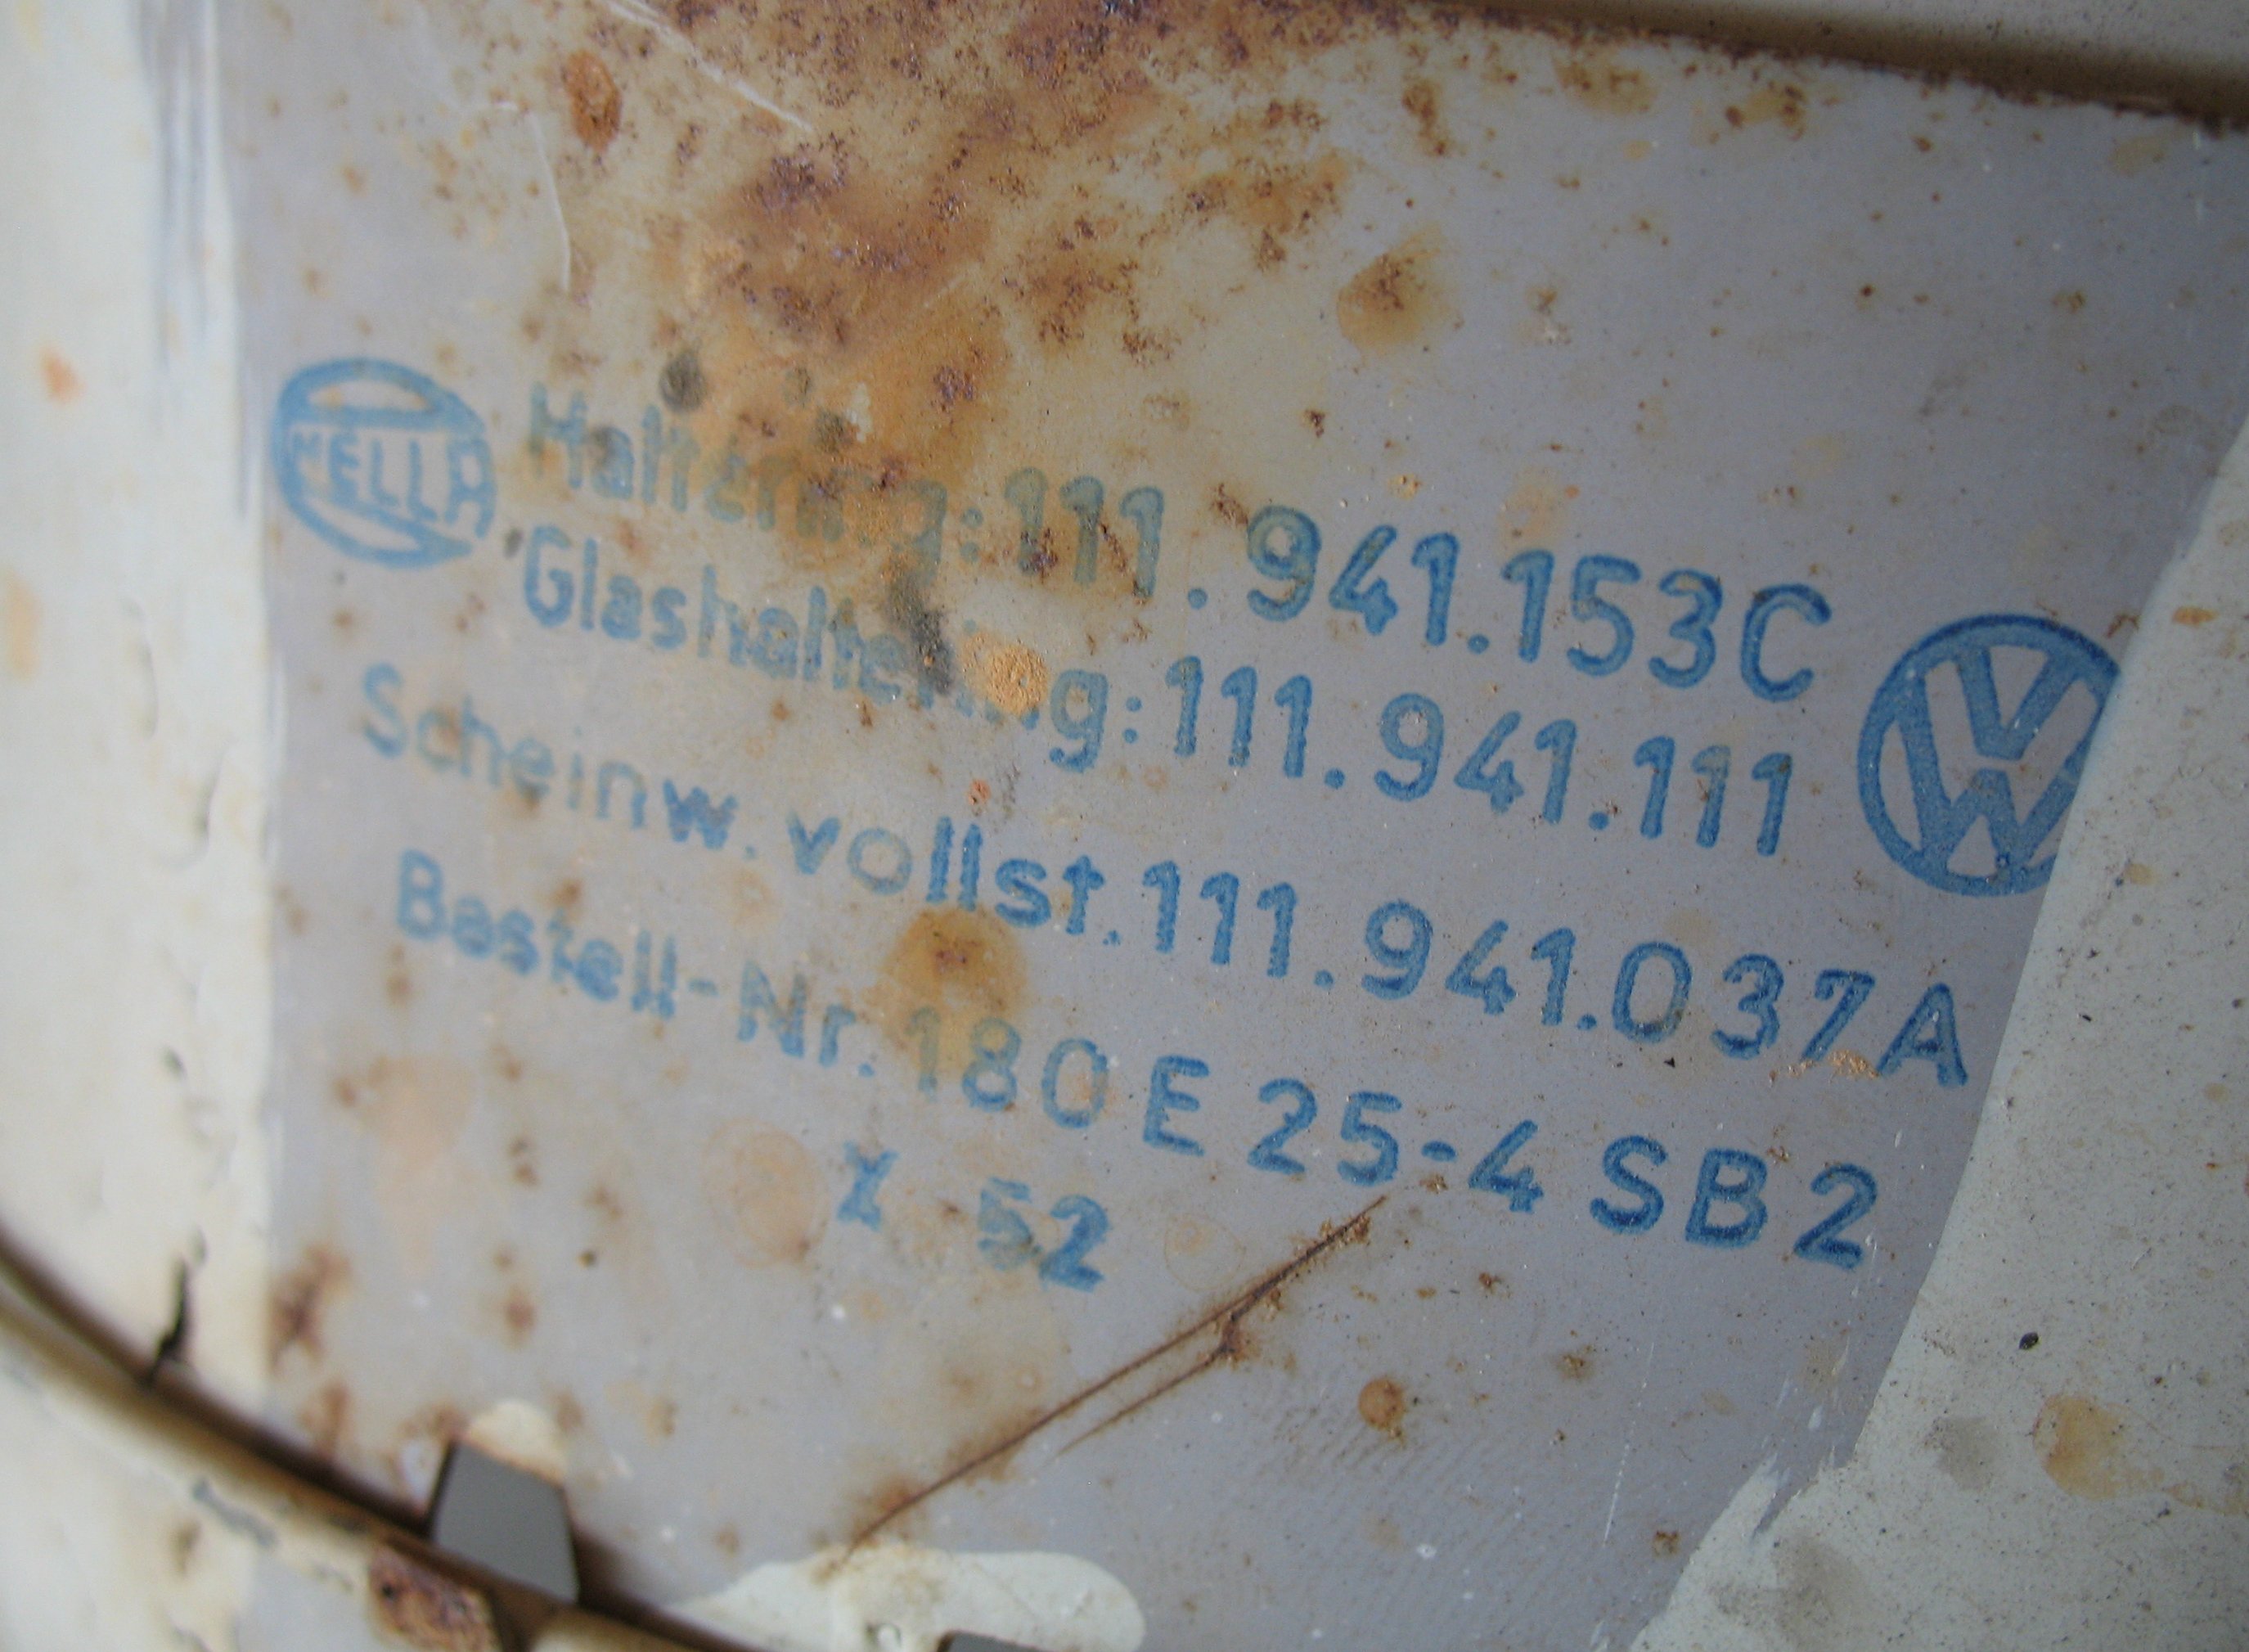
Headlight basin with headlight removed.
Taillight removed. Original paint color underneath?
I have some replacement glass already.
Wasps, rust, and headlights, Oh My!
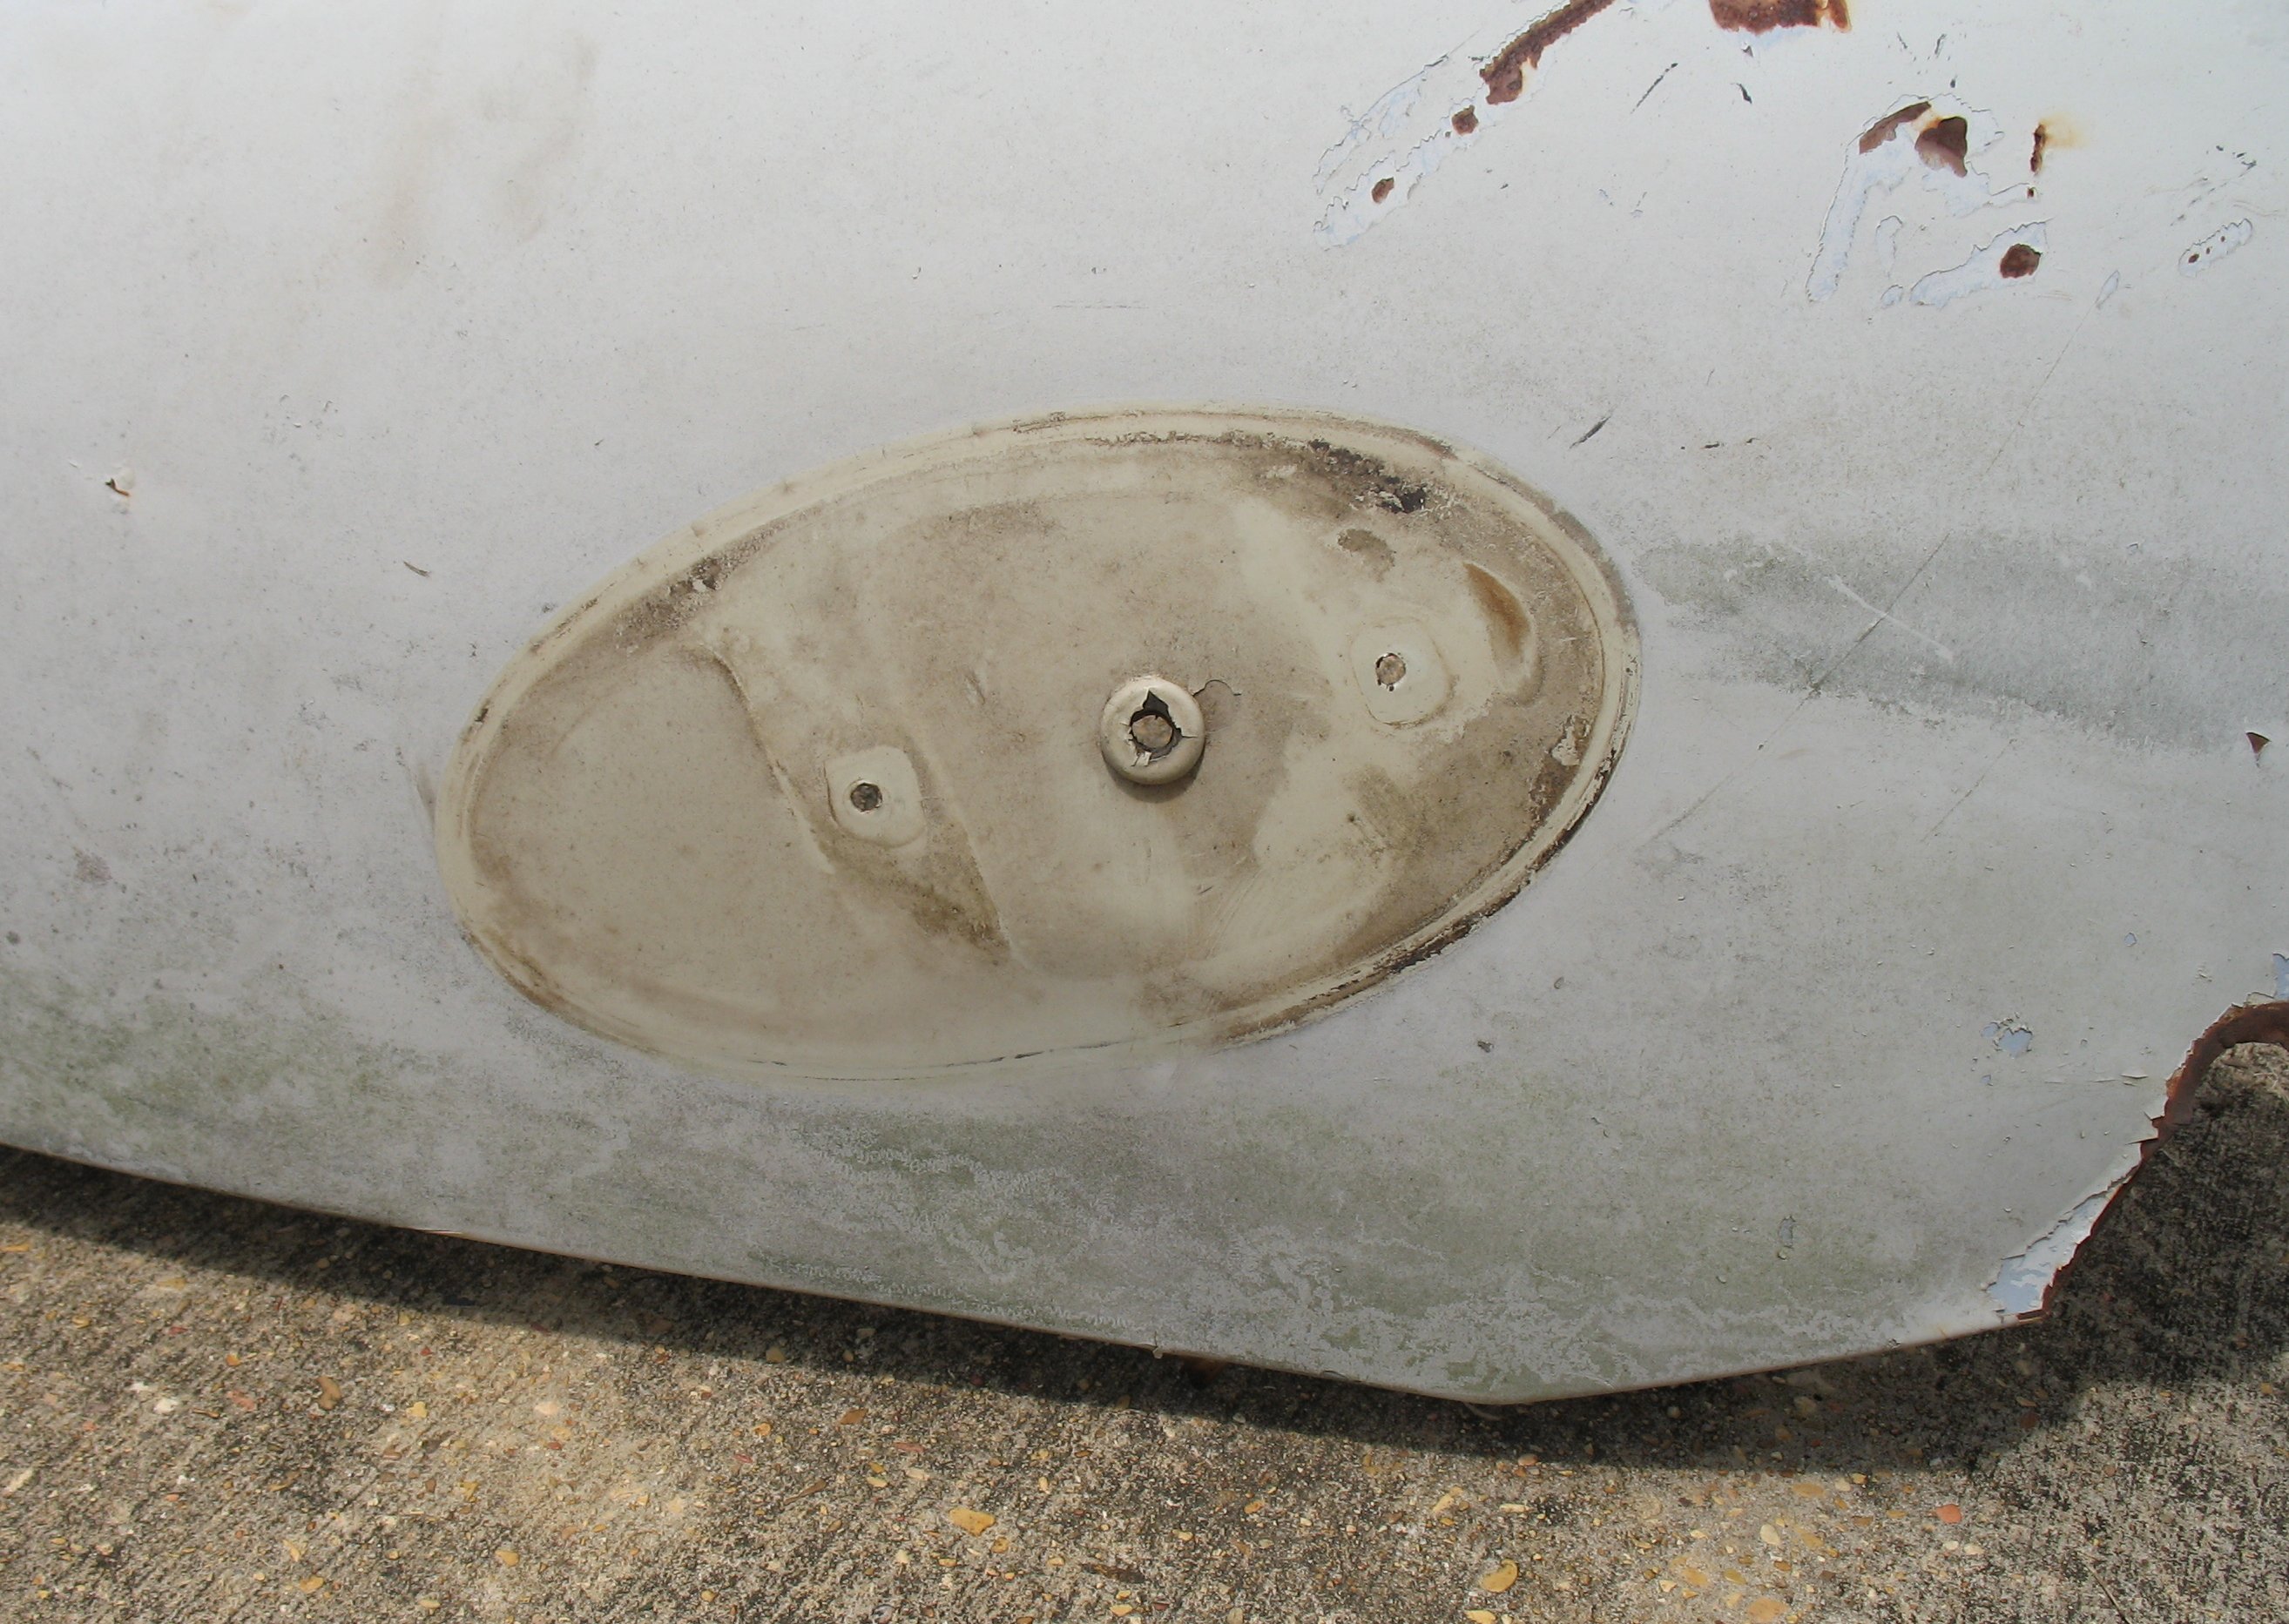
Tail-light mounting bracket broke during removal.
I’ll have to fashion a new bracket when remounting this tail light.
Left rear fender. Taillight bracket broke off during disassembly.