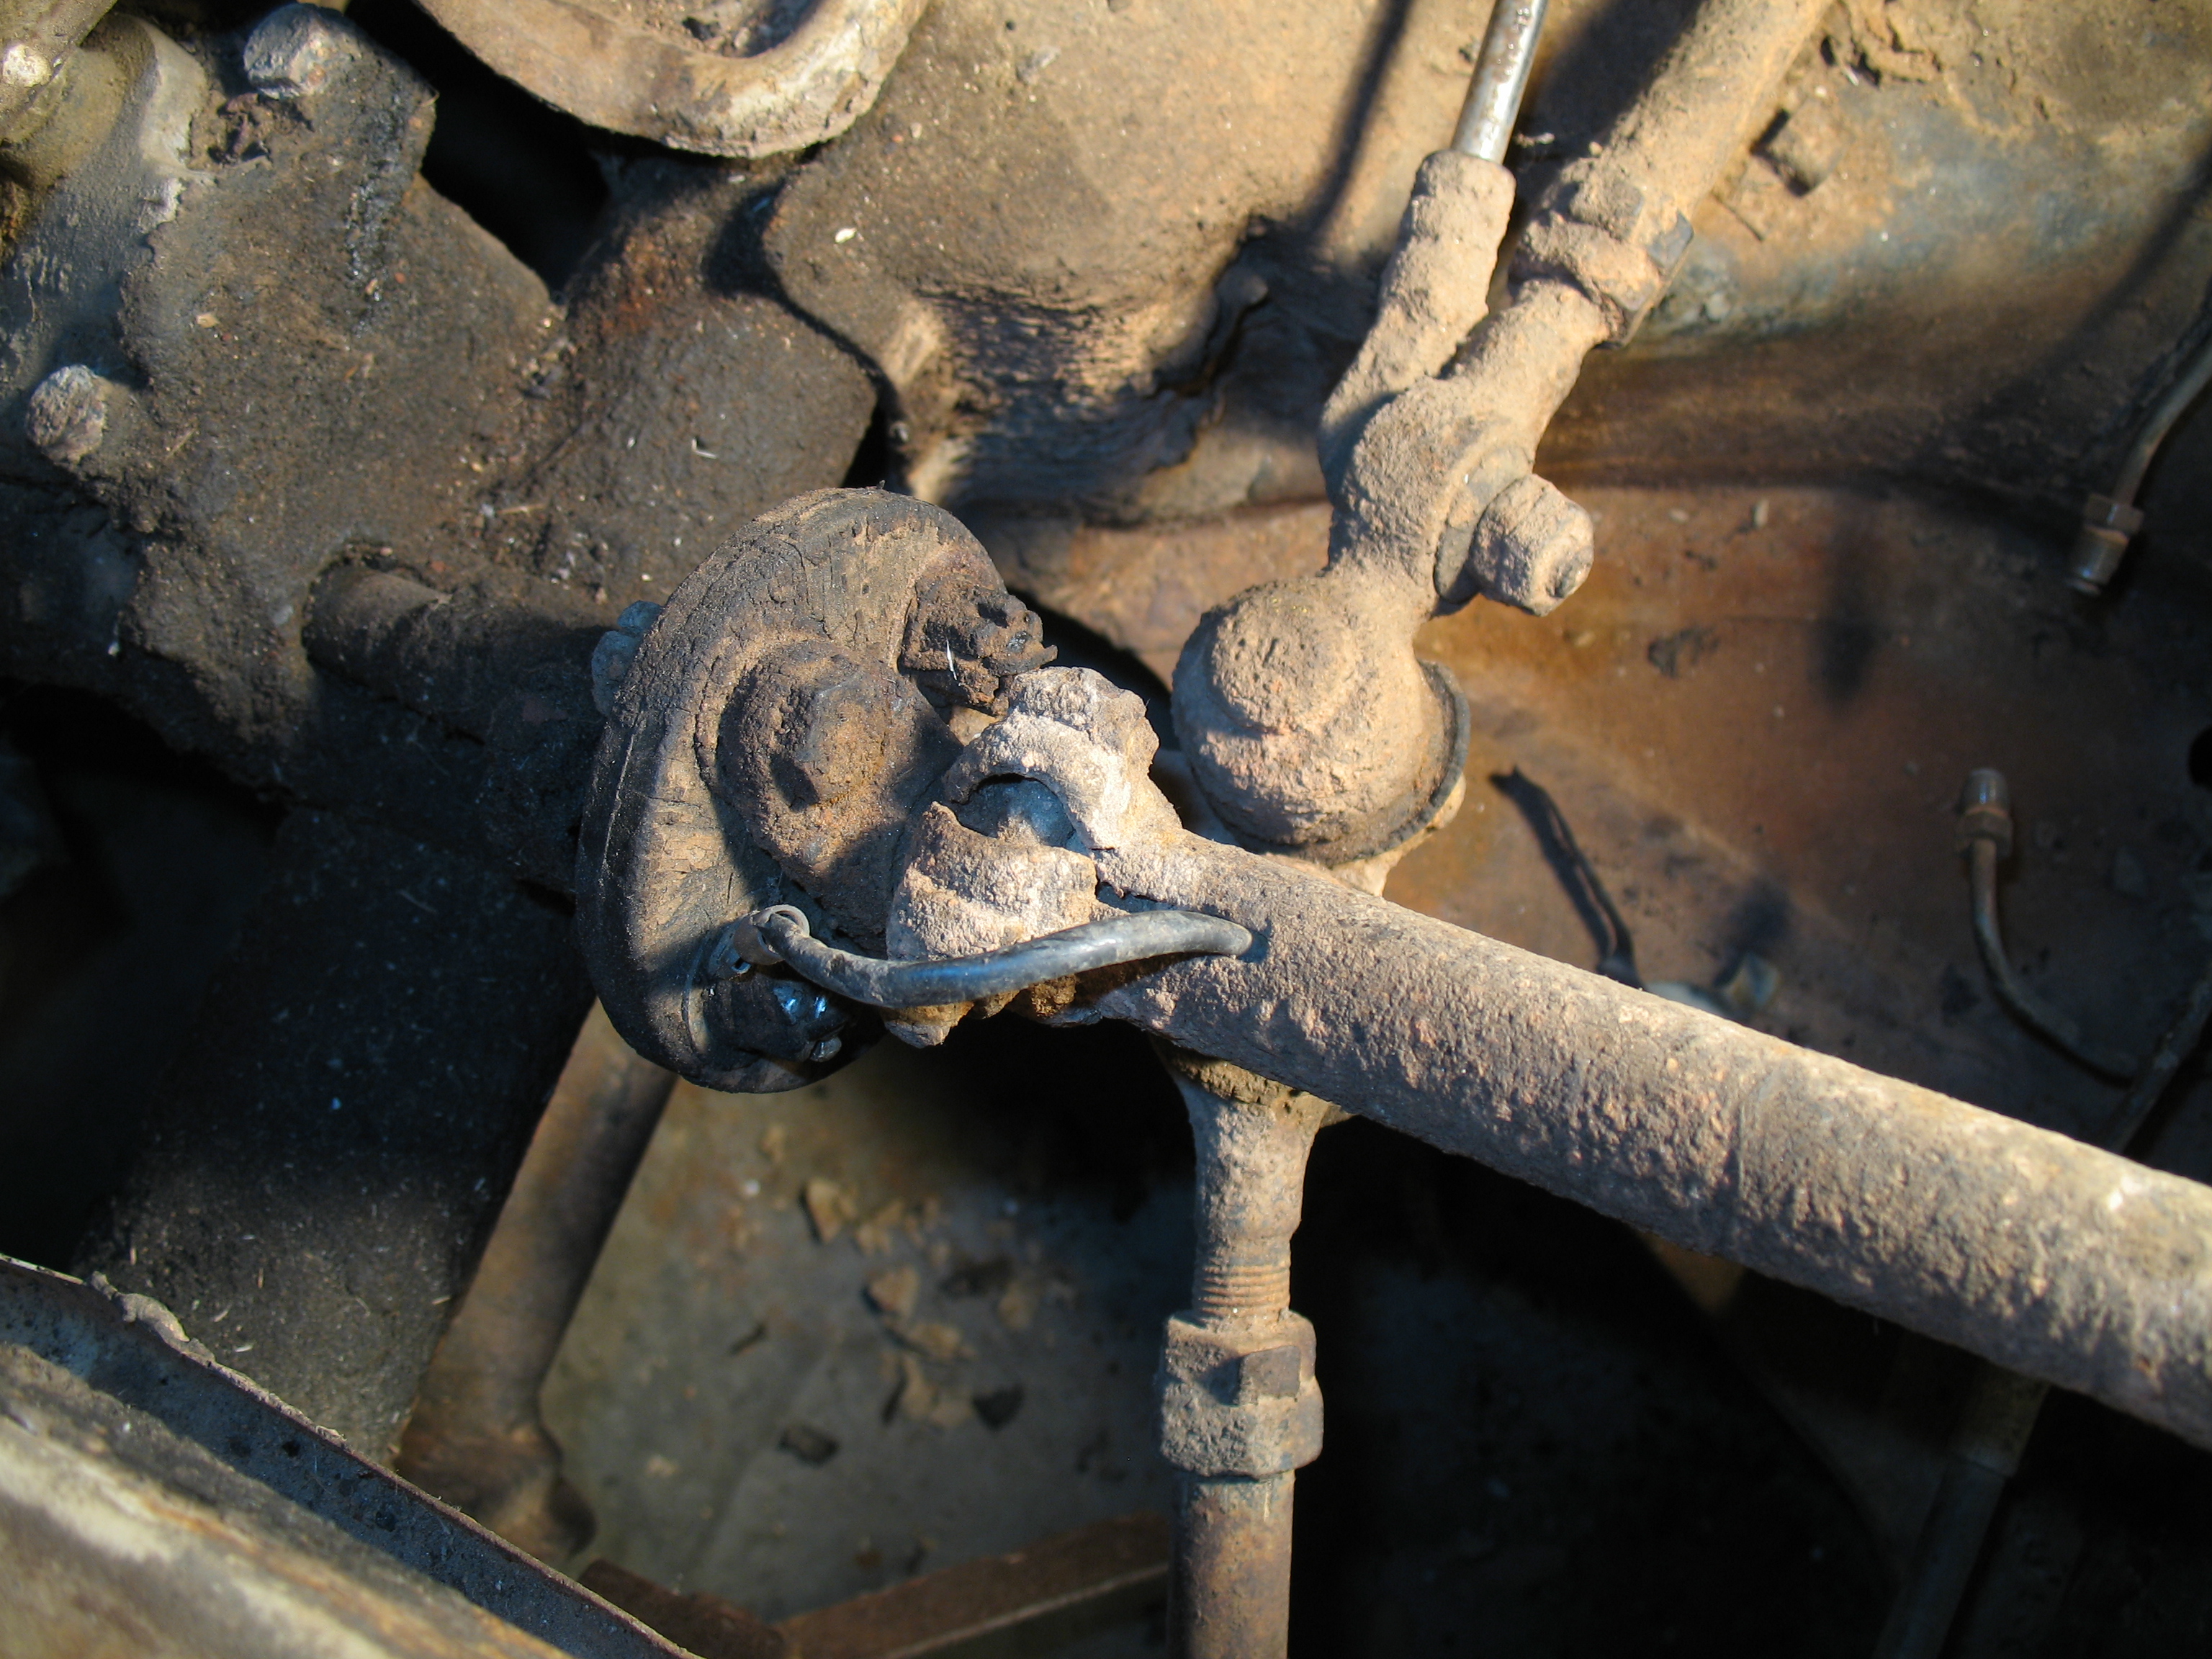
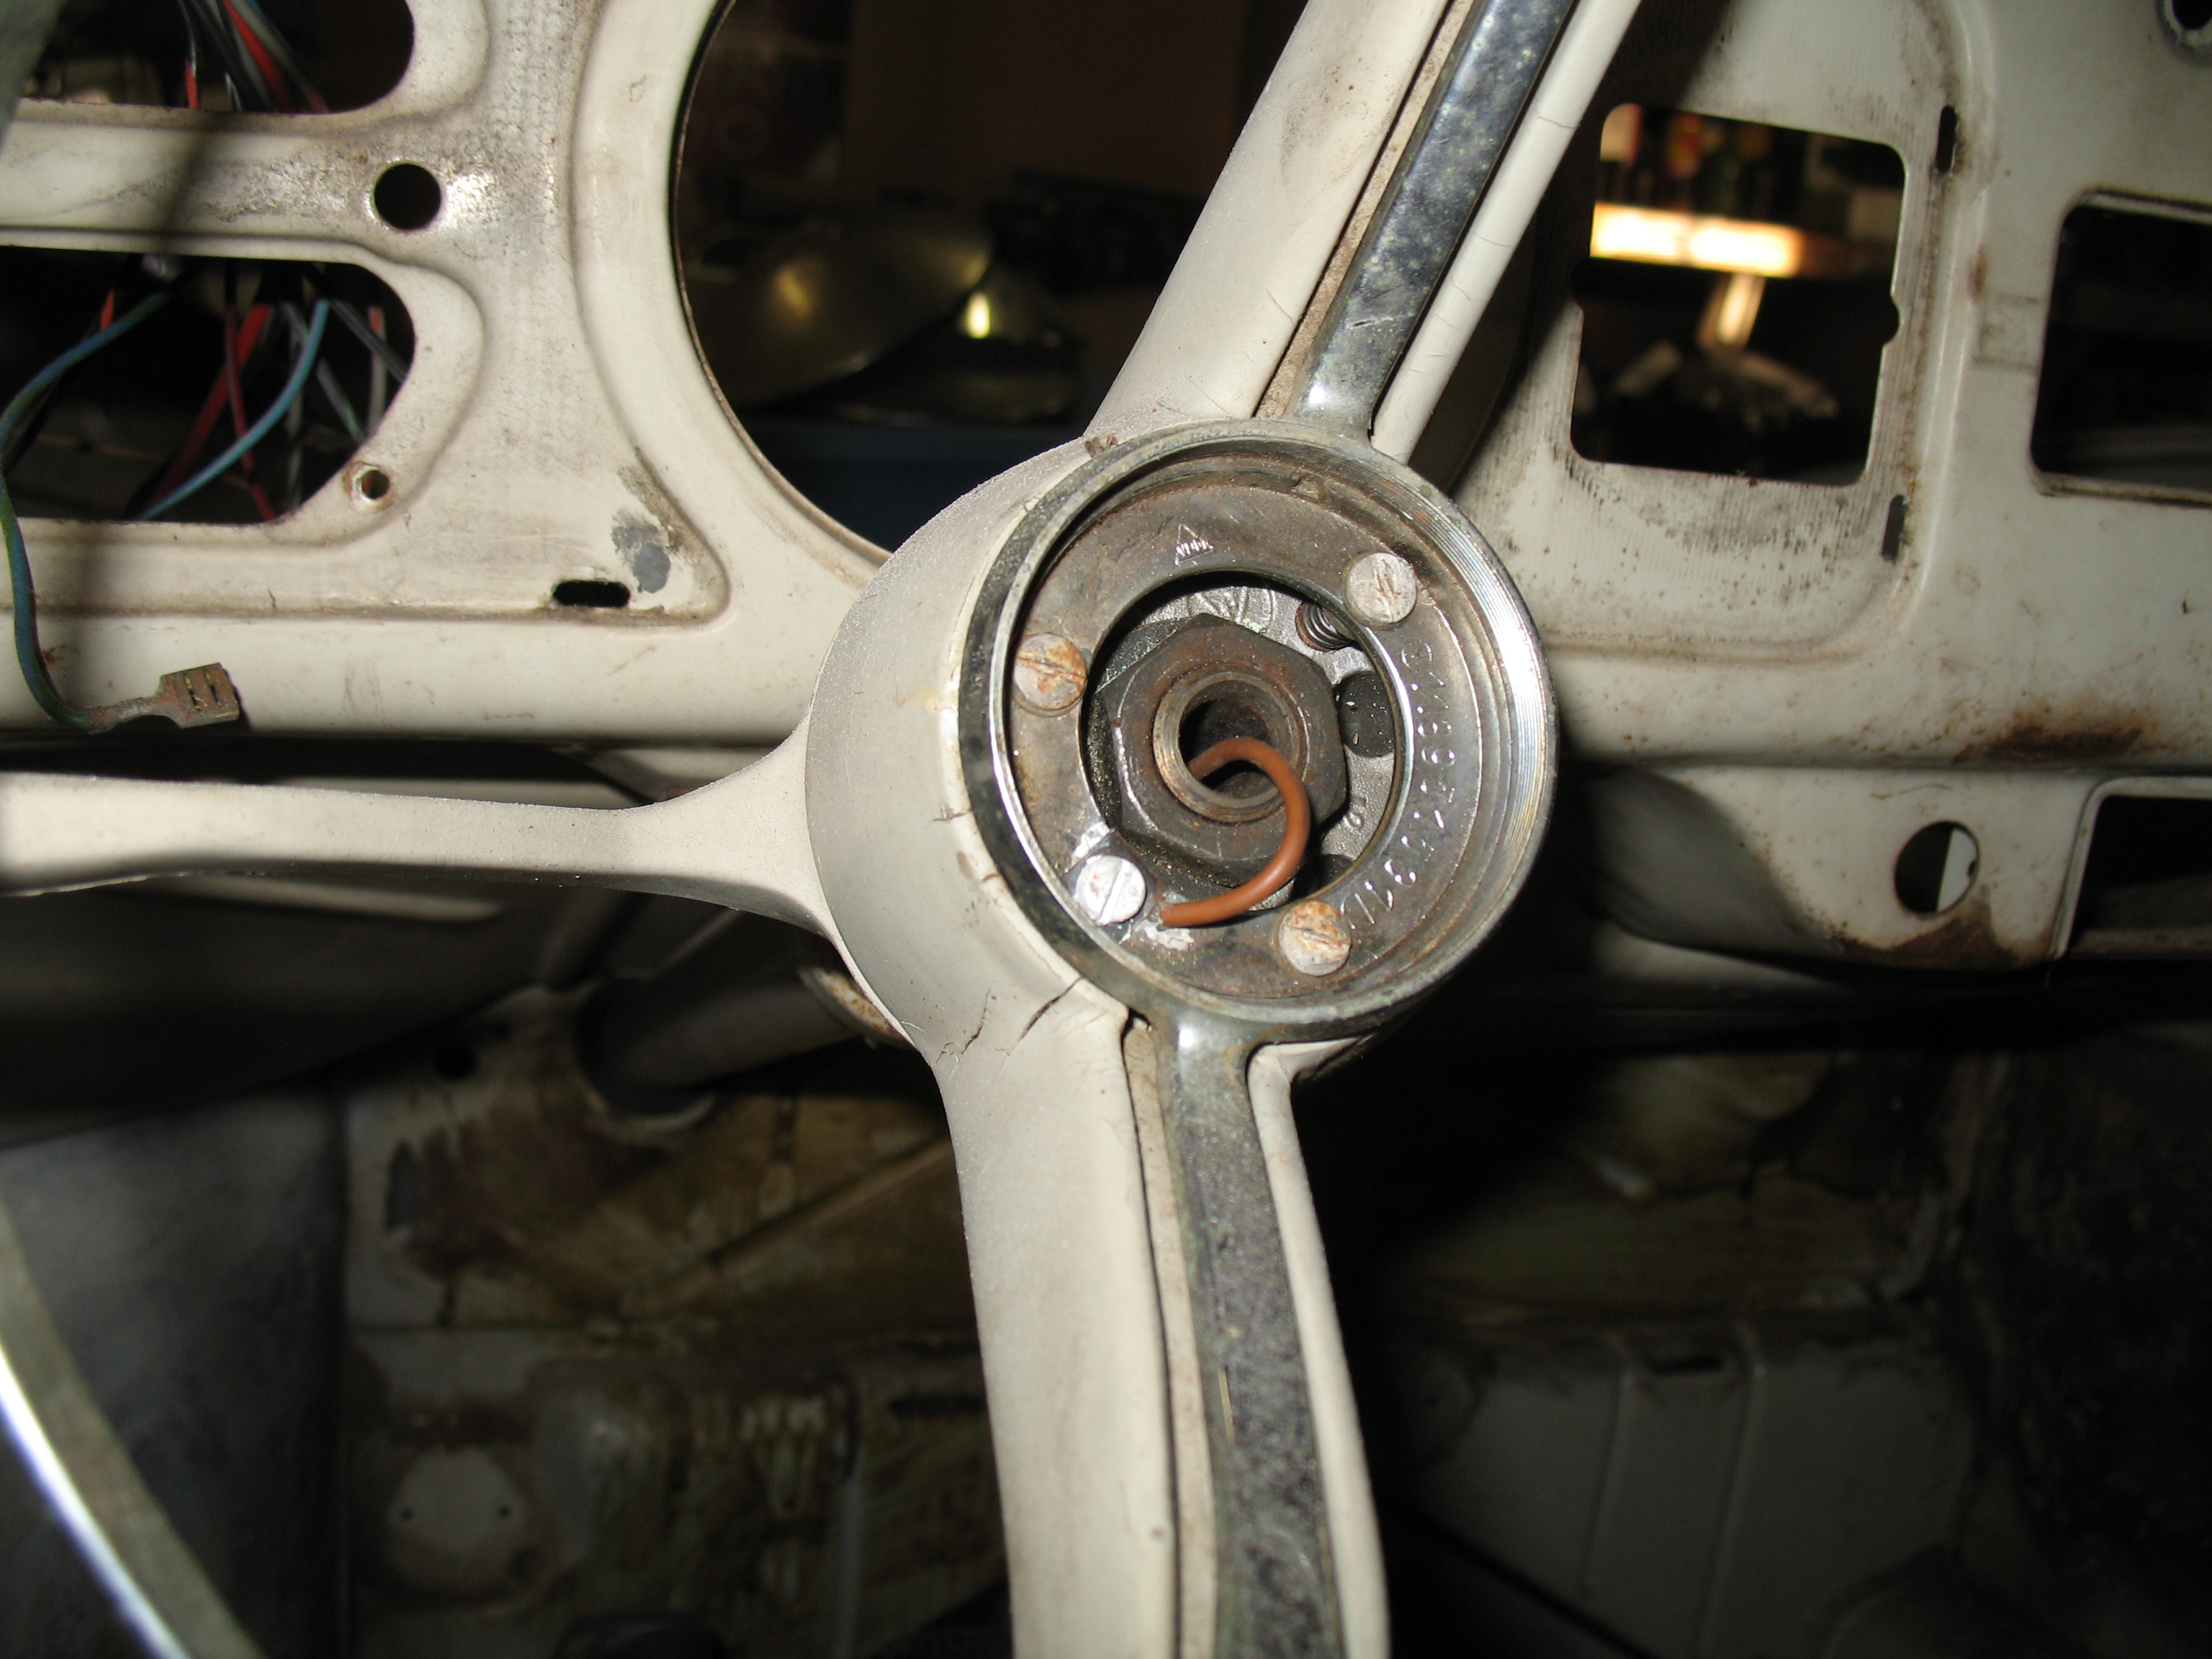
Disconnected the steering wheel coupler by unplugging the horn ground wire, then removing two castle nuts and cotter pins on the coupler. Cleaning off some of the gunk makes it easier to see the parts. Especially when trying to get the cotter pins out.
Steering shaft and coupler. Taken from passenger side of trunk compartment.
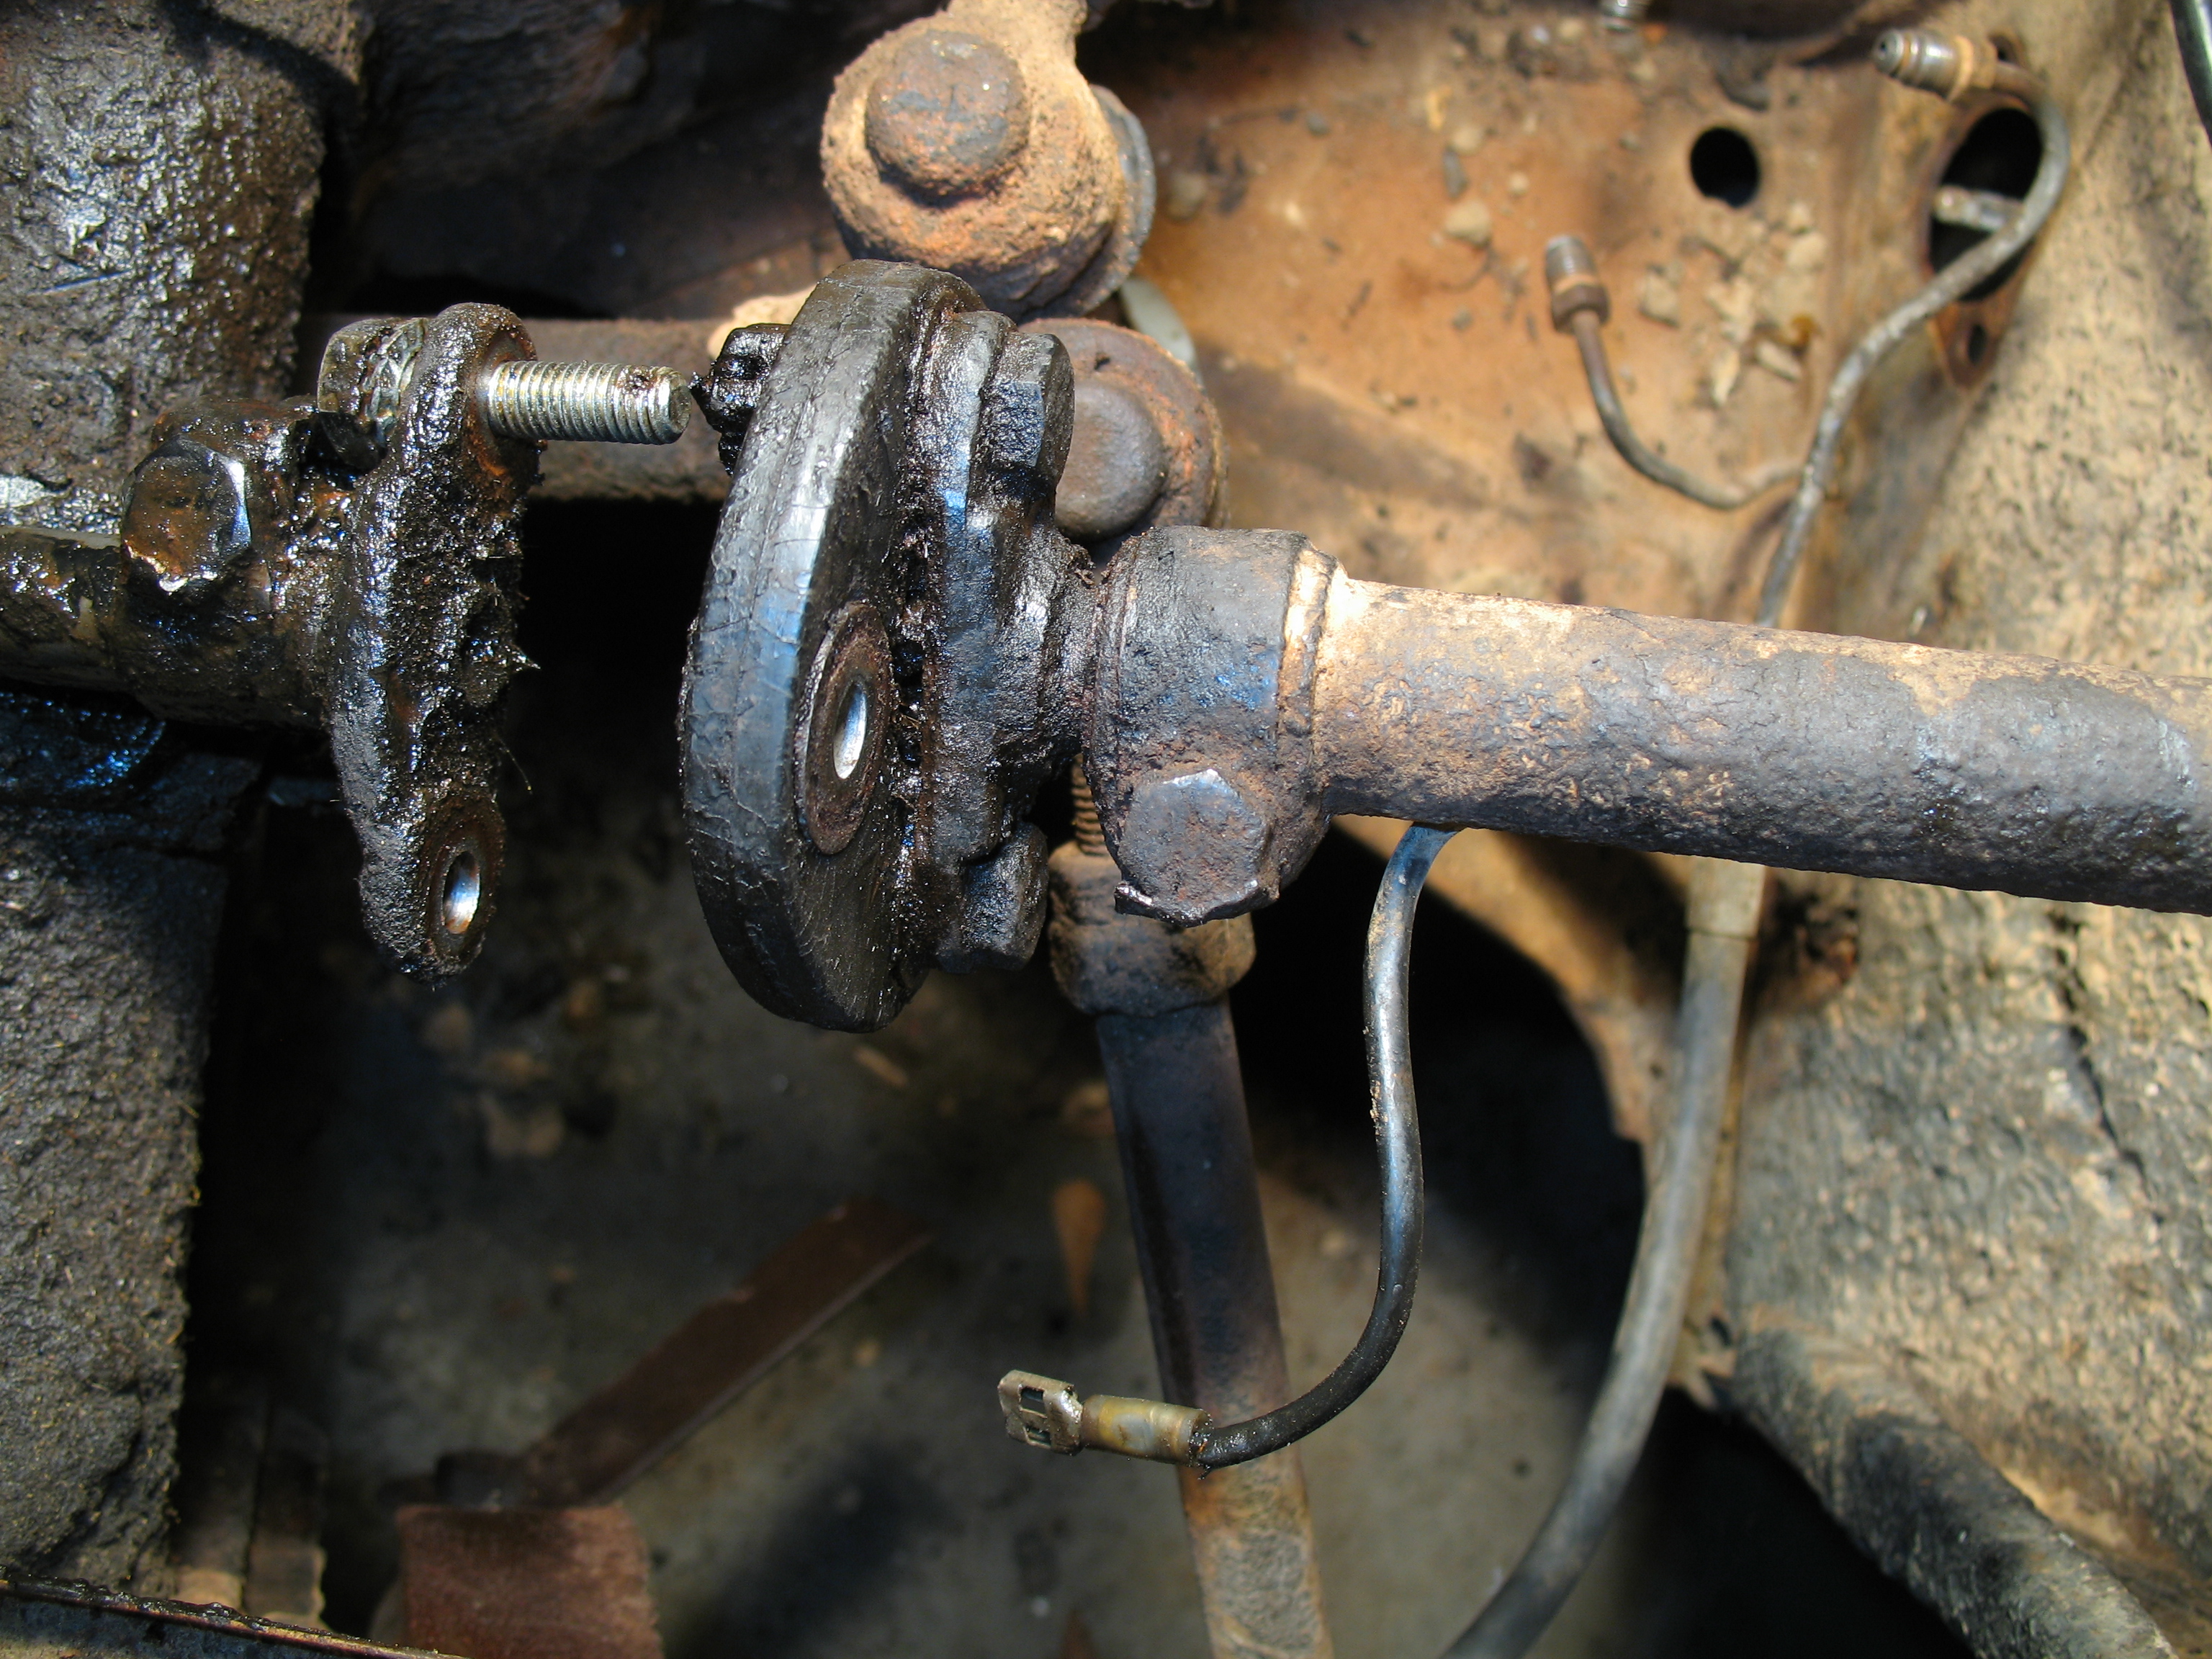
Steering coupler, showing two castle nuts (and the horn ground wire connected near one.) Taken from driver’s side.
The steering shaft disconnected at the coupler. Shown from the driver side.
Steering coupler doesn’t look that bad, but I’ll know more when it’s cleaned off. I always assumed I would just replace it since it’s a ‘soft’ part. There’s an interesting forum thread on the Samba.com site, that talks about using urethane couplers. I’ll think I’ll stick to a OE part like this one from CIP1.com.
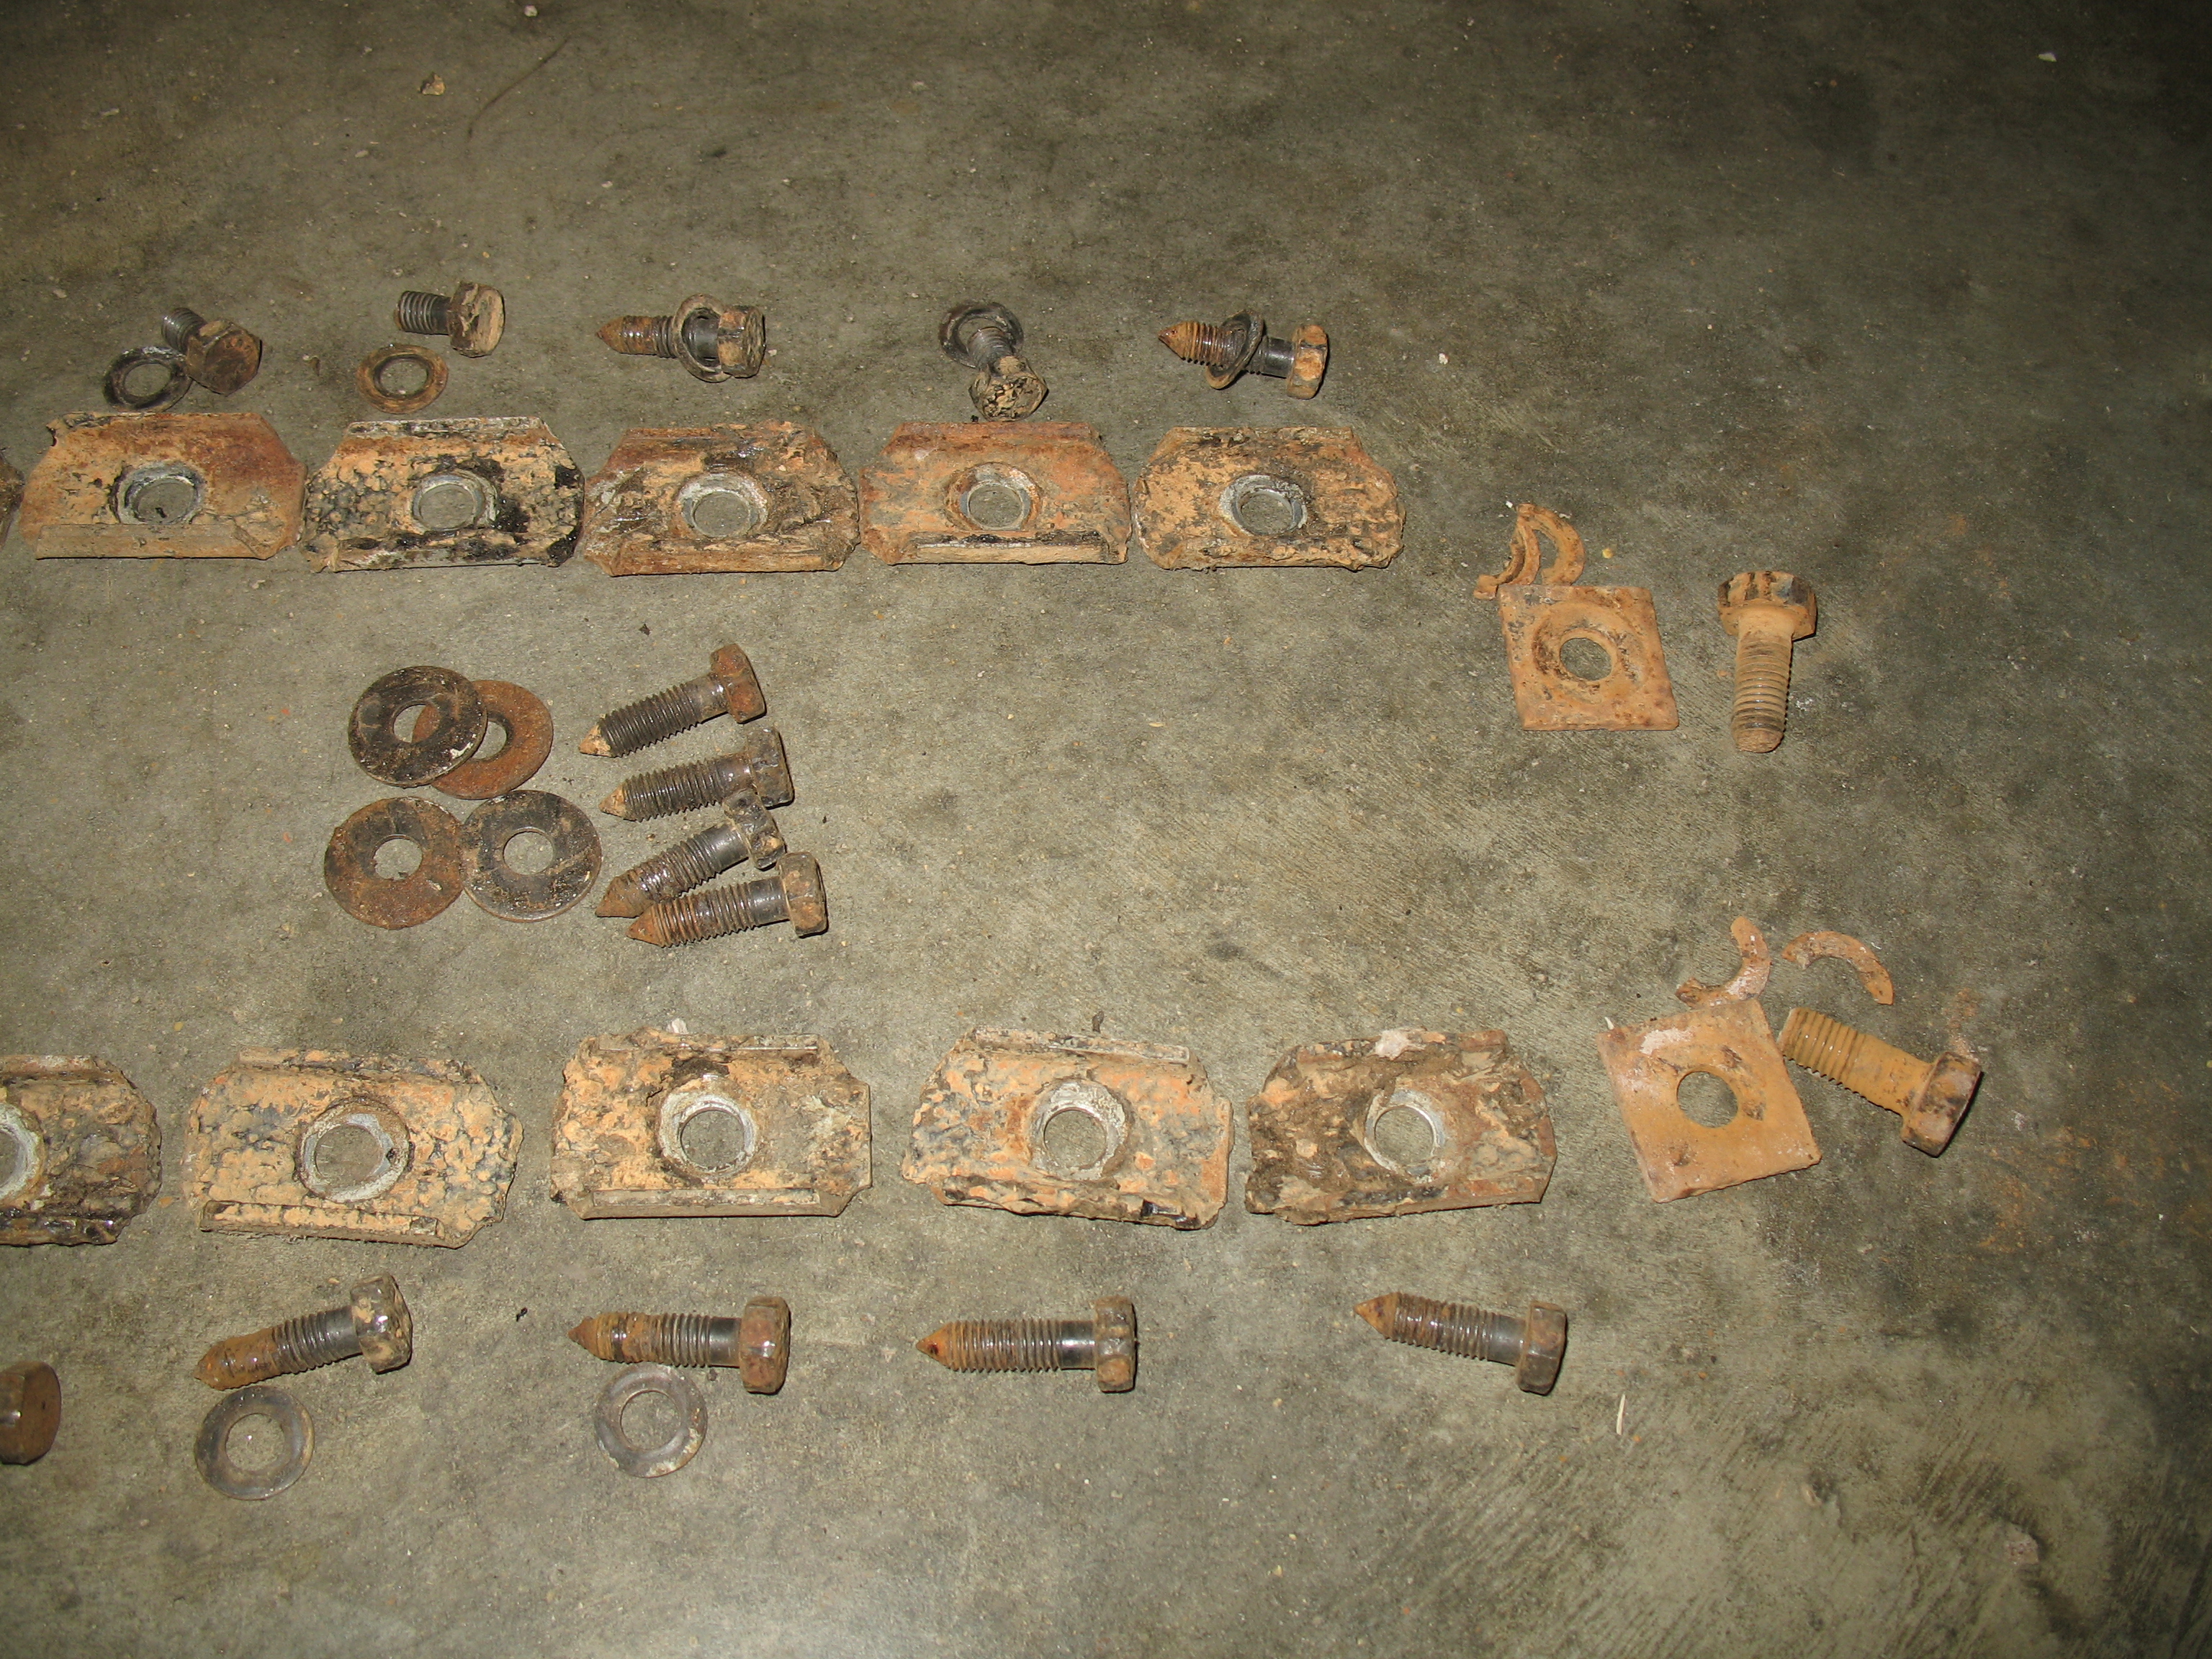
Finished removing all the bolts that hold the body to the chassis. First, I made sure I got the bolts and brackets alongside the car — there are nine on each side. There are four bolts and washers inside the car, underneath the back seat. Some websites show that these have a similar bracket as the fasteners underneath the side of the car; mine only had bolts and washers. Next, there are two on each side of the car near where the running board meets the front fender. Then, there is a bolt, washer, and bracket on the mounting post near the rear shock (one bolt on each side of the car). Finally, there are two bolts, brackets, and rubber mounts underneath the gas tank in the front.
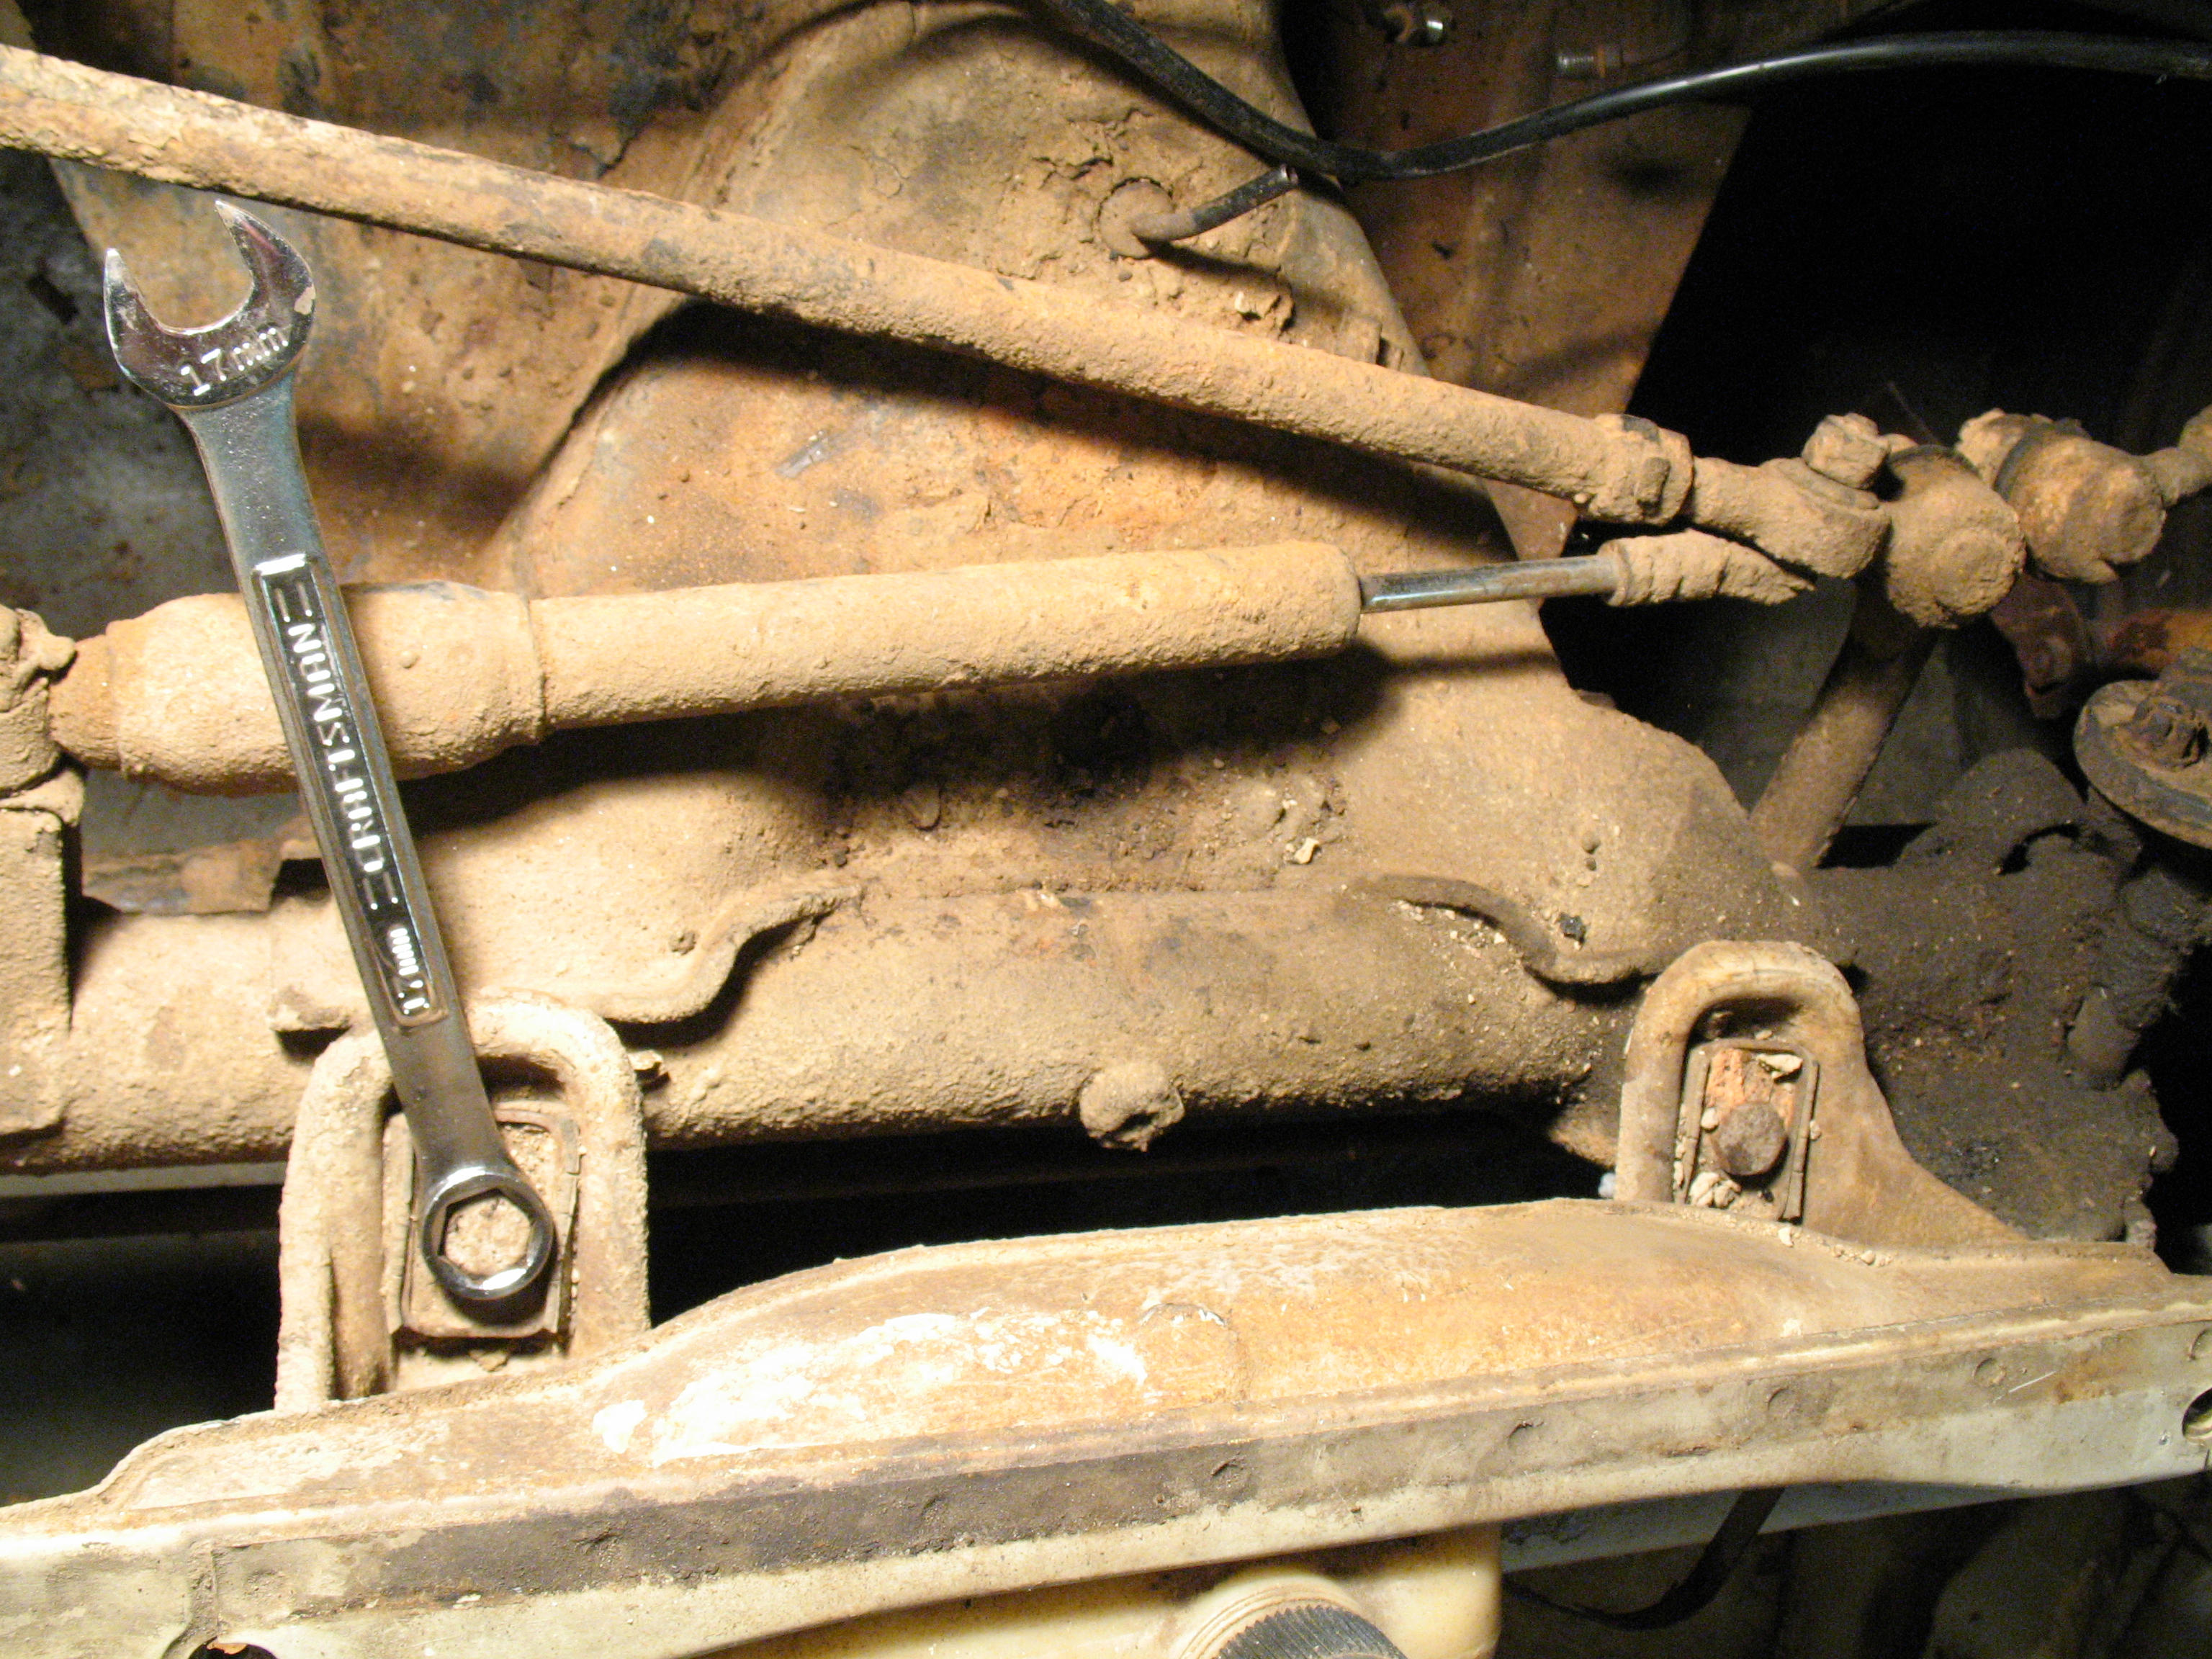
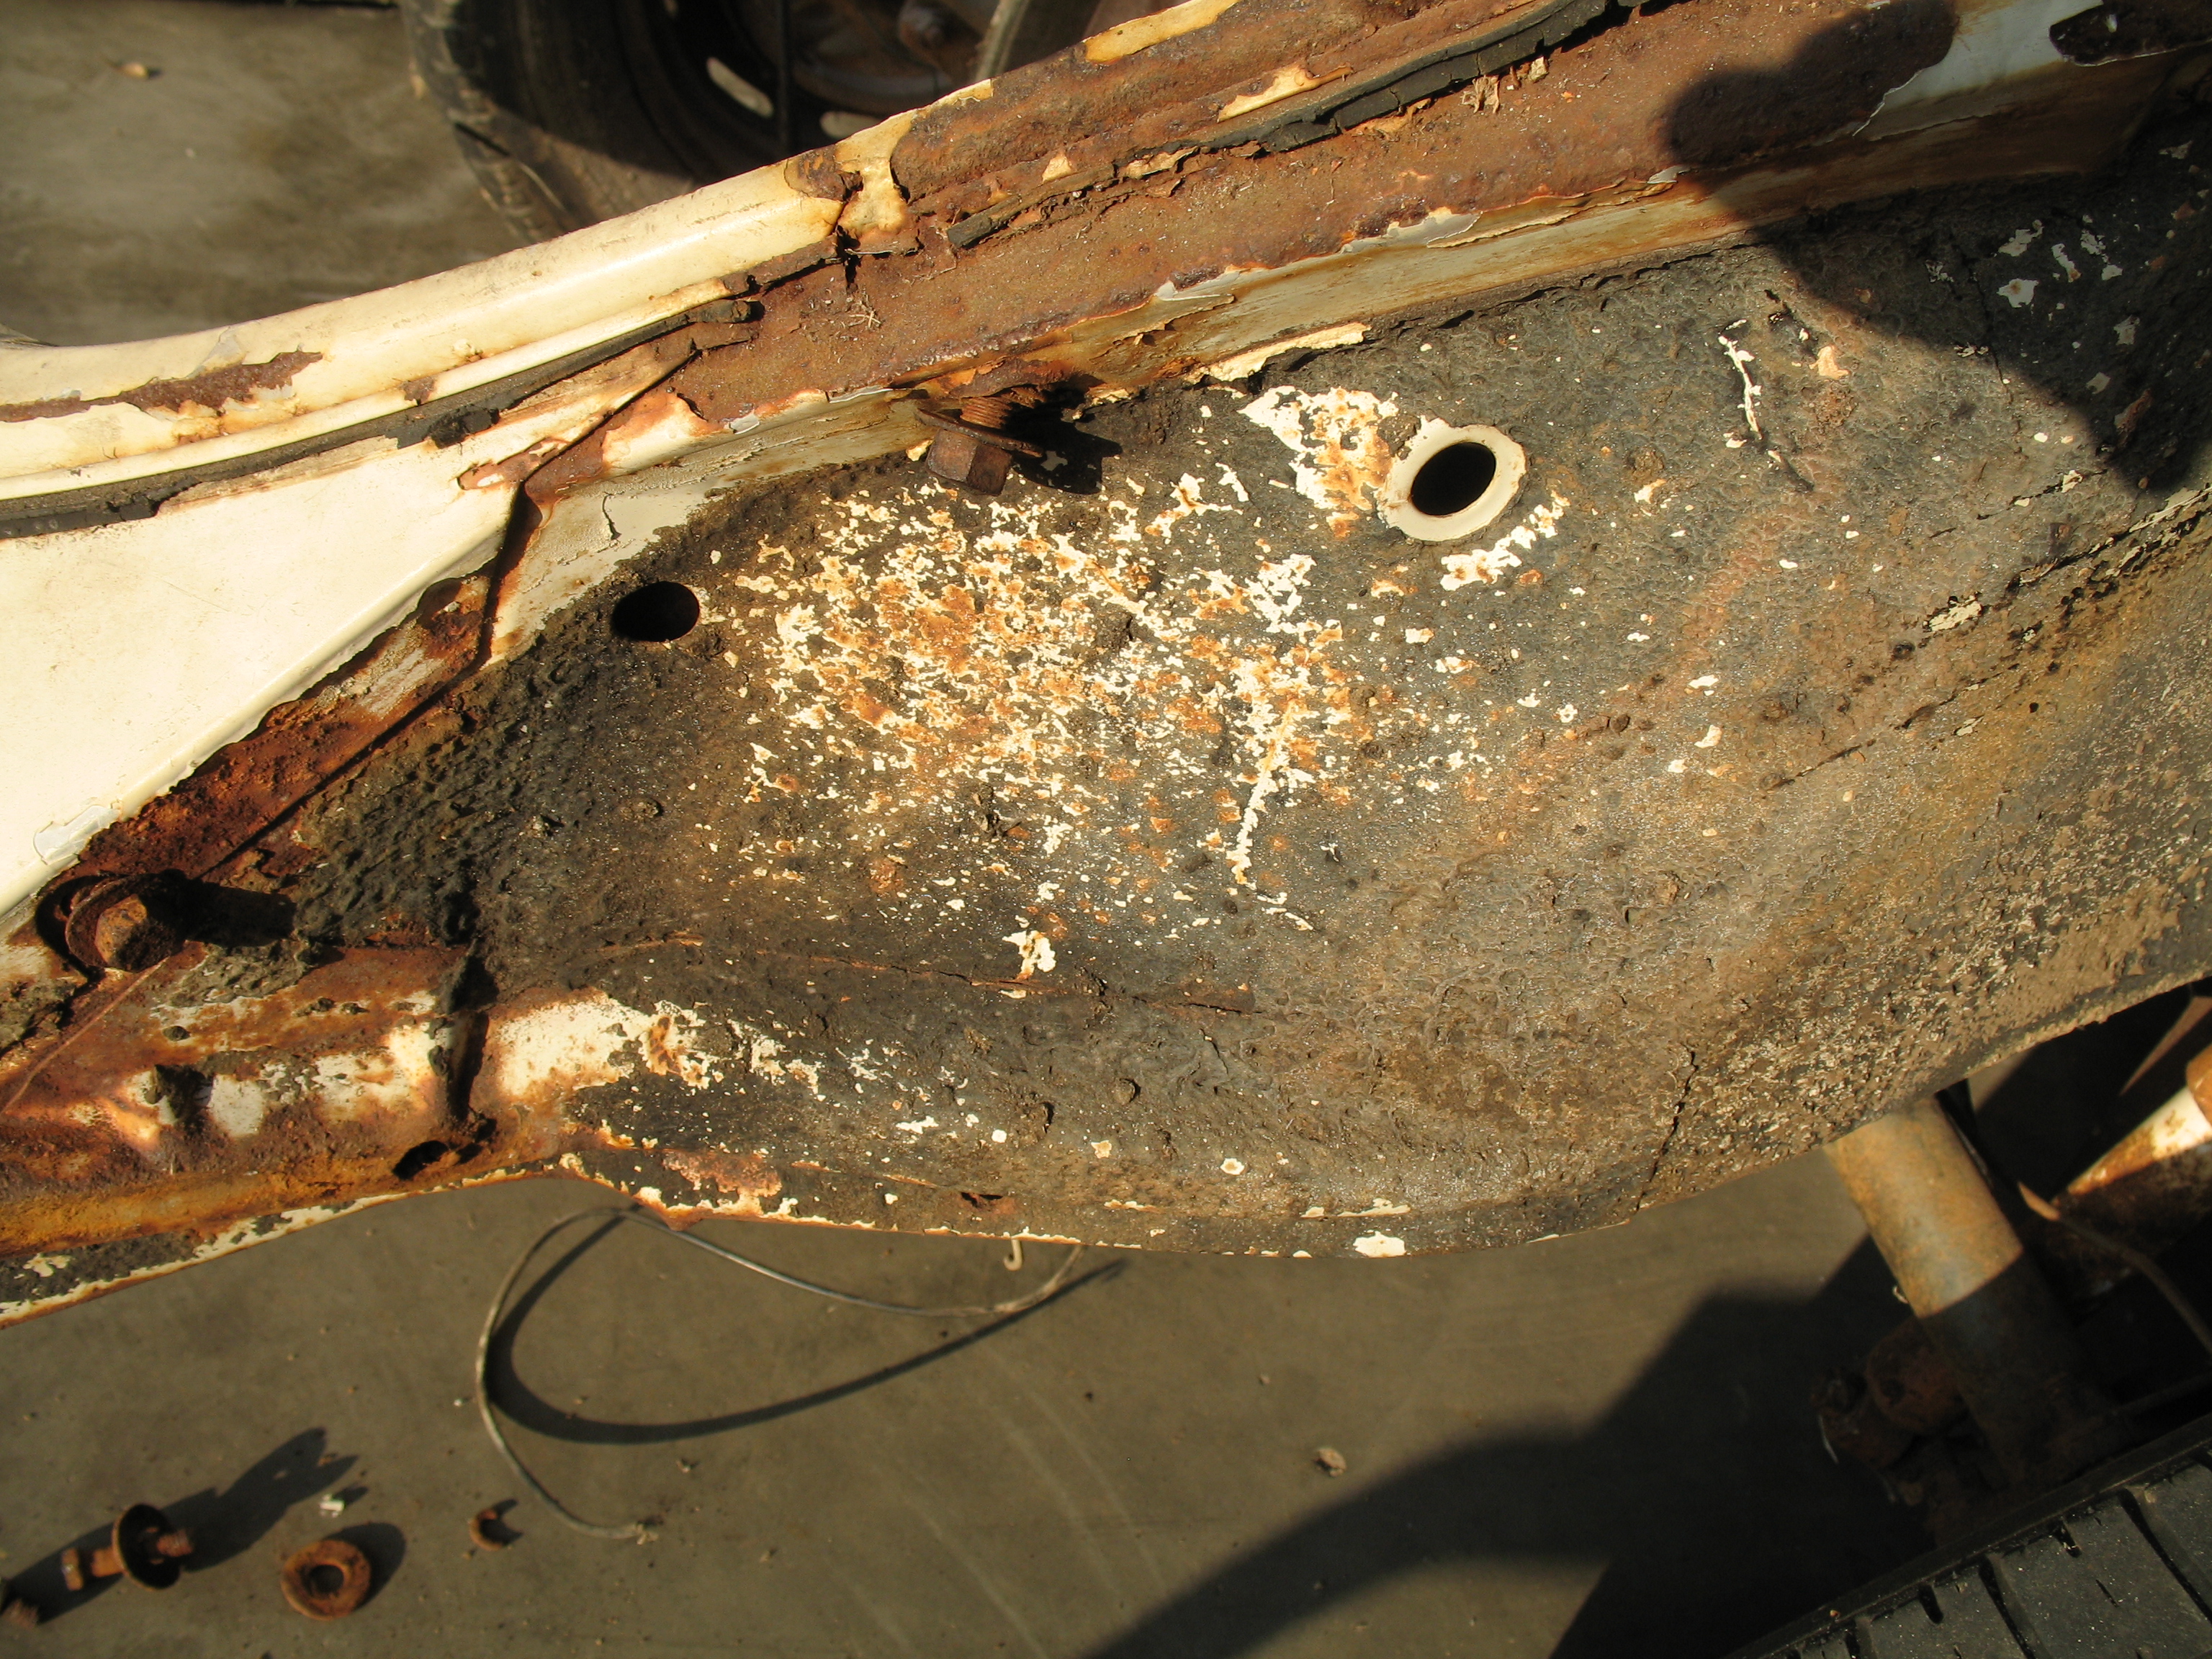
Two bolts at front of heater channel/bulkhead.
Removing the bolts from the front of the heater channels/bulkhead
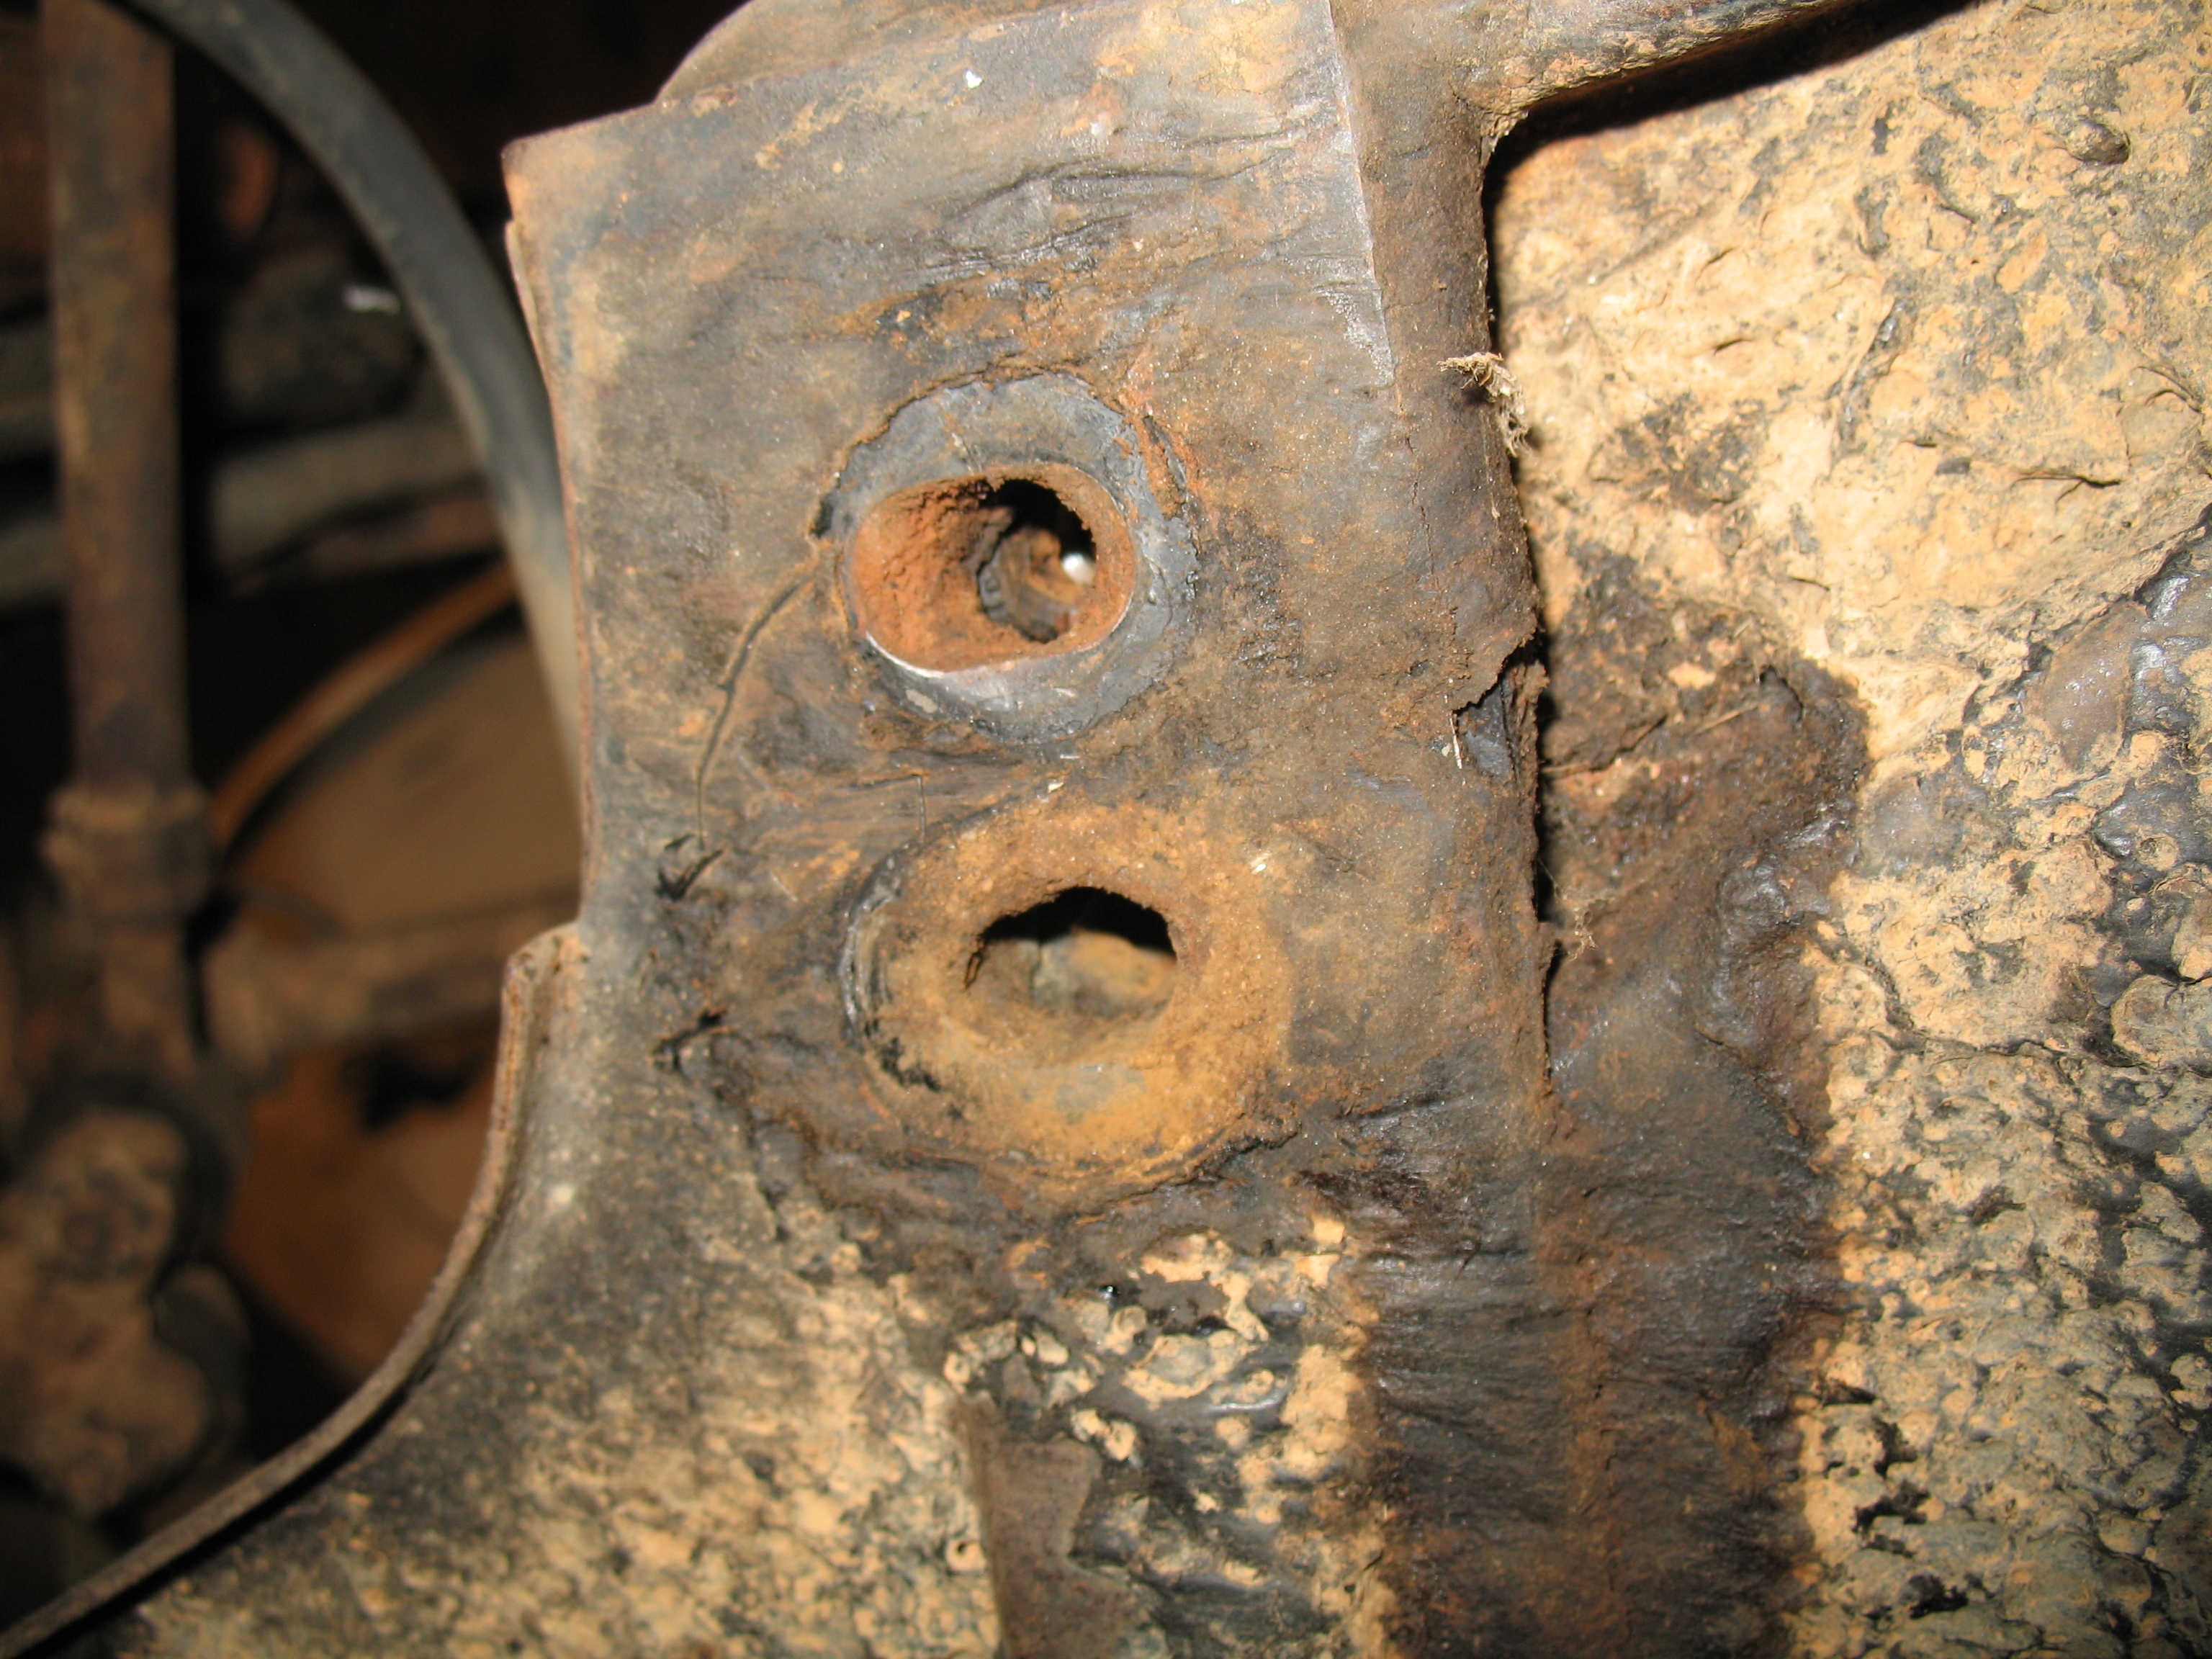
Two bolt holes at front of heater channel.
Two bolt holes at front of heater channel.
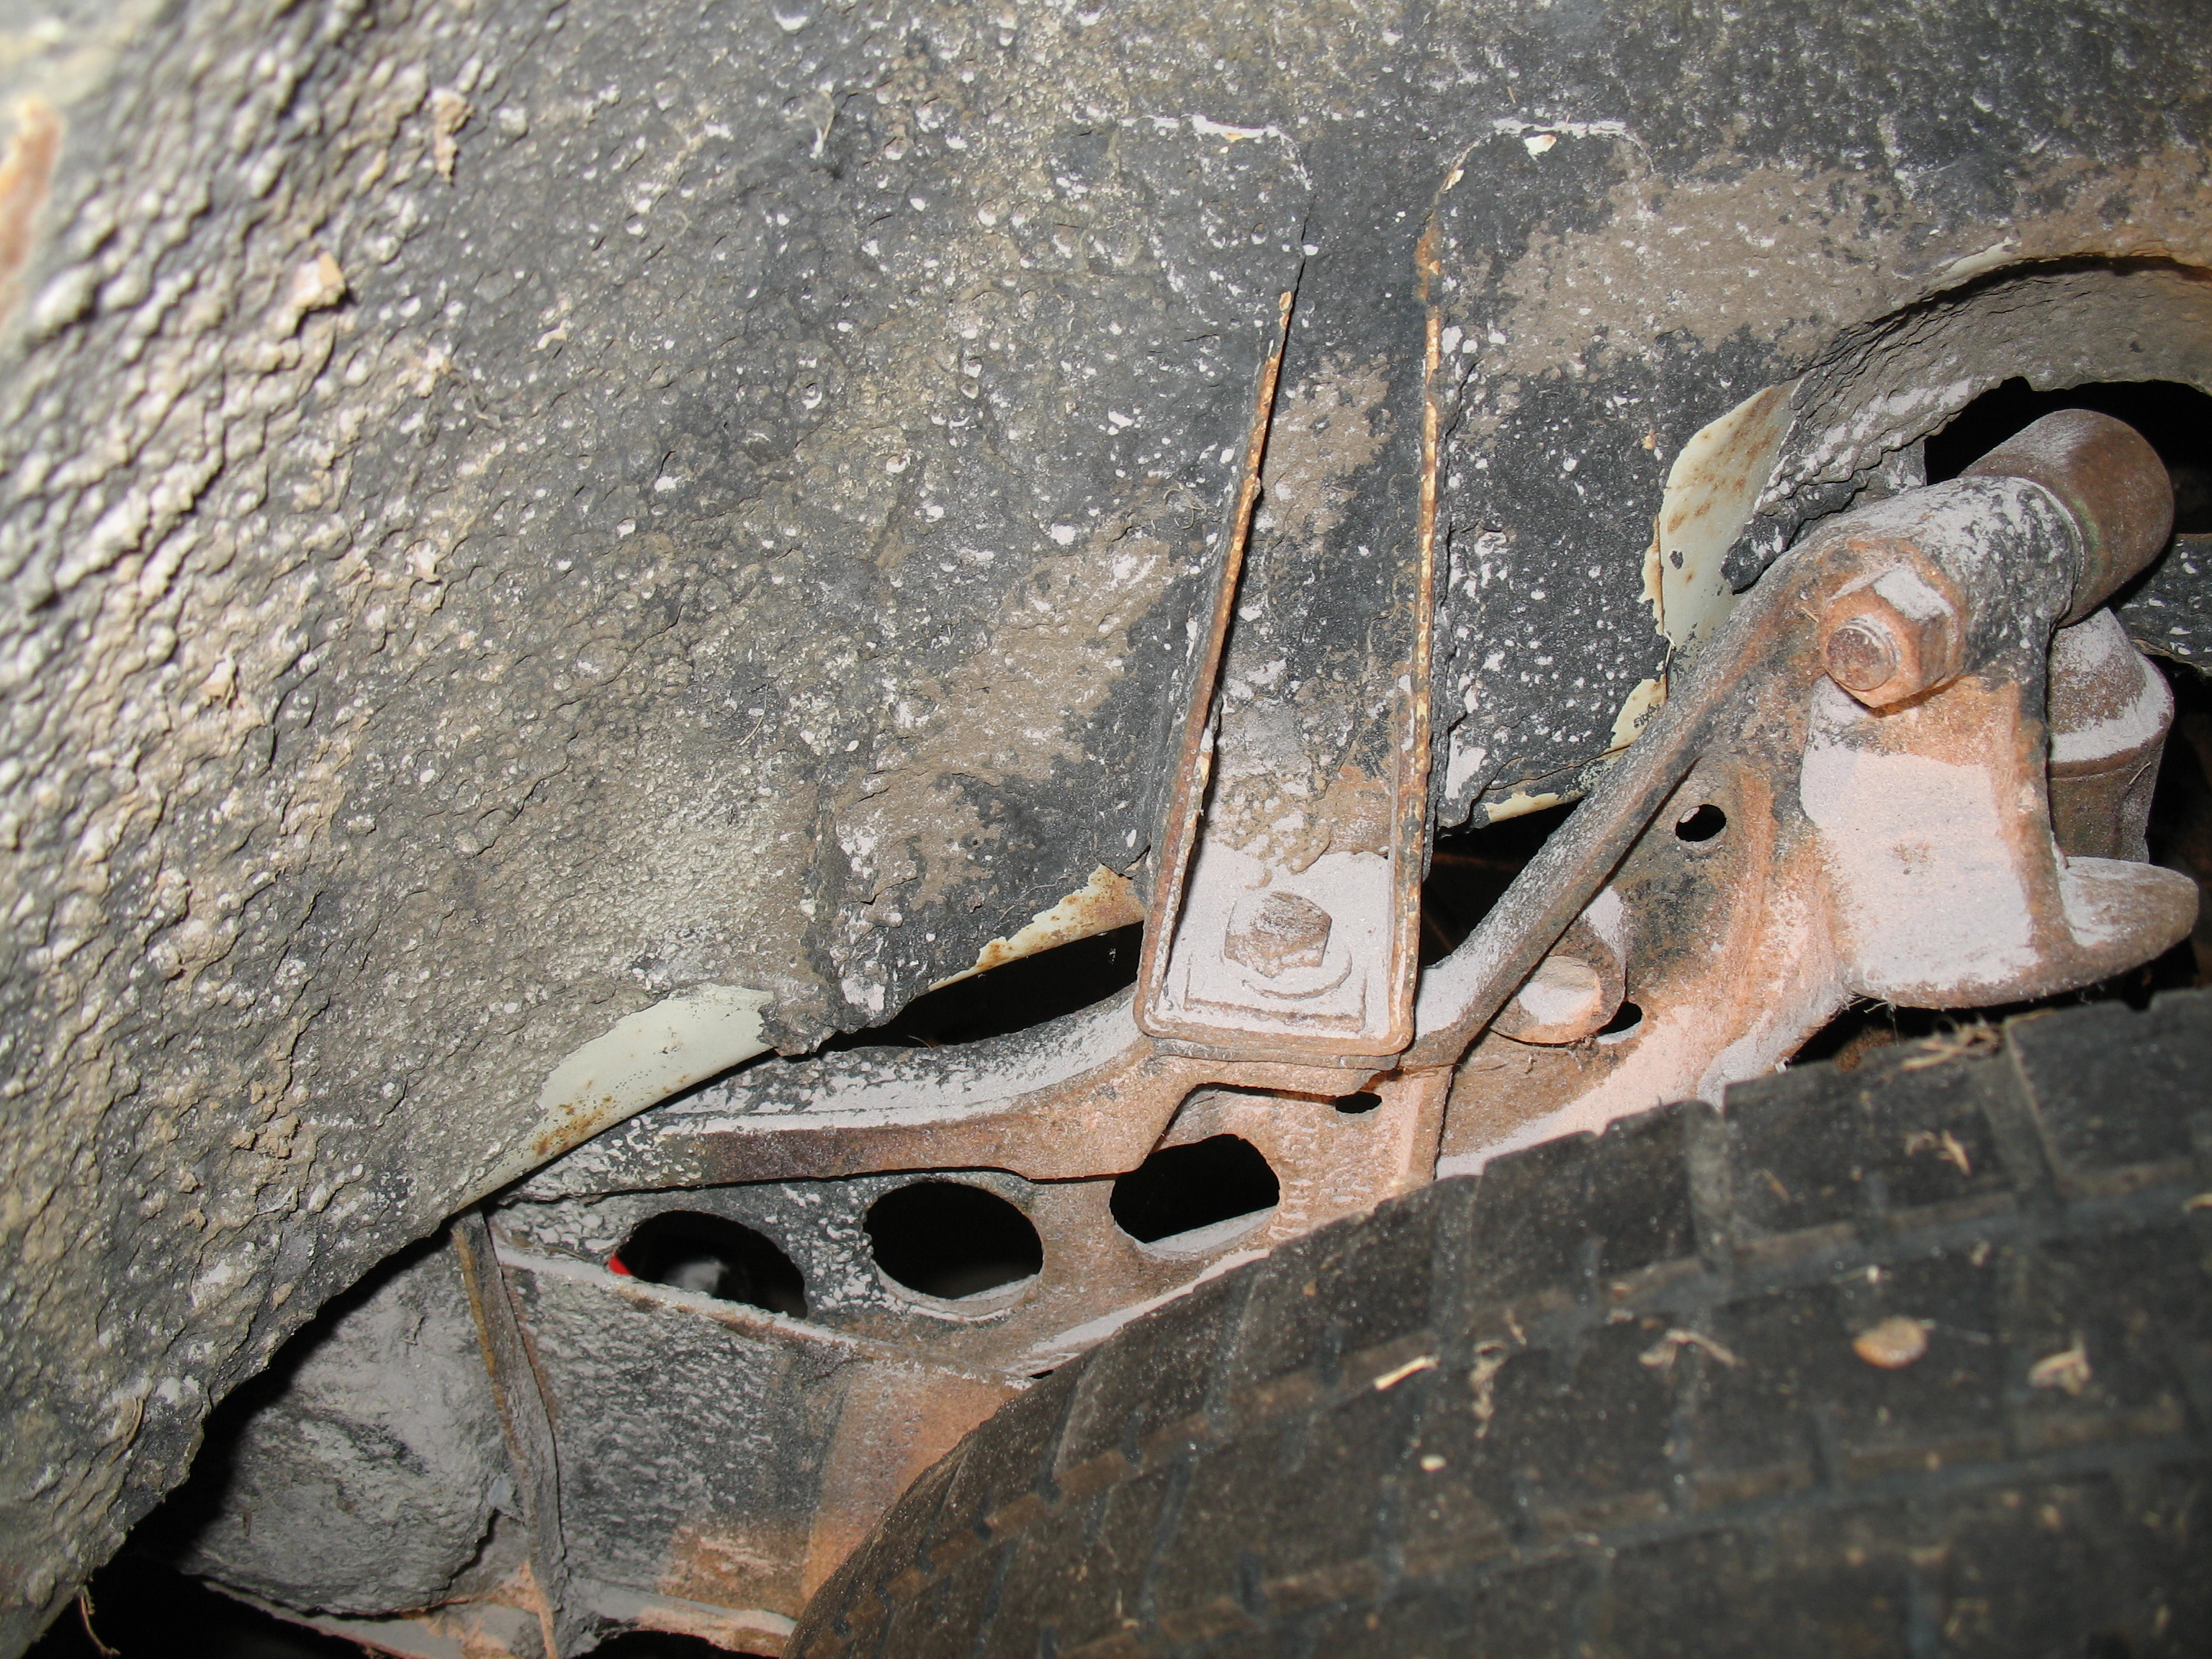
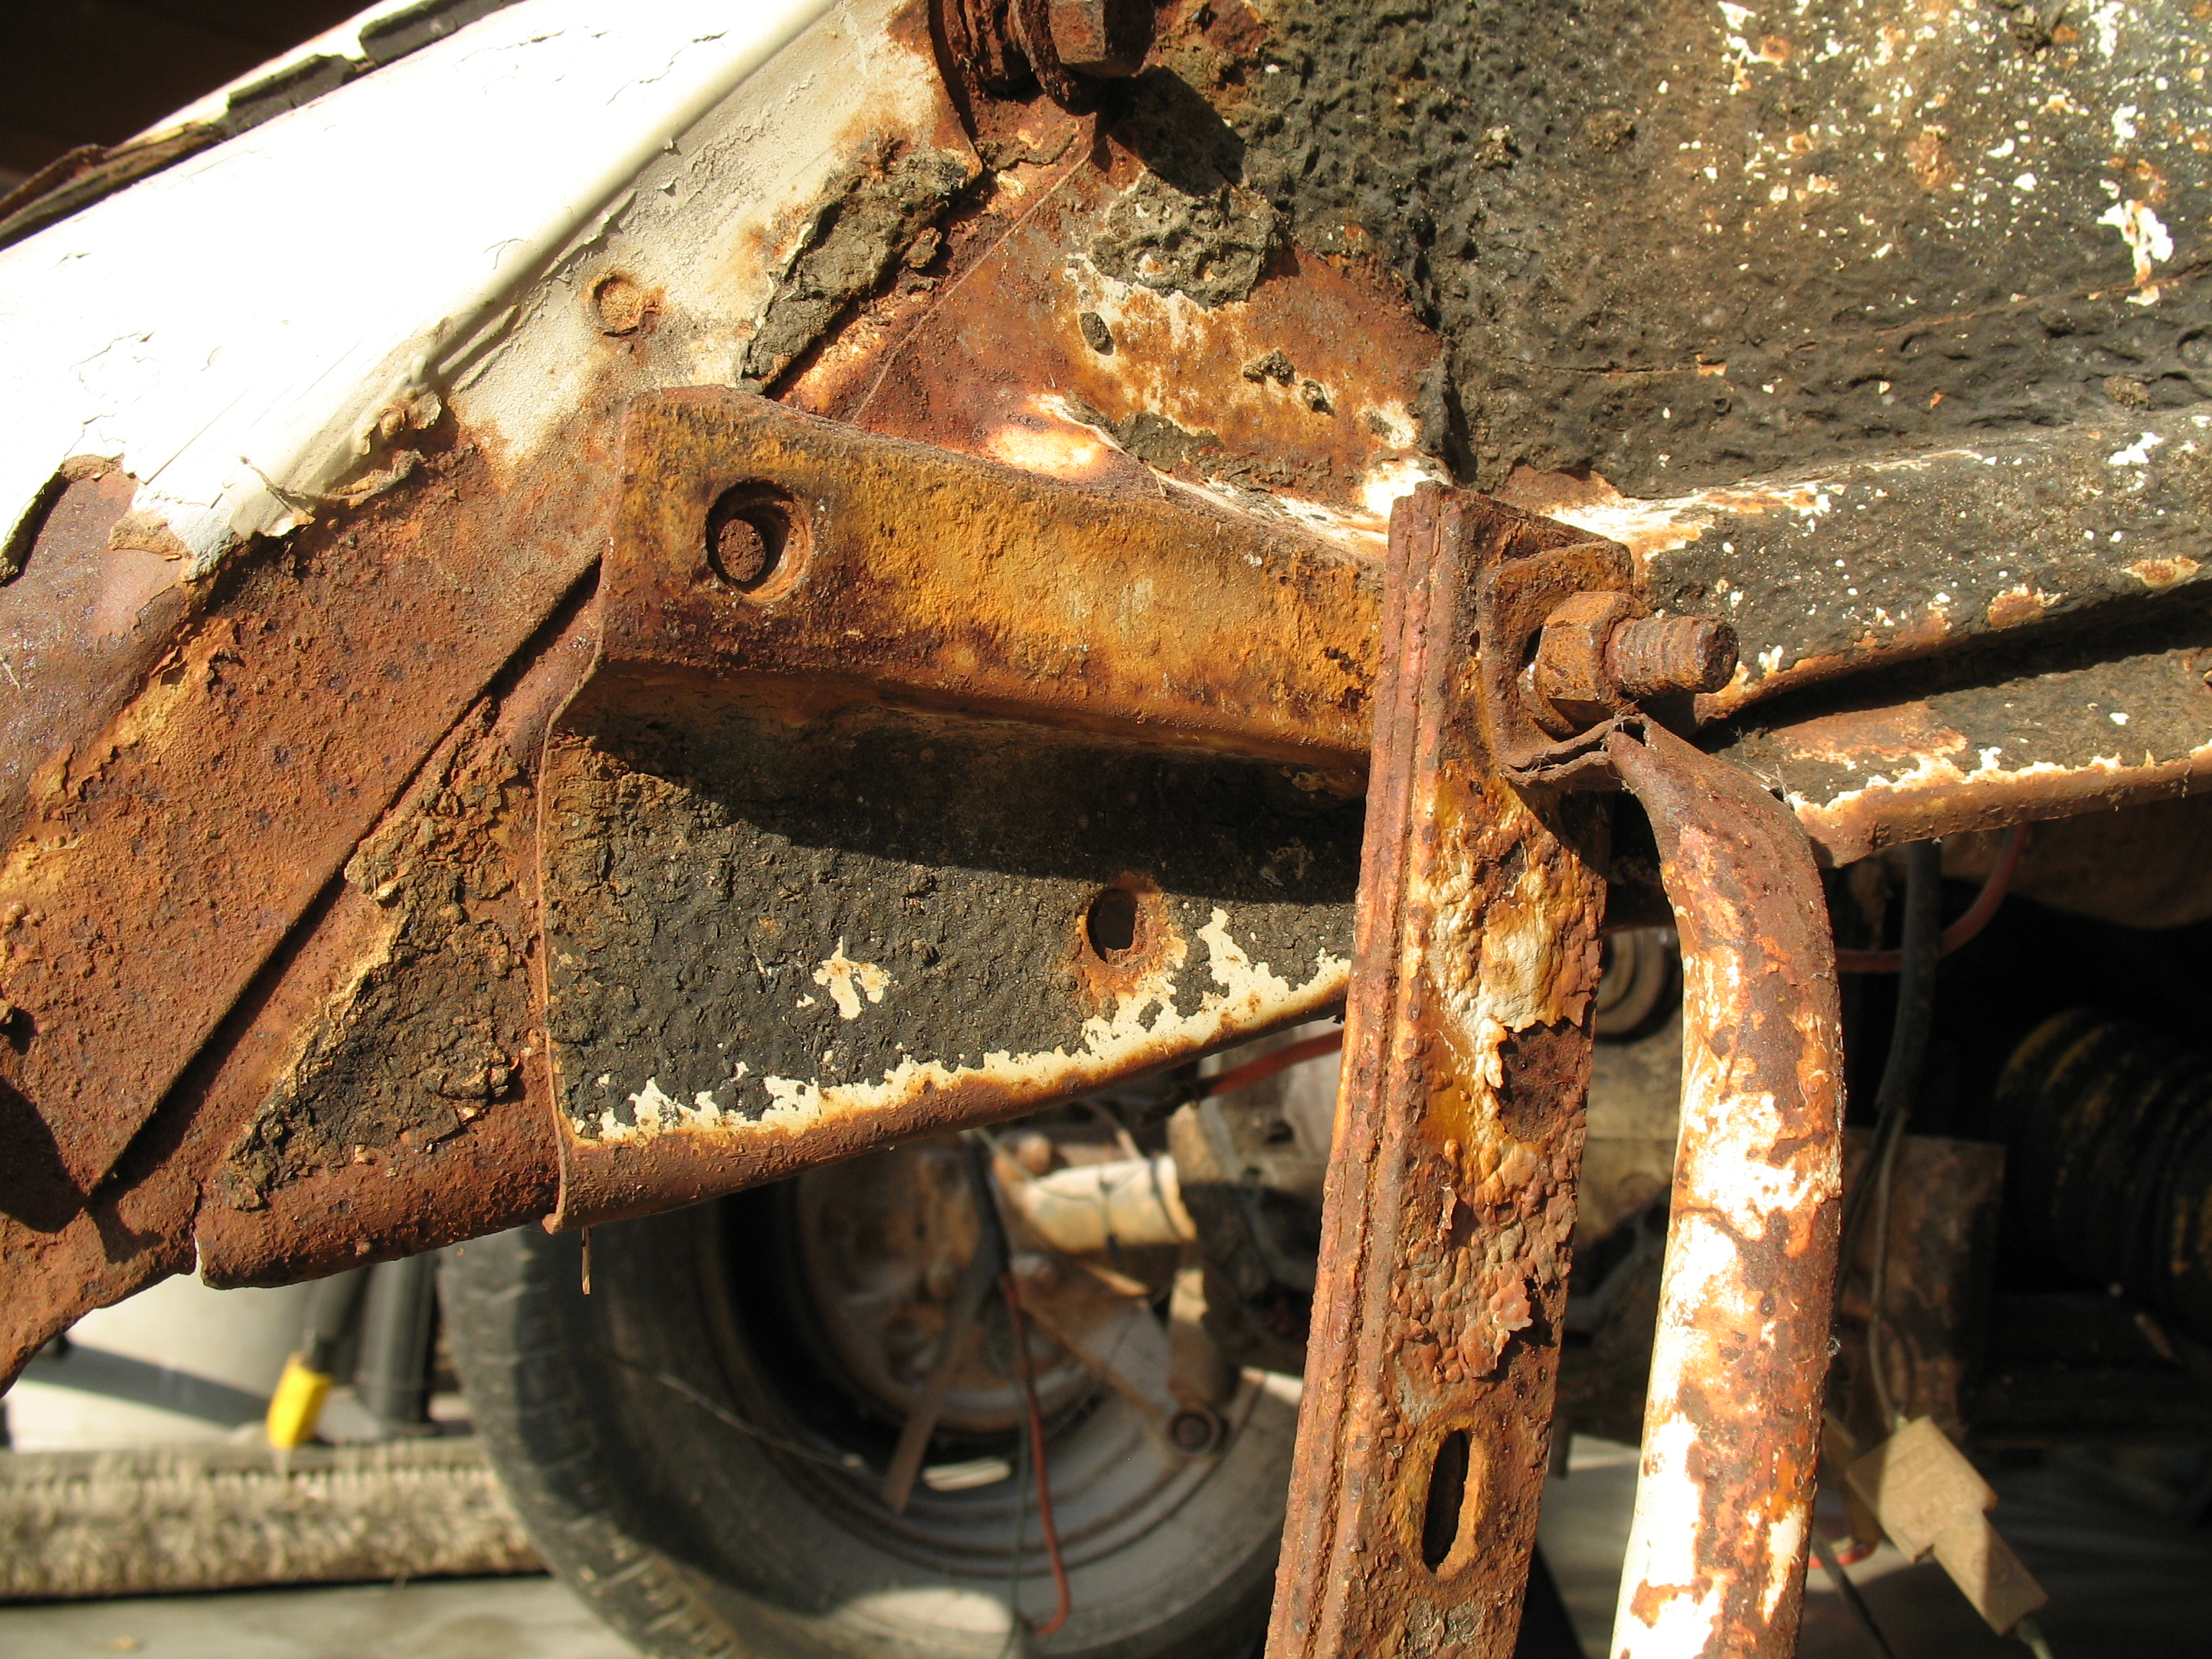
Bolt in the rear support mount.
Removing the bolts and brackets from underneath the gas tank.
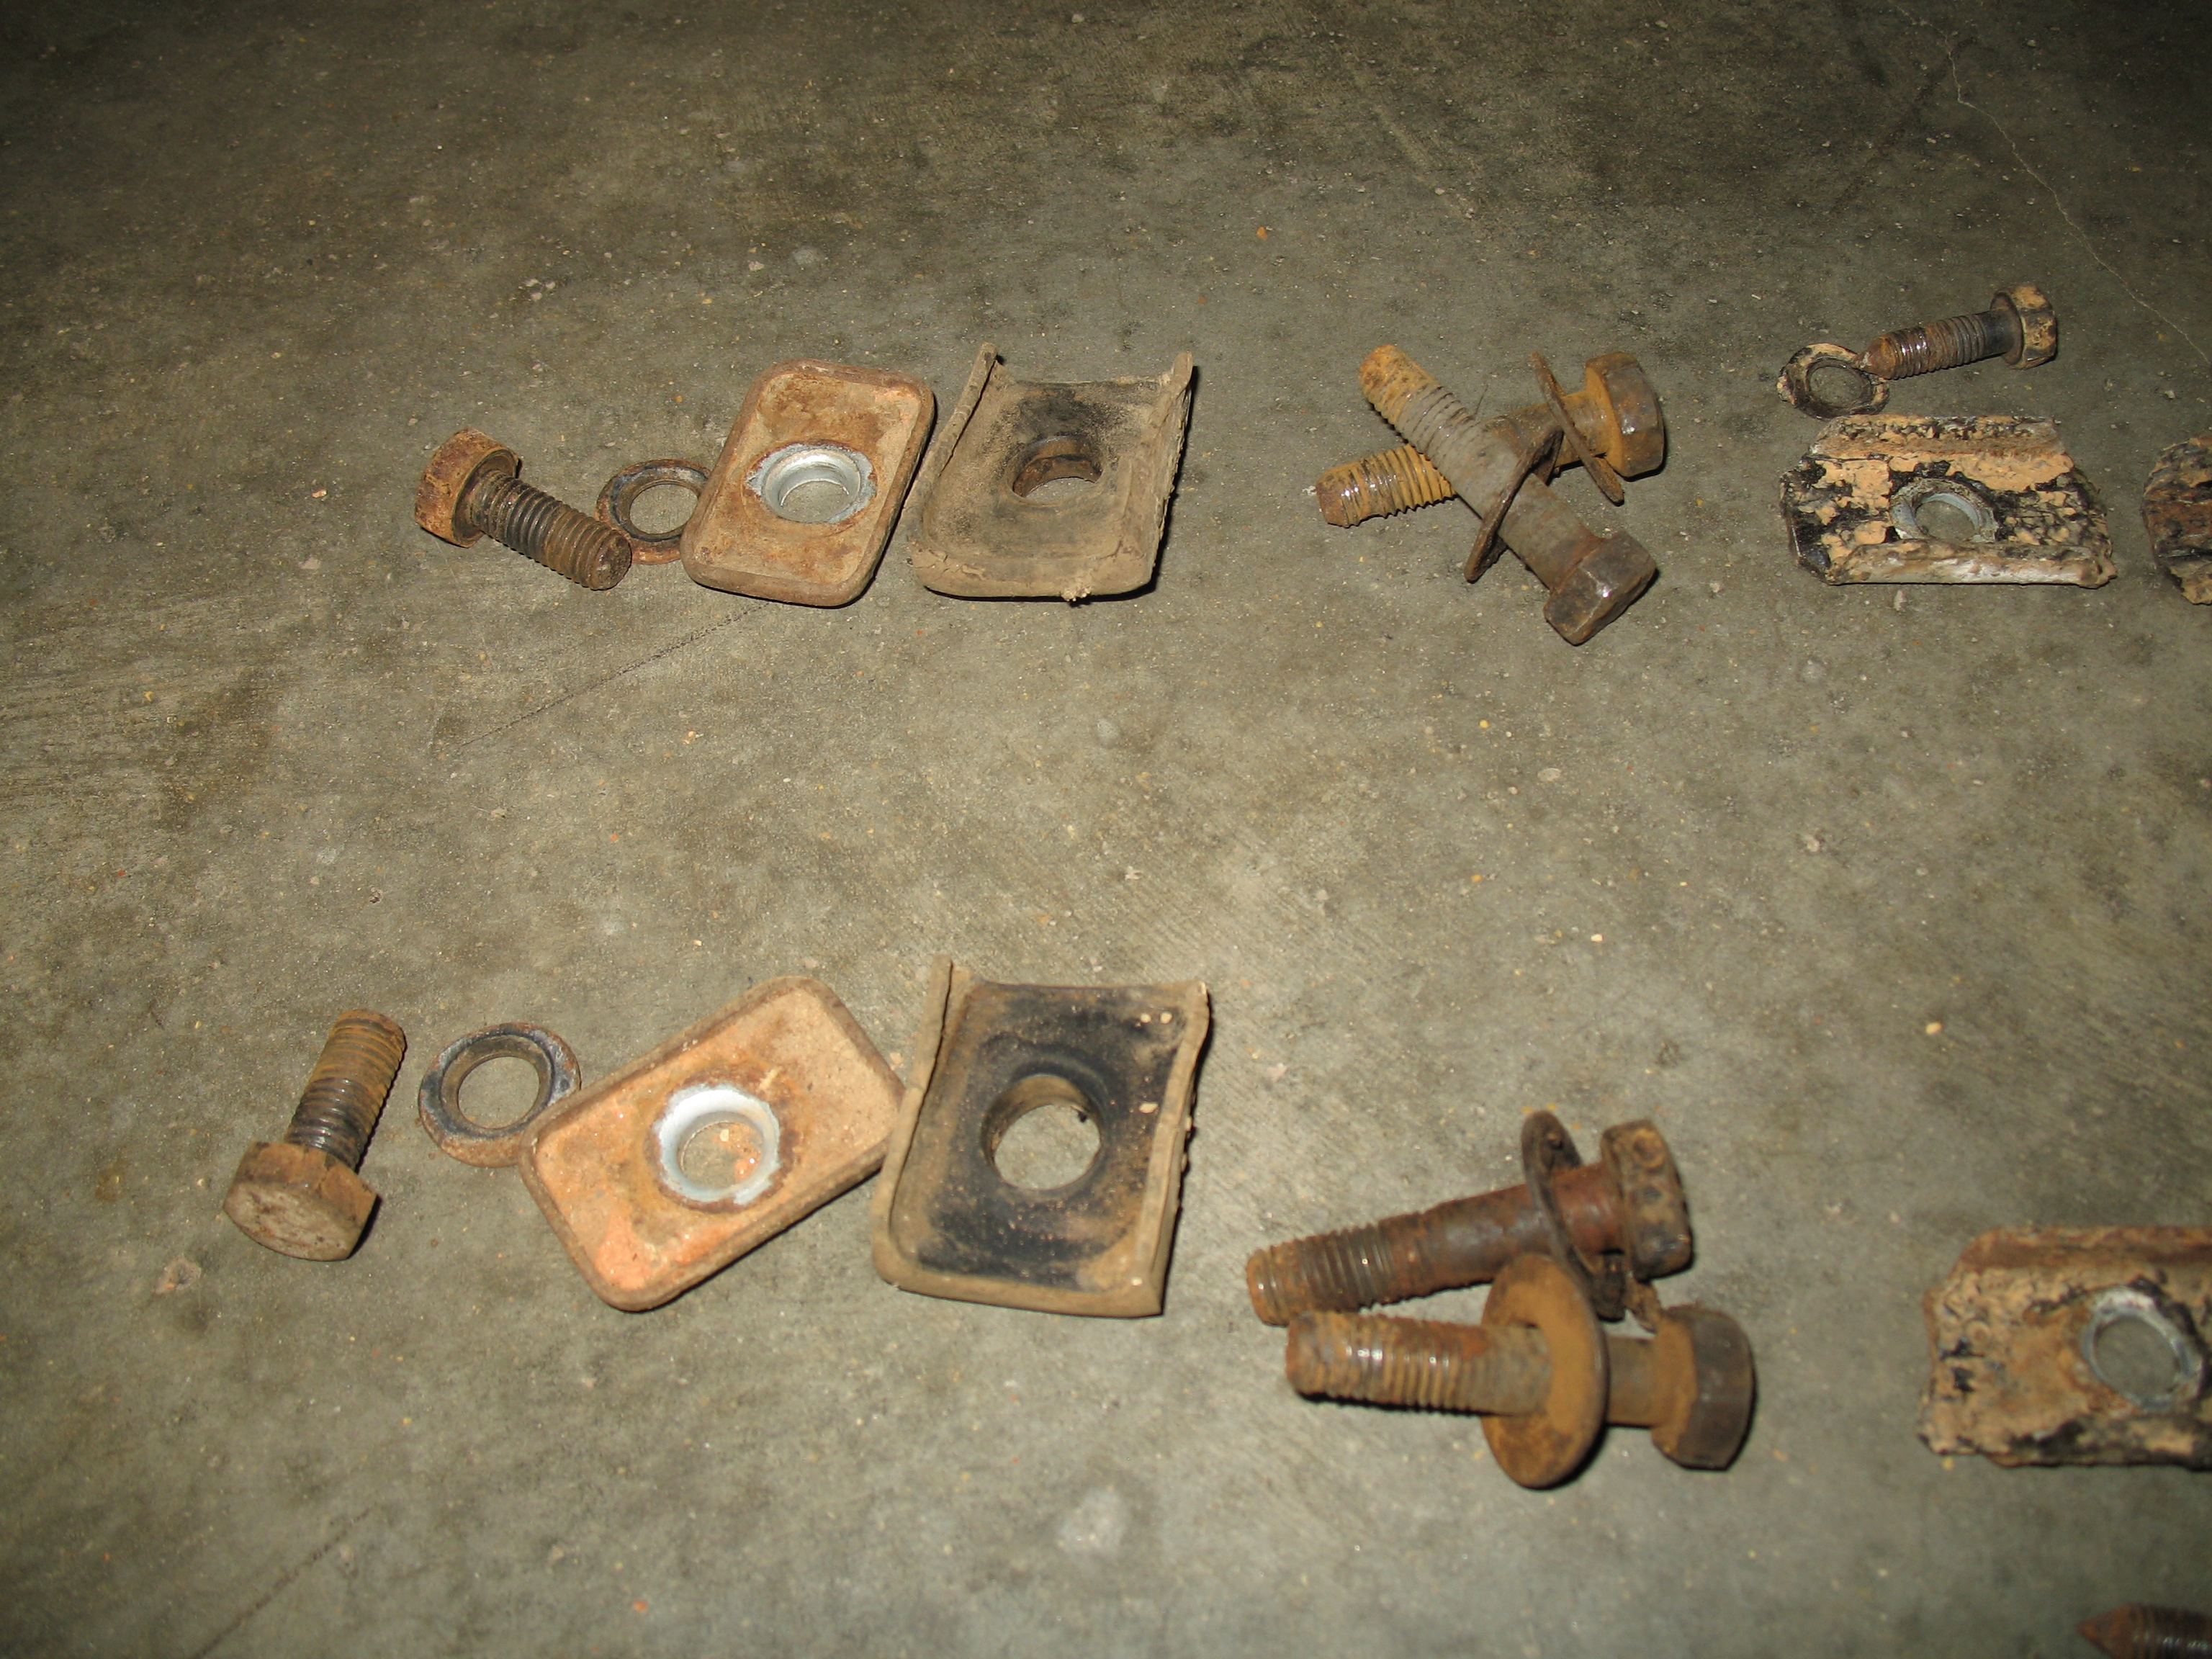
Bolts, washers, brackets, and rubber mounts from under the gas tank, four bolts and washers from front of heater channels.
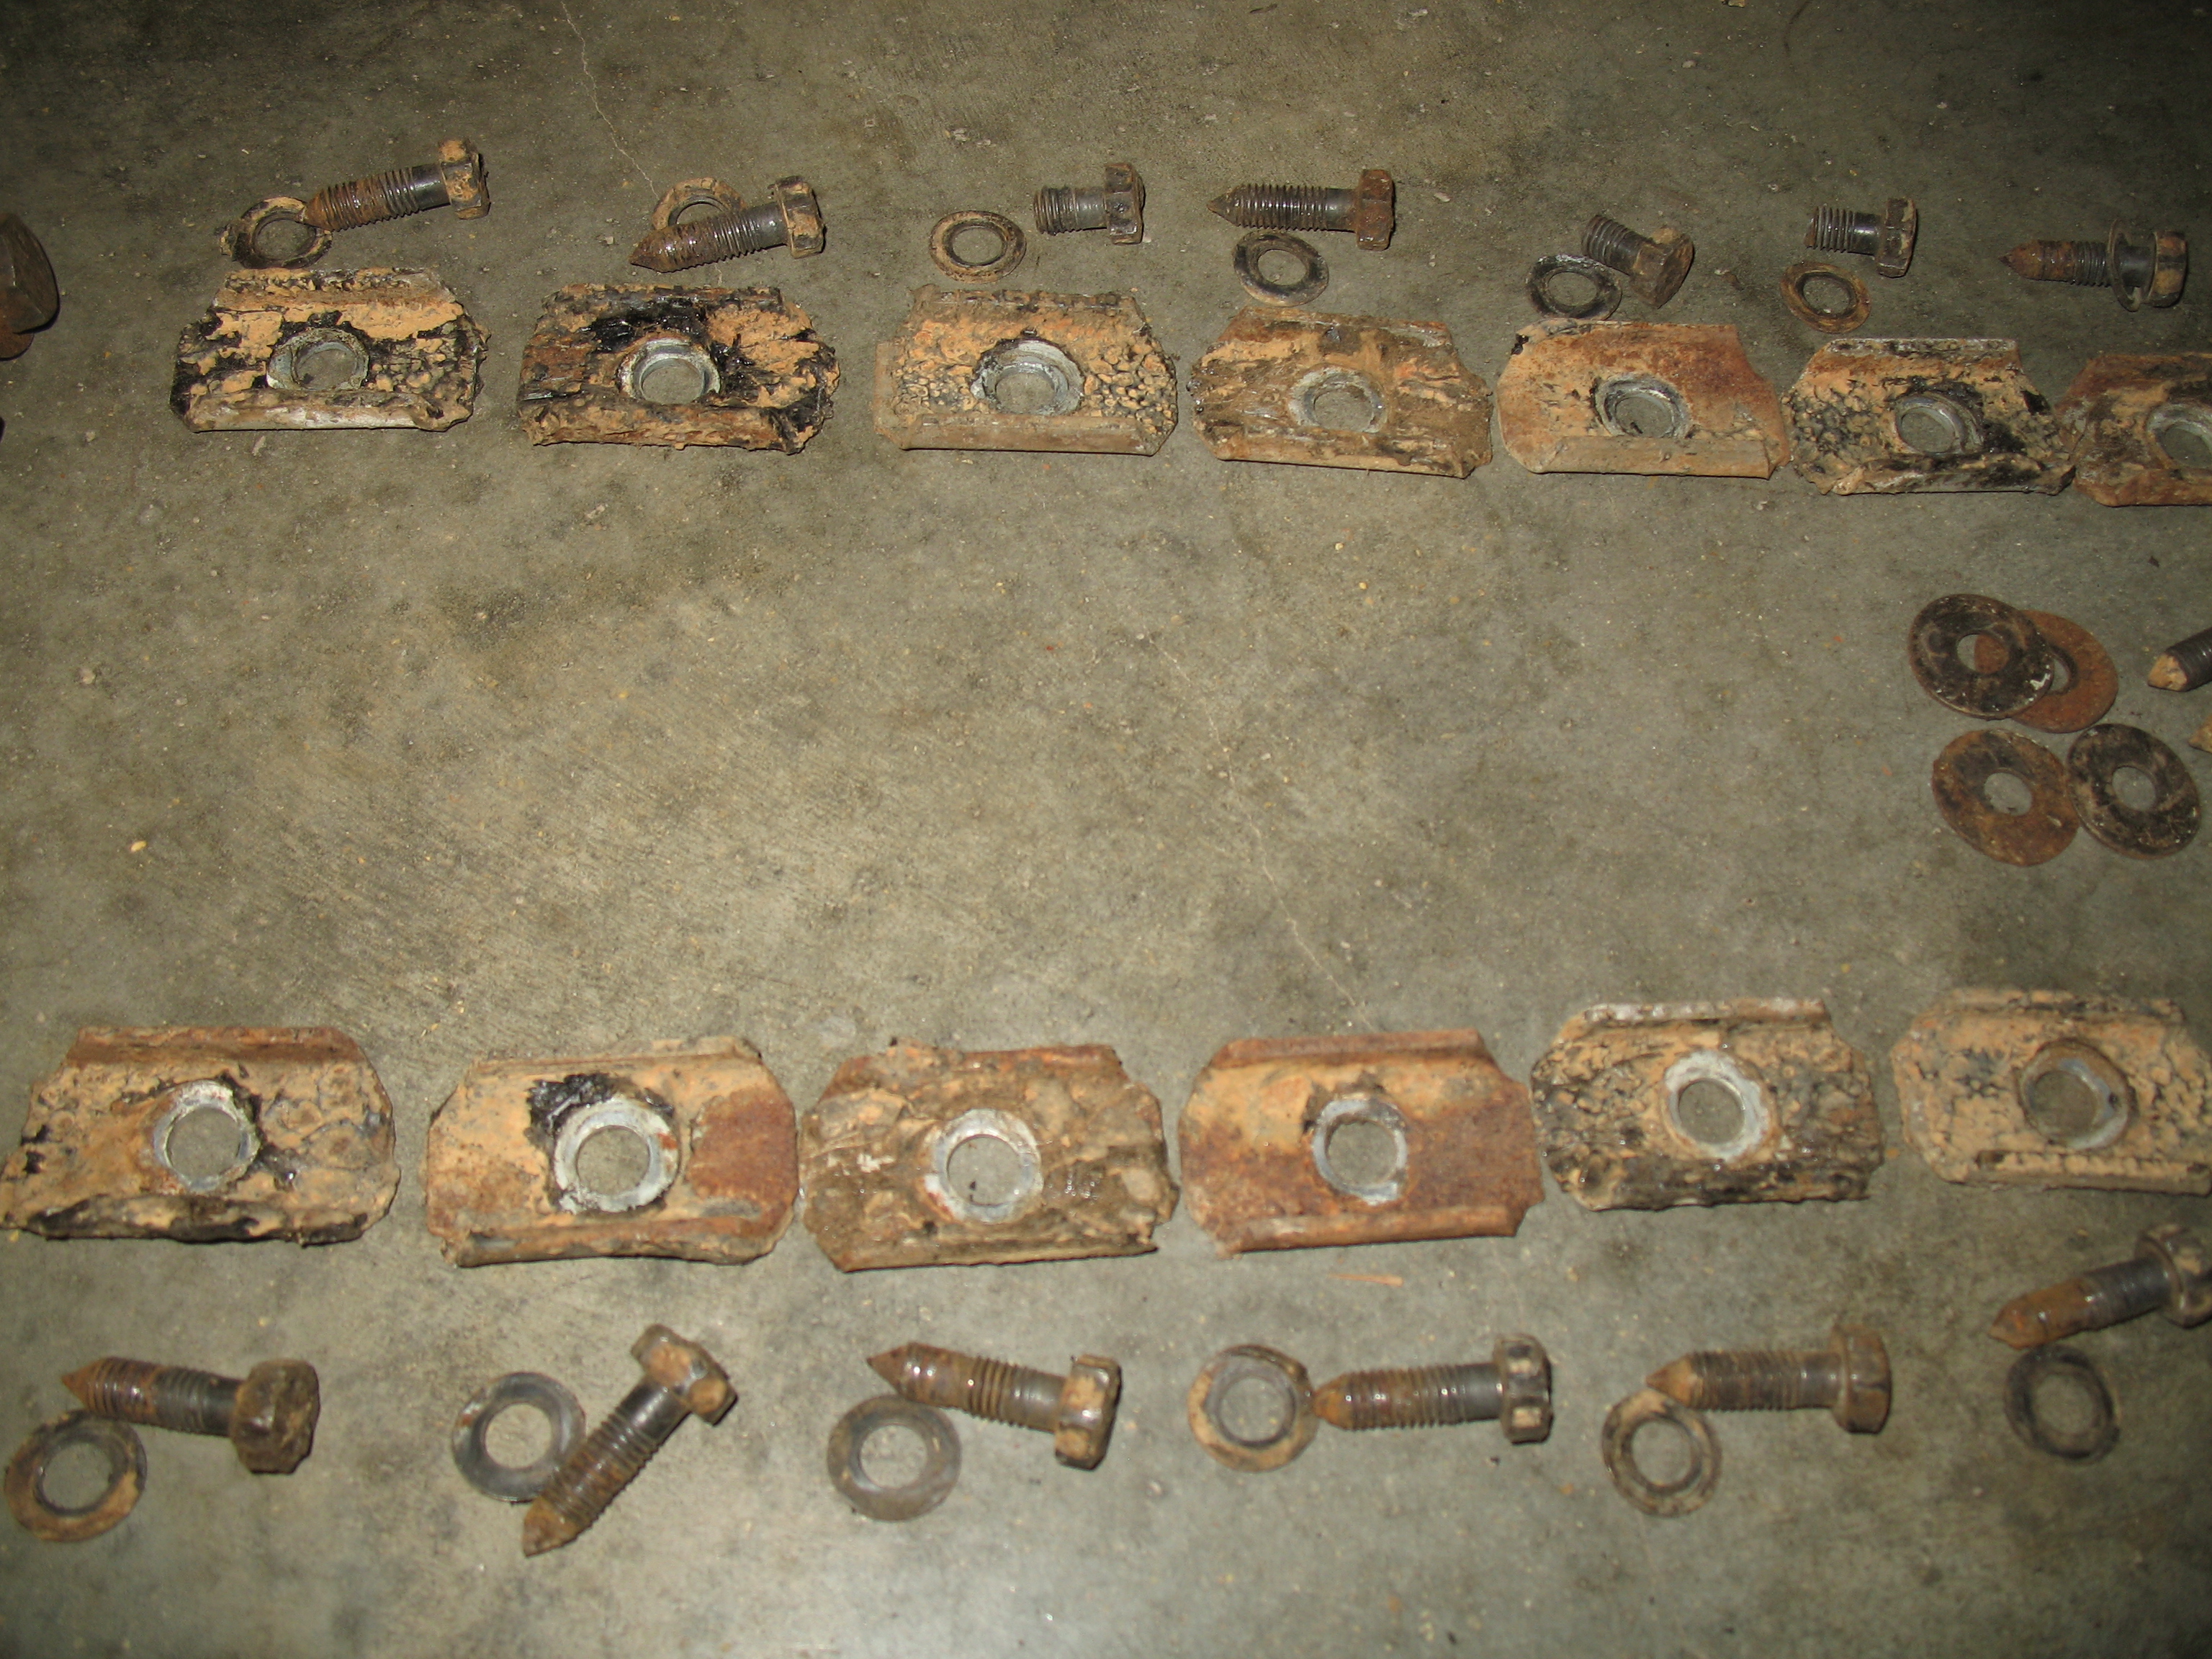
Bolts, washers, and brackets from under each side of the car
Bolts and brackets along the side of the car, four bolts from underneath the back seat, bolts, brackets, and washers from rear support mounts.
Removed the horn button on the steering wheel (it snaps in place), then removed the semi-circular horn switch (three spring-loaded screws).
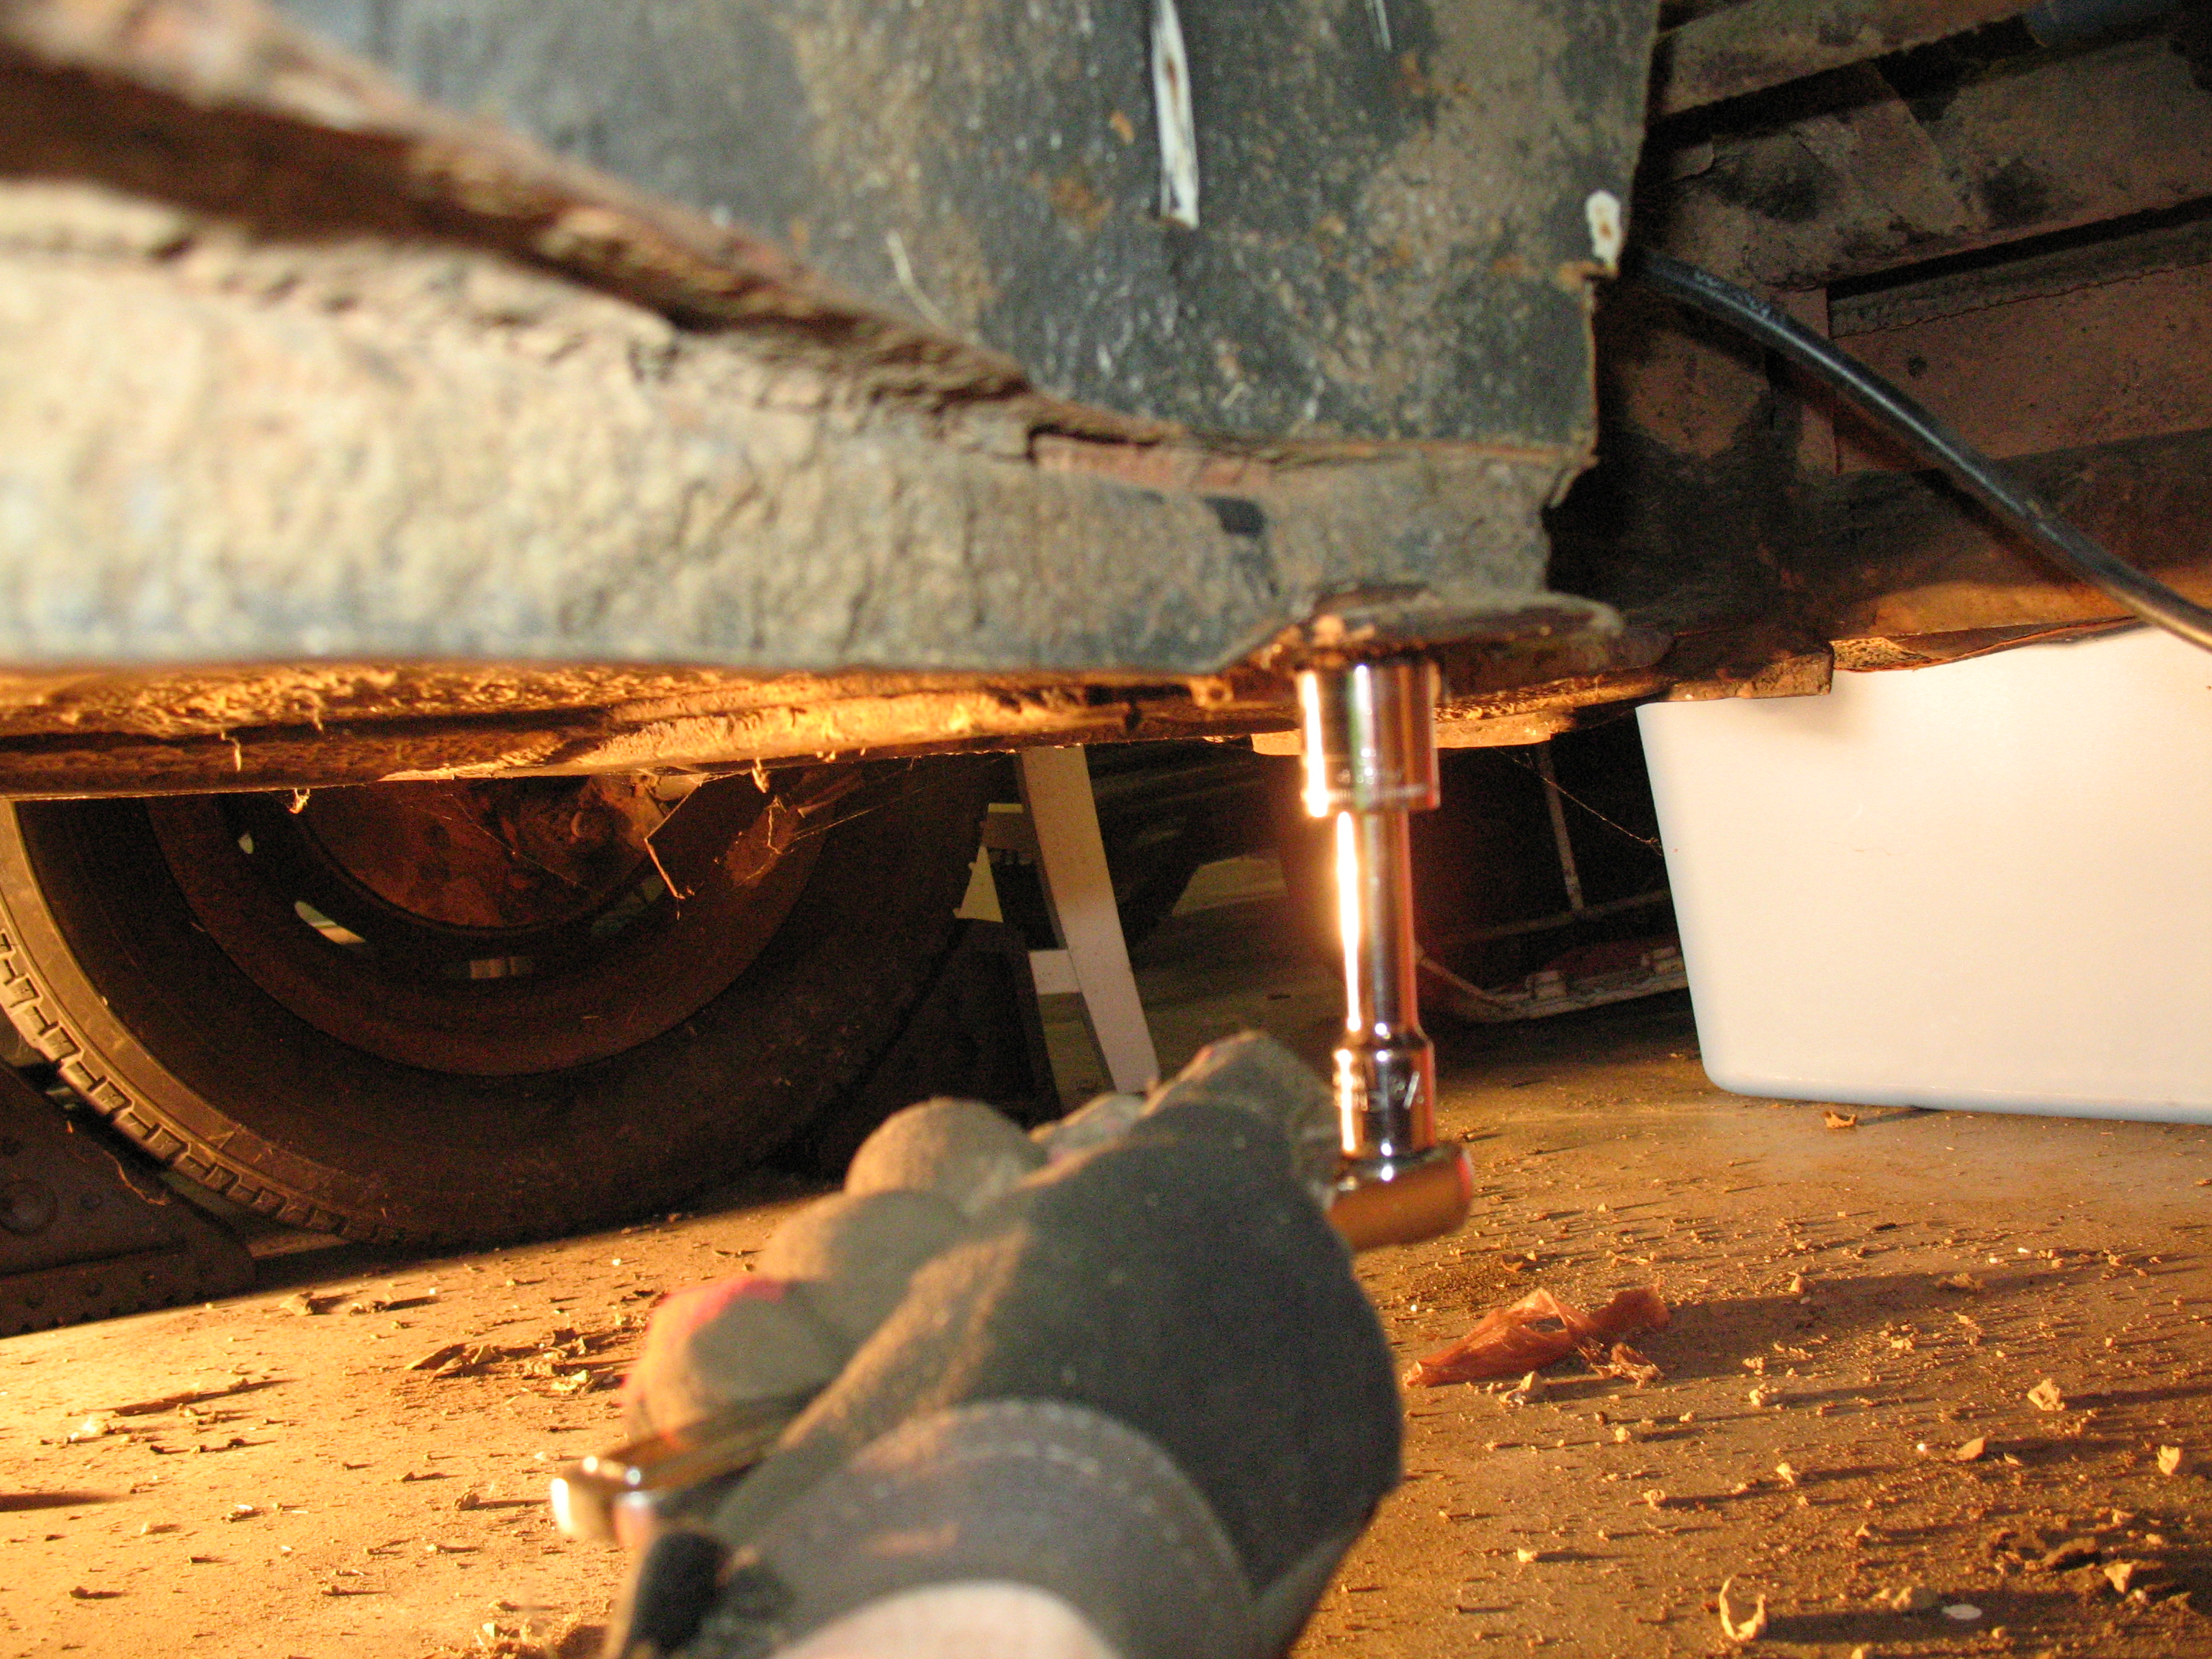
Also began taking off the chassis plates and screws that hold the body to the floor. Lots of crud underneath the body, and sometimes the screws break rather than come out. They can be hard to get to without jacking up the car, since they are just about at the lowest point on the body.
The rear bumper bracket has a nut and bolt to rusty to remove. Cut-off tool to the rescue. Purchased from Harbor Freight on sale for about $7.00, and cut-off discs (pack of 10) from there, also. Be sure to wear safety goggles.
Rear Bumper Bracket and some rust
Rusted nut and bolt on the rear bumper support.
Pneumatic Cut-off tool
Cut-off discs. These cut-off discs are “FOR METAL”, ergo they won’t cut flesh? I feel lucky.
Cut-off Disc retaining washer and screw. Make sure the retaining washer has the indention facing the cut-off wheel and arbor shaft.
Bolt has been removed, and rests harmlessly on the ground.