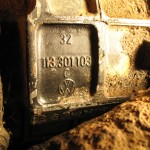
Trying to identify the manufacture date or type of transmission takes a little work. You’d think the part number would do it (113 301 103 C), but it’s such a ubiquitous label for so many transmissions over so many years that you need to gather more information than that. Or, at least, I couldn’t find a list of part numbers that made it clear.
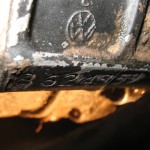
In addition to the part number, there is a serial number or stamping that can get you more information. On bugs built sometime after mine, the serial number is a date stamp. But it looks like mine is just a plain ole serial number (8624859).
Transaxle Part Number
Transaxle Part Serial Number
Some people look inside the bottom of the transmission and actually count the number of gear teeth to find out exactly what they have. Reconstructing the history of a bug is a lot like archaeology. You dig and probe and re-evaluate what you know and what you think you know. It’s tempting to look at a crud-covered transmission and say that it’s the original transmission. But a lot can happen to a car over the 48 years of its life. Parts get replaced or swapped, or their internal gears and gadgets get upgraded or downgraded or whatever. Your transmission may be original, or it may have been swapped with a transmission from a ’61 VW (with its own family tree of parts) found in a junkyard in ’73. After a while the crud re-attaches, and everything gets normalized.
Started removing the window glass today, beginning with the rear window, and then the side windows. The rubber molding was dry-rotted so it was fairly easy break apart with fingers and careful use of a screwdriver. The glass came out easily; I’m surprised at how thin it is, it seems like my 1970 Beetle rear window was much thicker.
The rear windows and side windows are all marked as made by Sekurit. Don’t know if there’s a way to tell if it’s original glass or not. I’ve been looking for an original front windshield since mine is badly-cracked, but after reading several posts on TheSamba.com about original glass being fragile, I think I need to research it a little more and make sure I choose the safer windshield (if not the rest of the windows glass). Laminated vs. tempered vs. original vs. new.
Once I removed the side windows and rear window, I was glad to see that the rust spots around the windows rims were not bad, or at least they weren’t as bad as I thought they would be. I was afraid I would be welding-in patches or lead-soldering some sections. The windshield damage remains to be seen.
In addition to removing some glass, I also began treating some rusty fasteners with Kroil penetrant to aid in their removal later.
Total time: approximately 40 minutes. Photos follow.
Behind (or in ‘front’) of the engine. Looks like I’m missing a transmission mounting bolt on the left side. Or maybe (joy!) the stud has broken off.
Solex 28 PICT Carburetor.
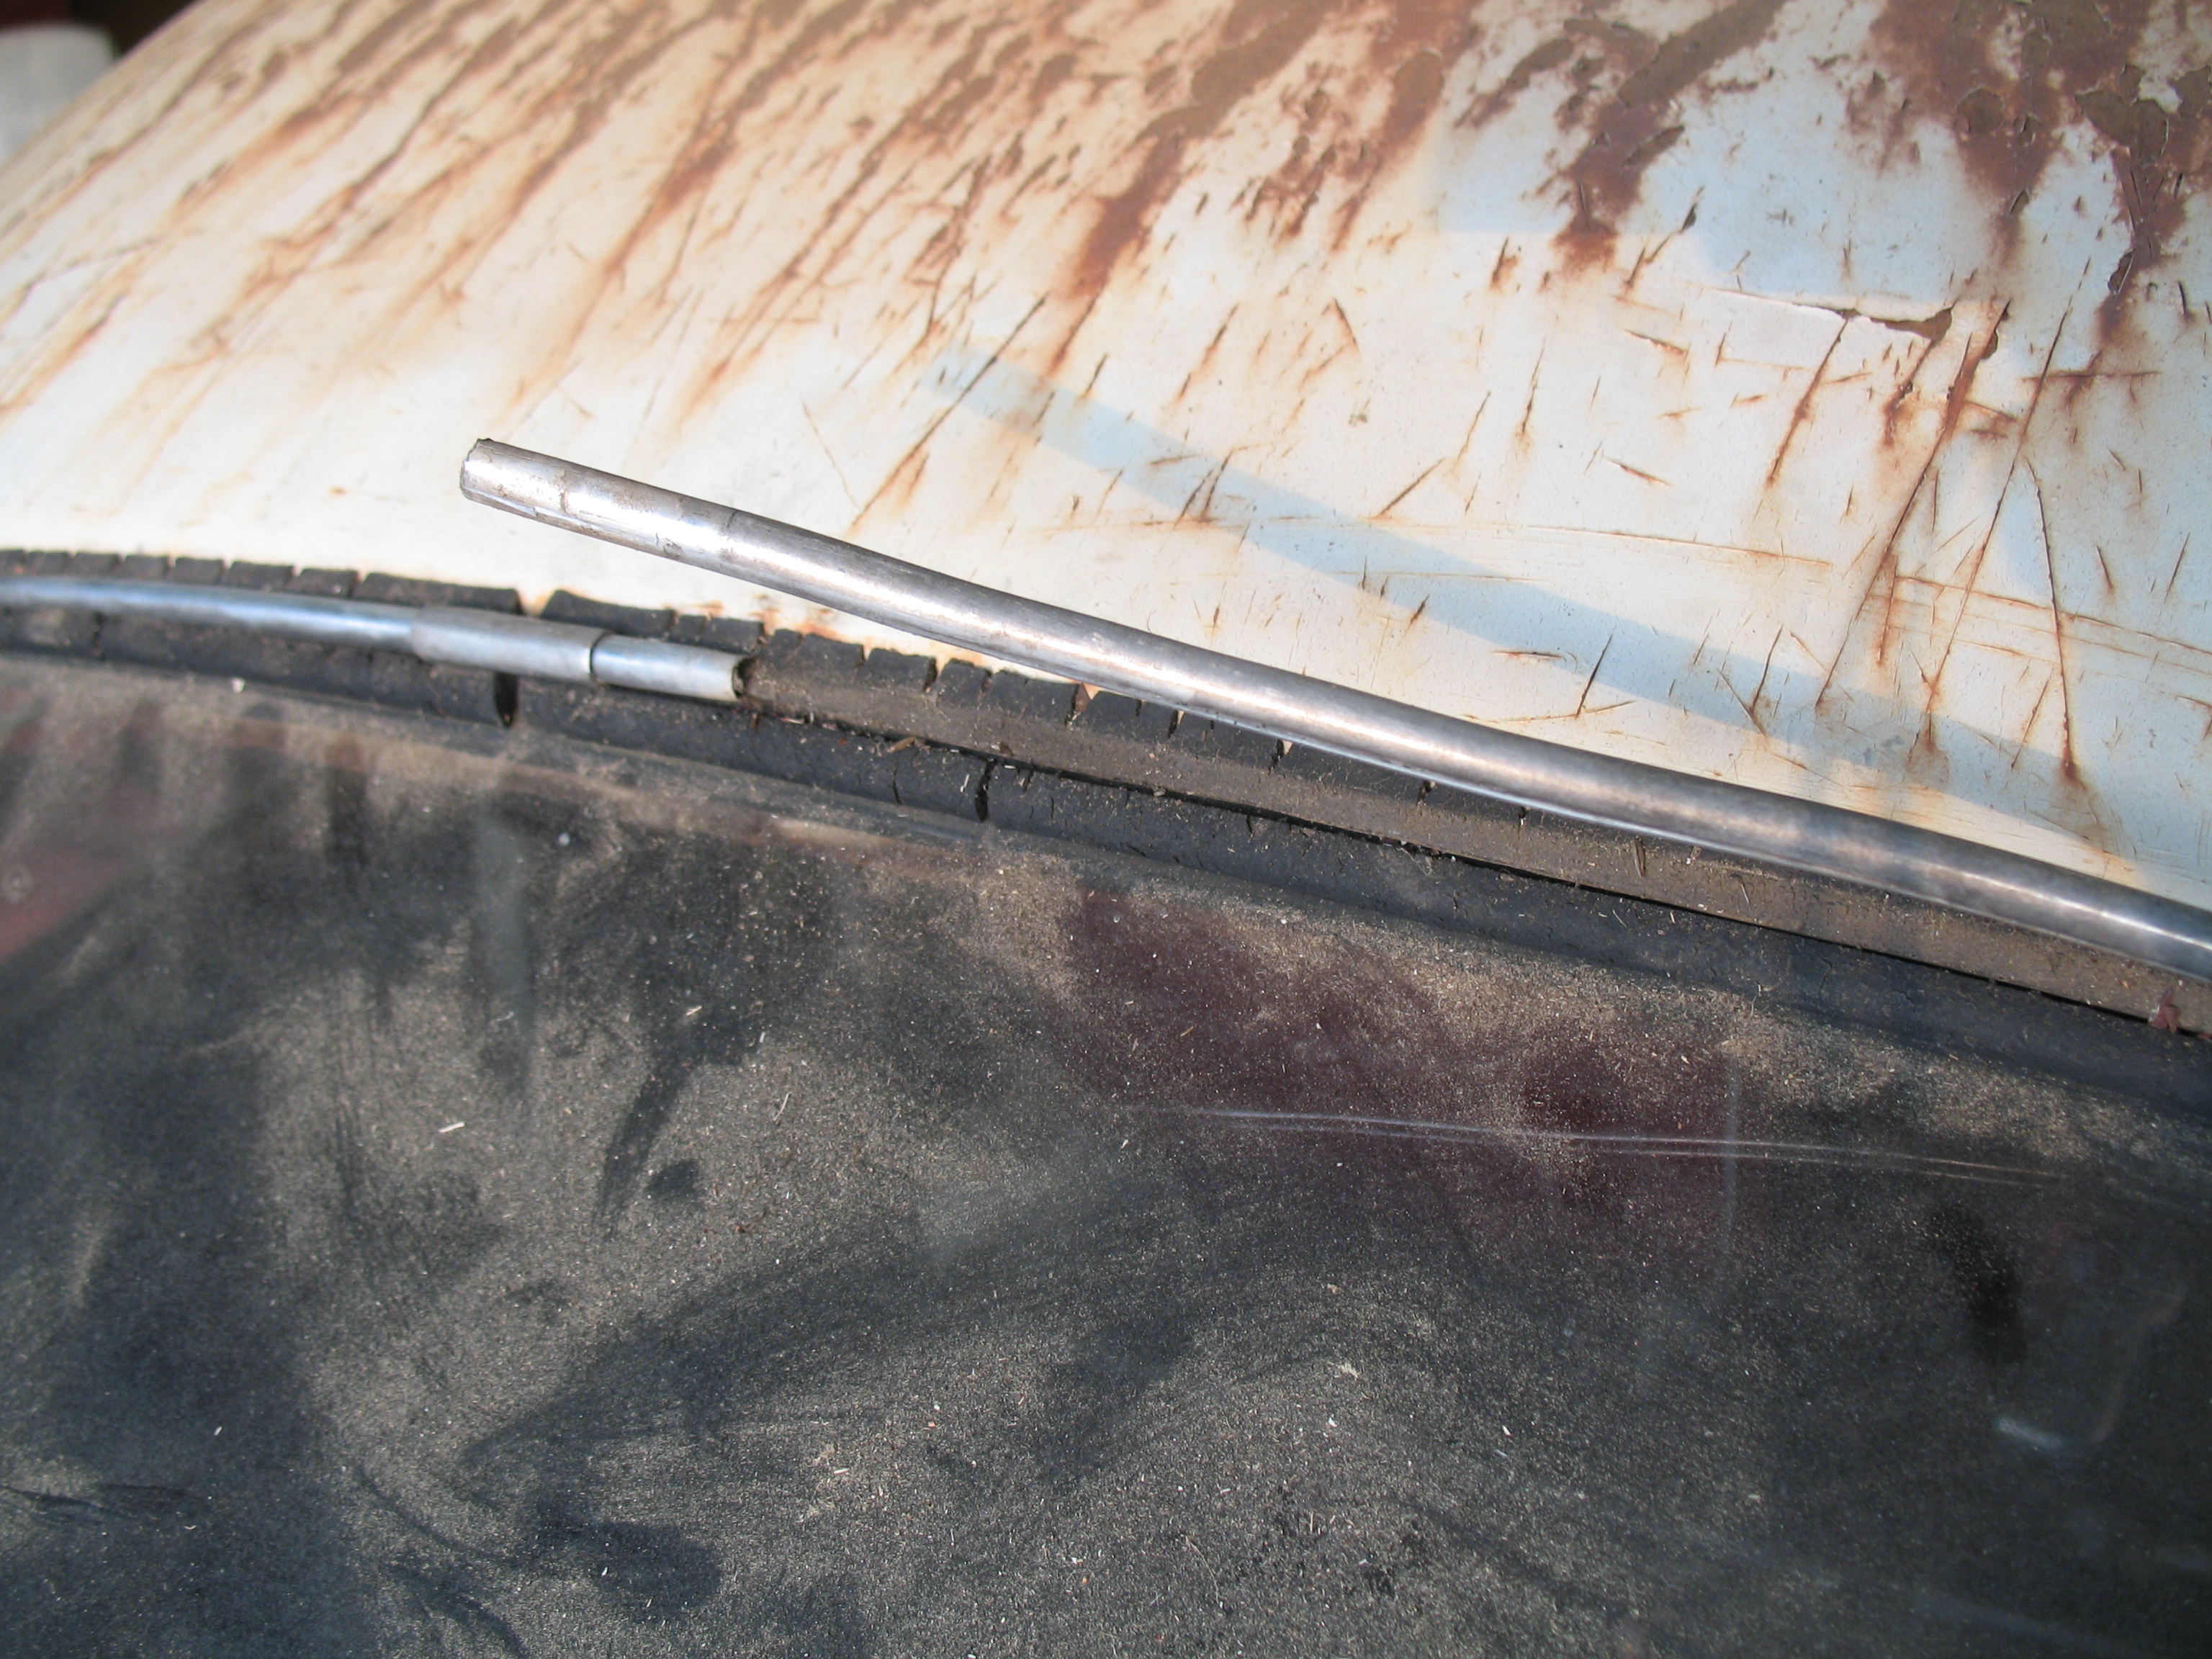
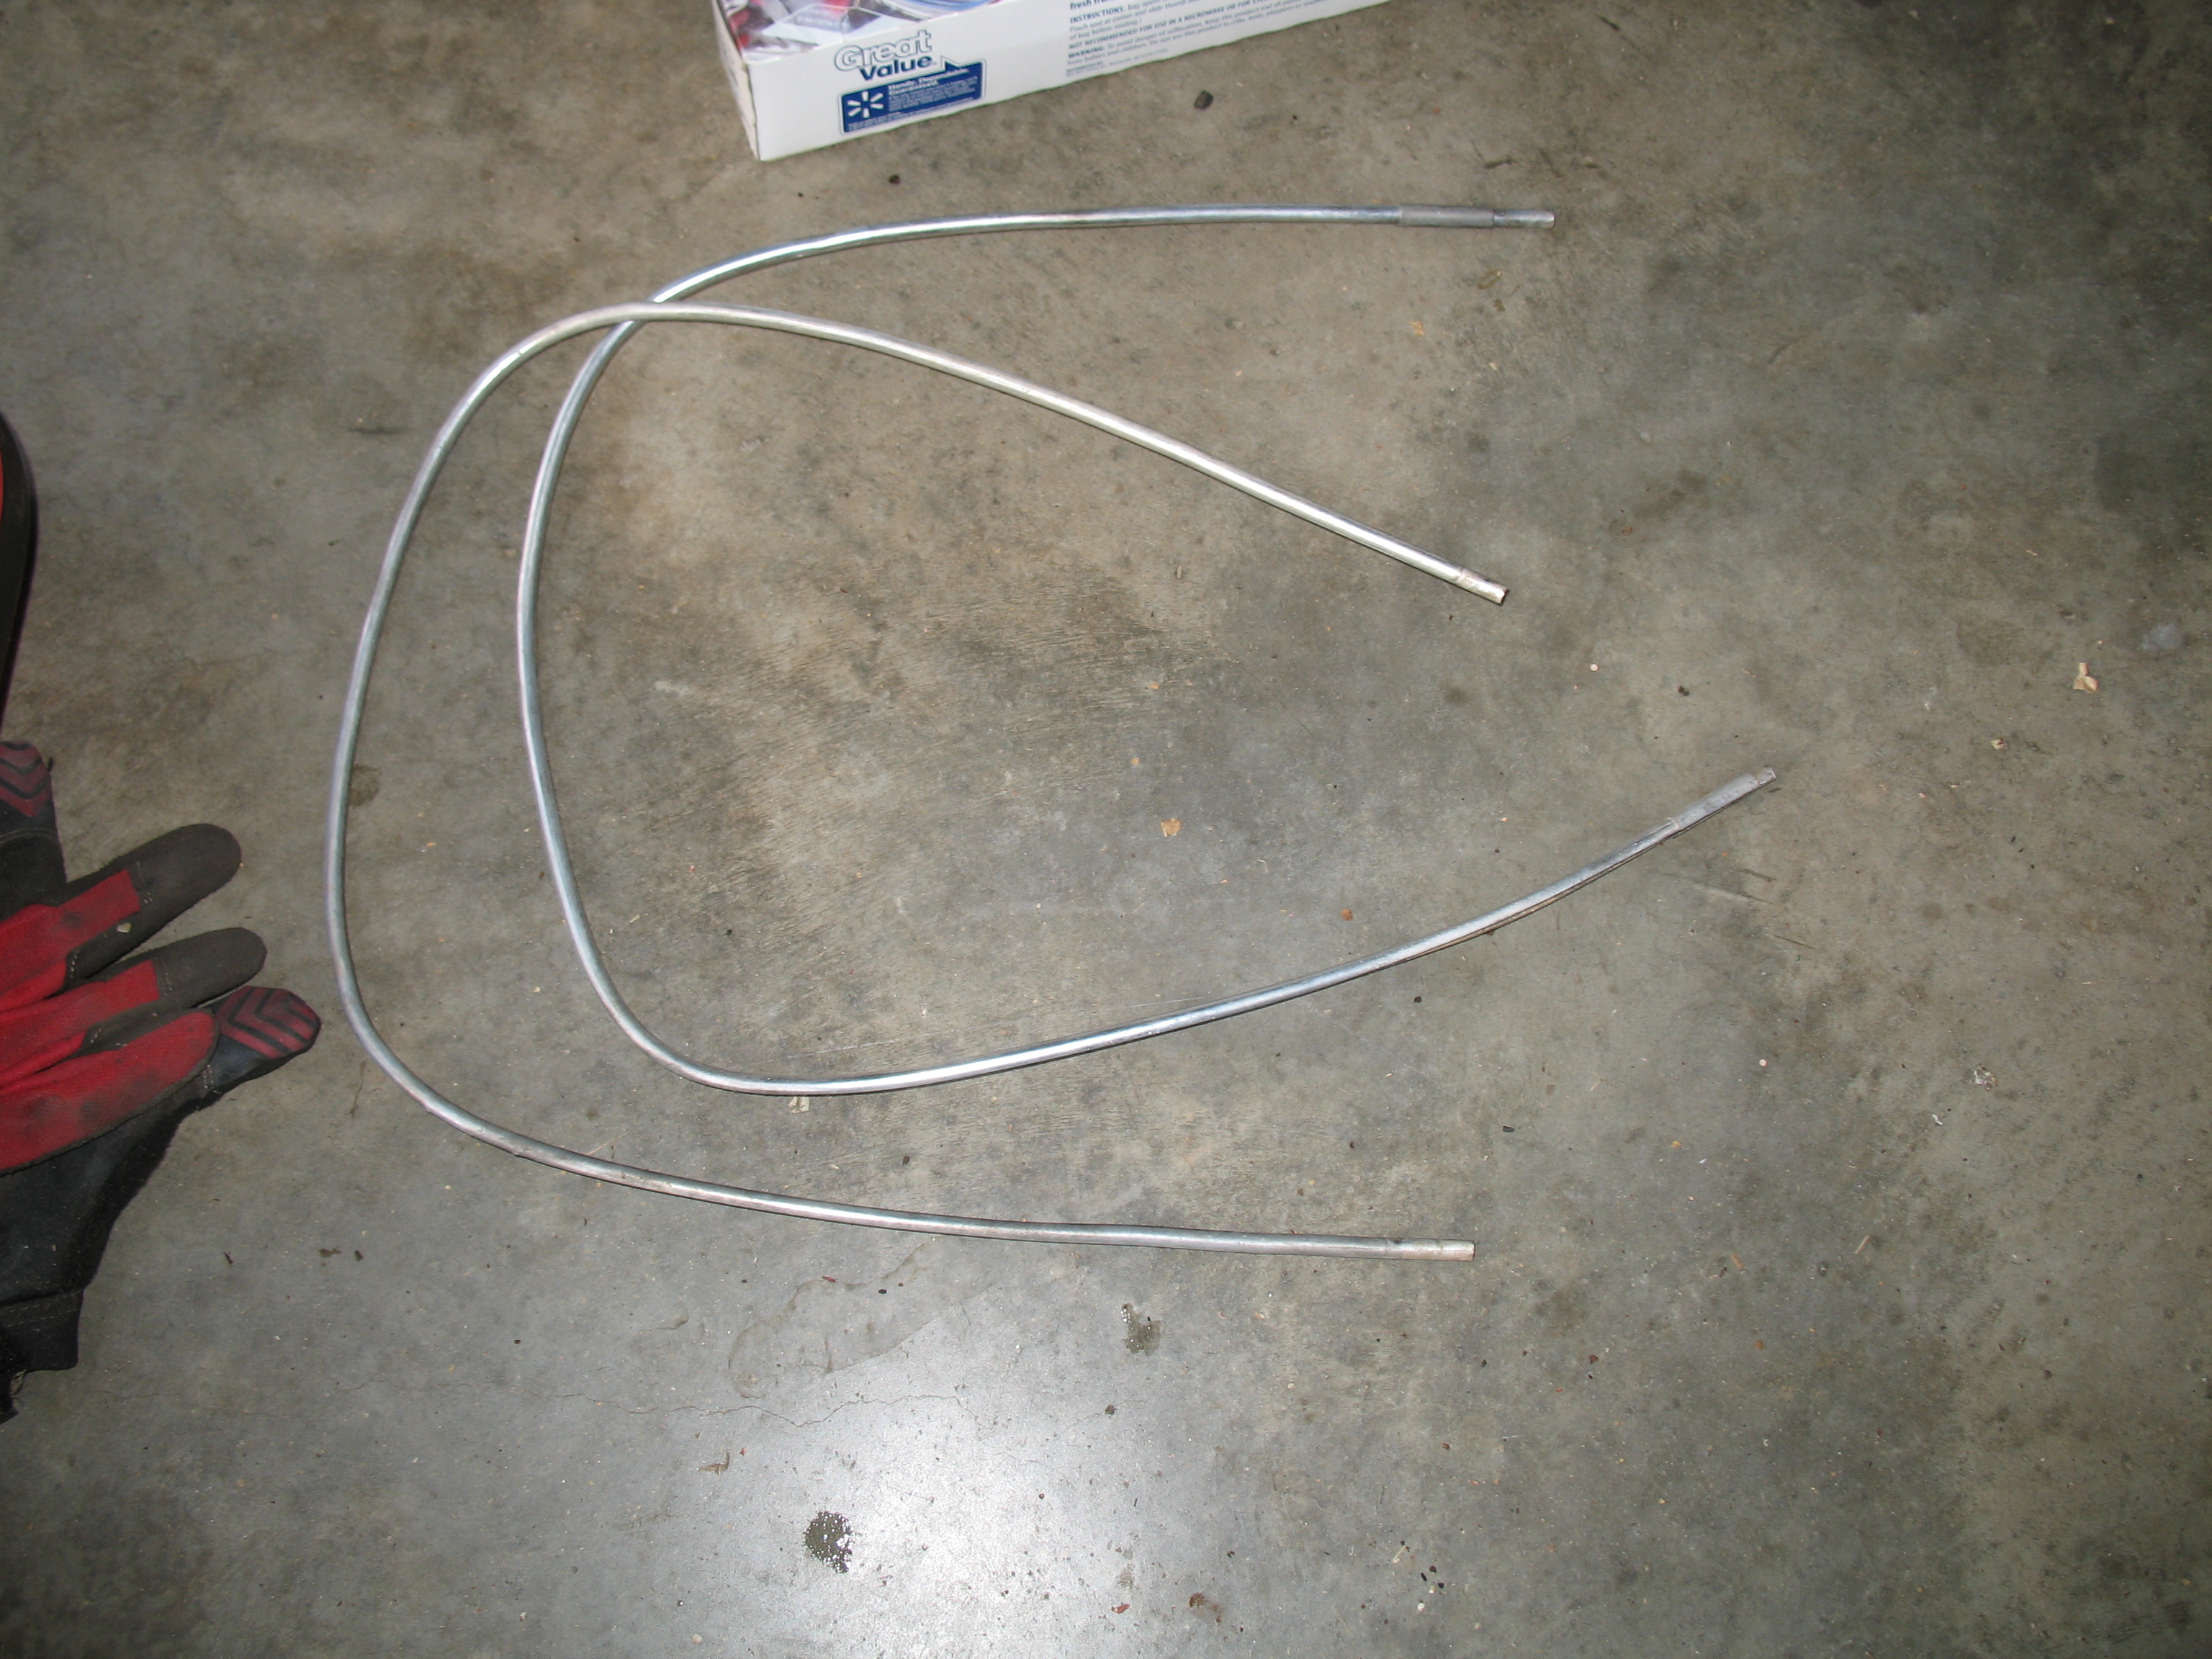
Chrome trim piece with joint clamp at top and bottom.
Slide the chrome trim clamp away from the joint, then gently pry up the chrome trim from the seal.
Rear window removal in progress.
Rear-window rim.
Top of rear-window rim.
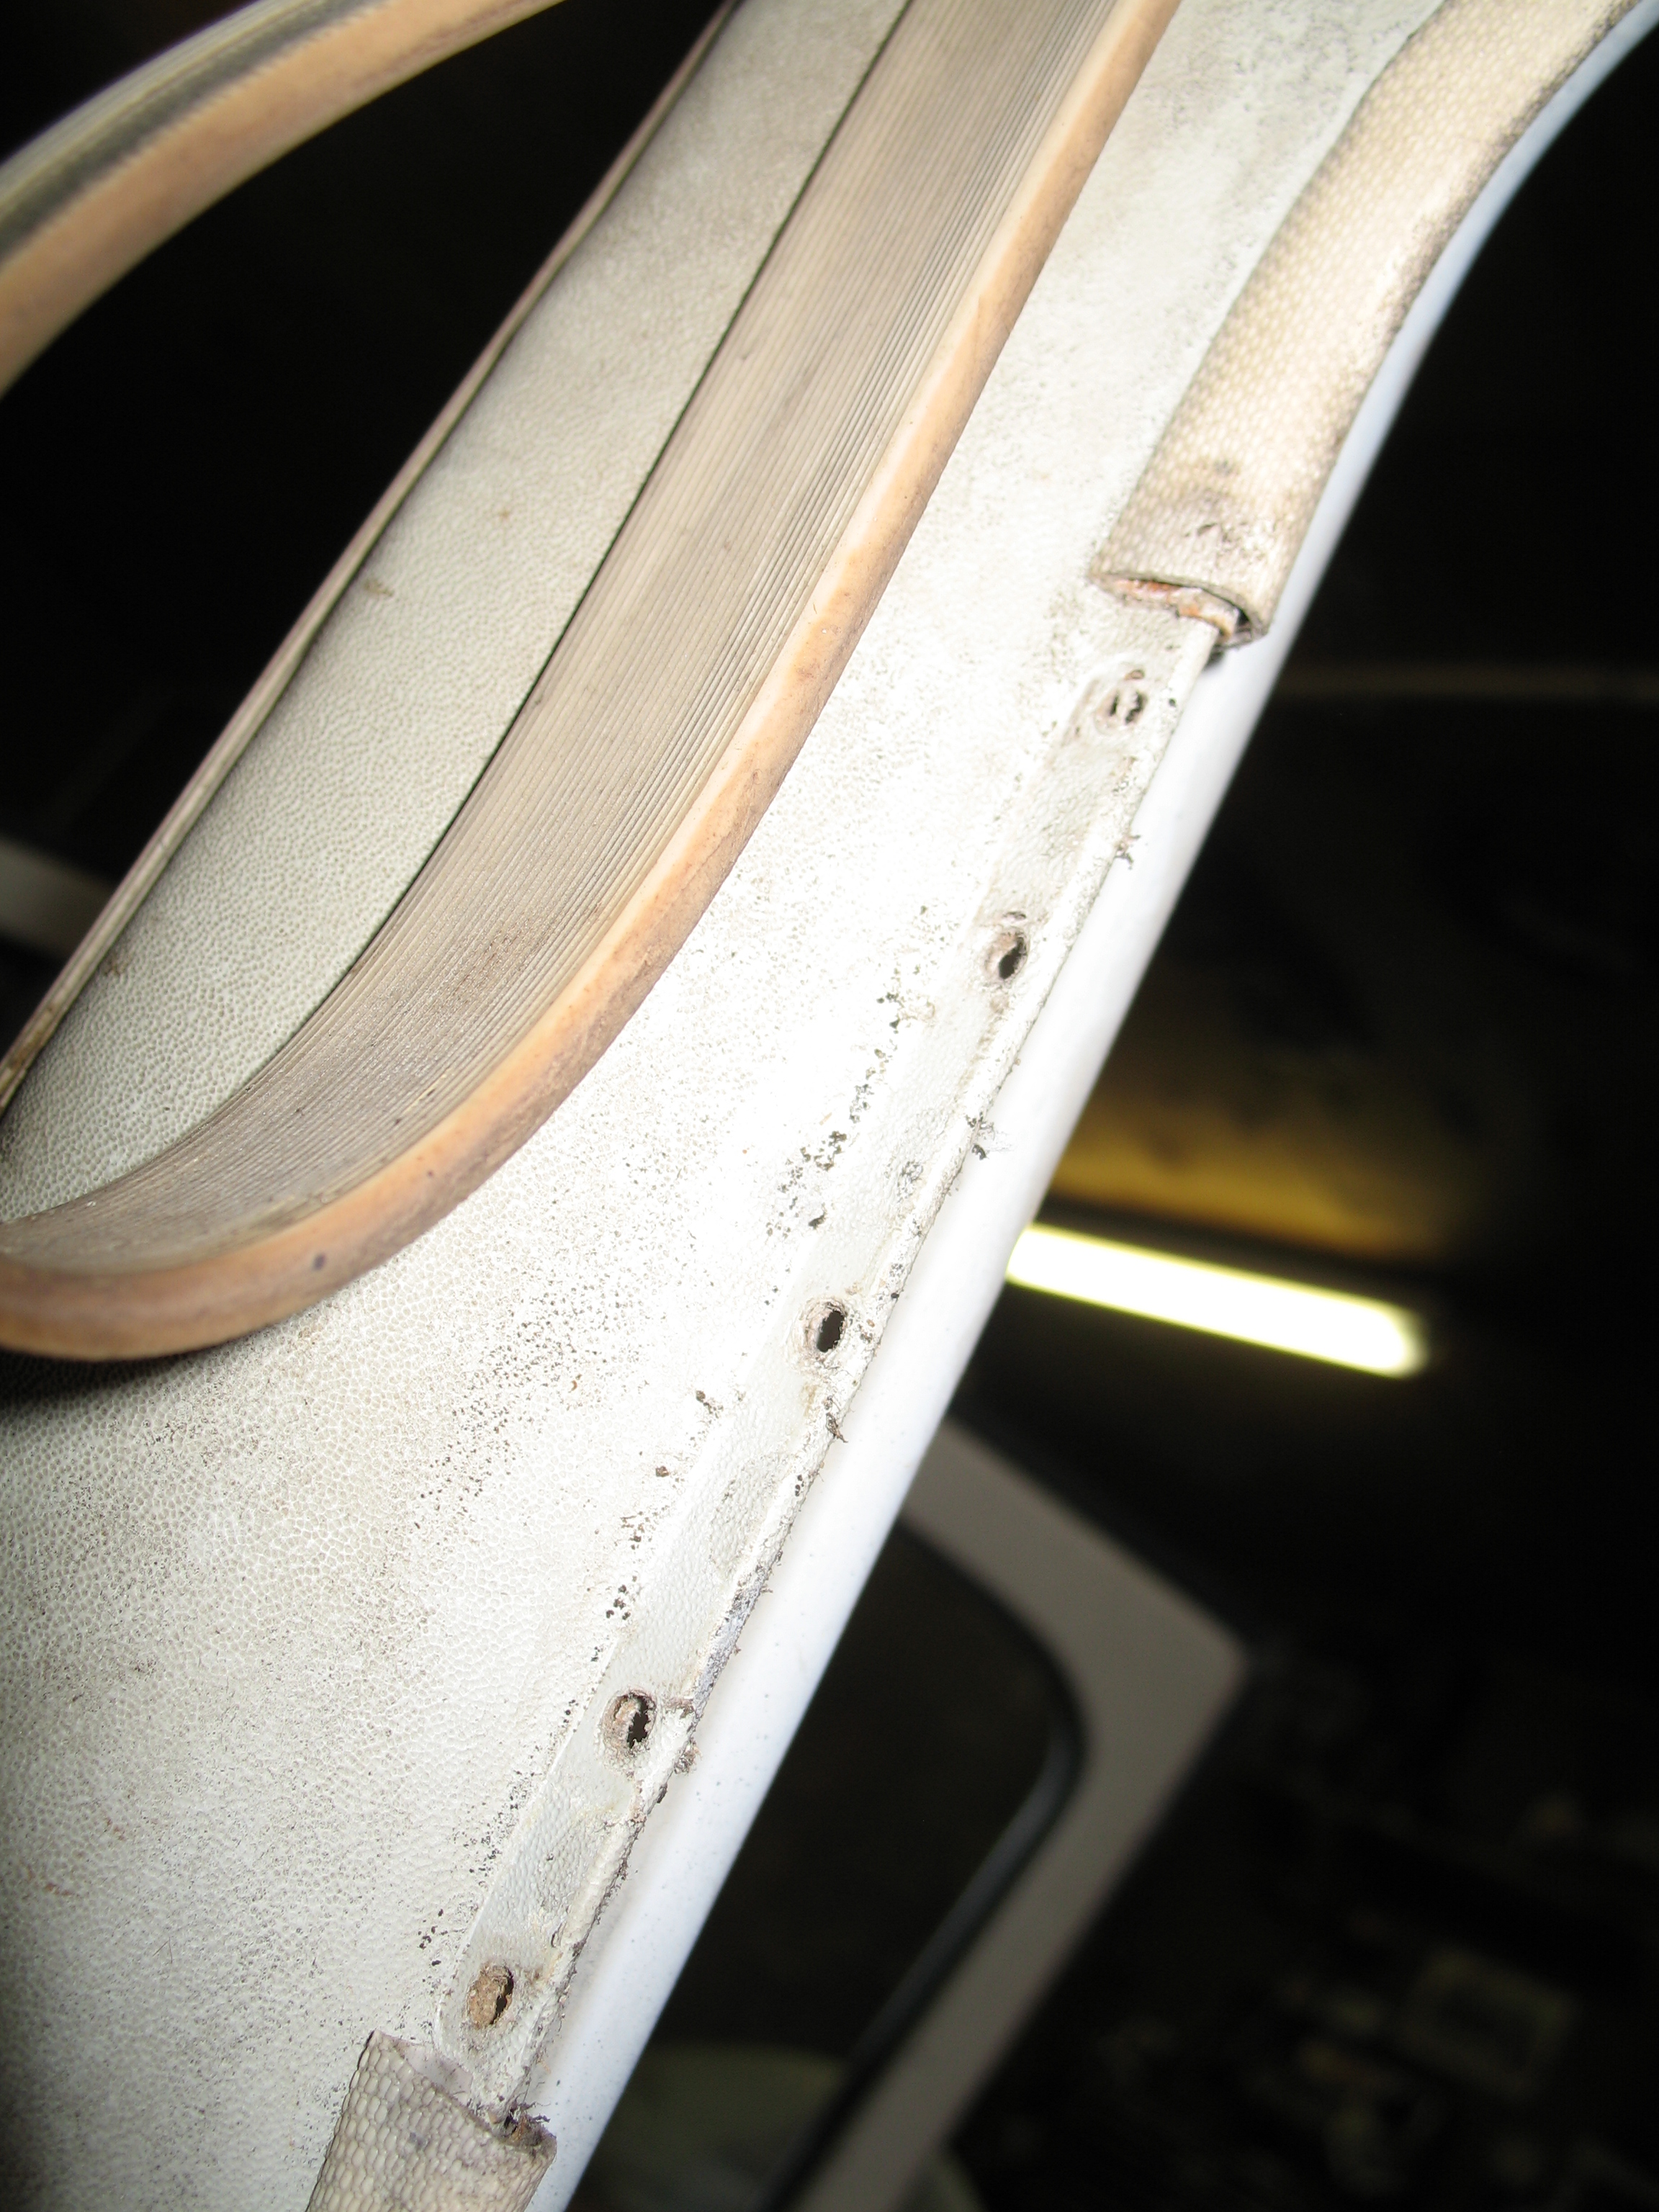
Close up of the rear-window rim, near what I assume are some drain-holes.
The rear window opening. Rust damage was a major fear when I first examined the car, but it actually doesn’t look too bad.
The rear window. It was a thinner piece of glass than I expected.
Chrome trim piece for the rear-window seal.
Chrome trim-piece at the front of the pop-out side window. Insect hotel.
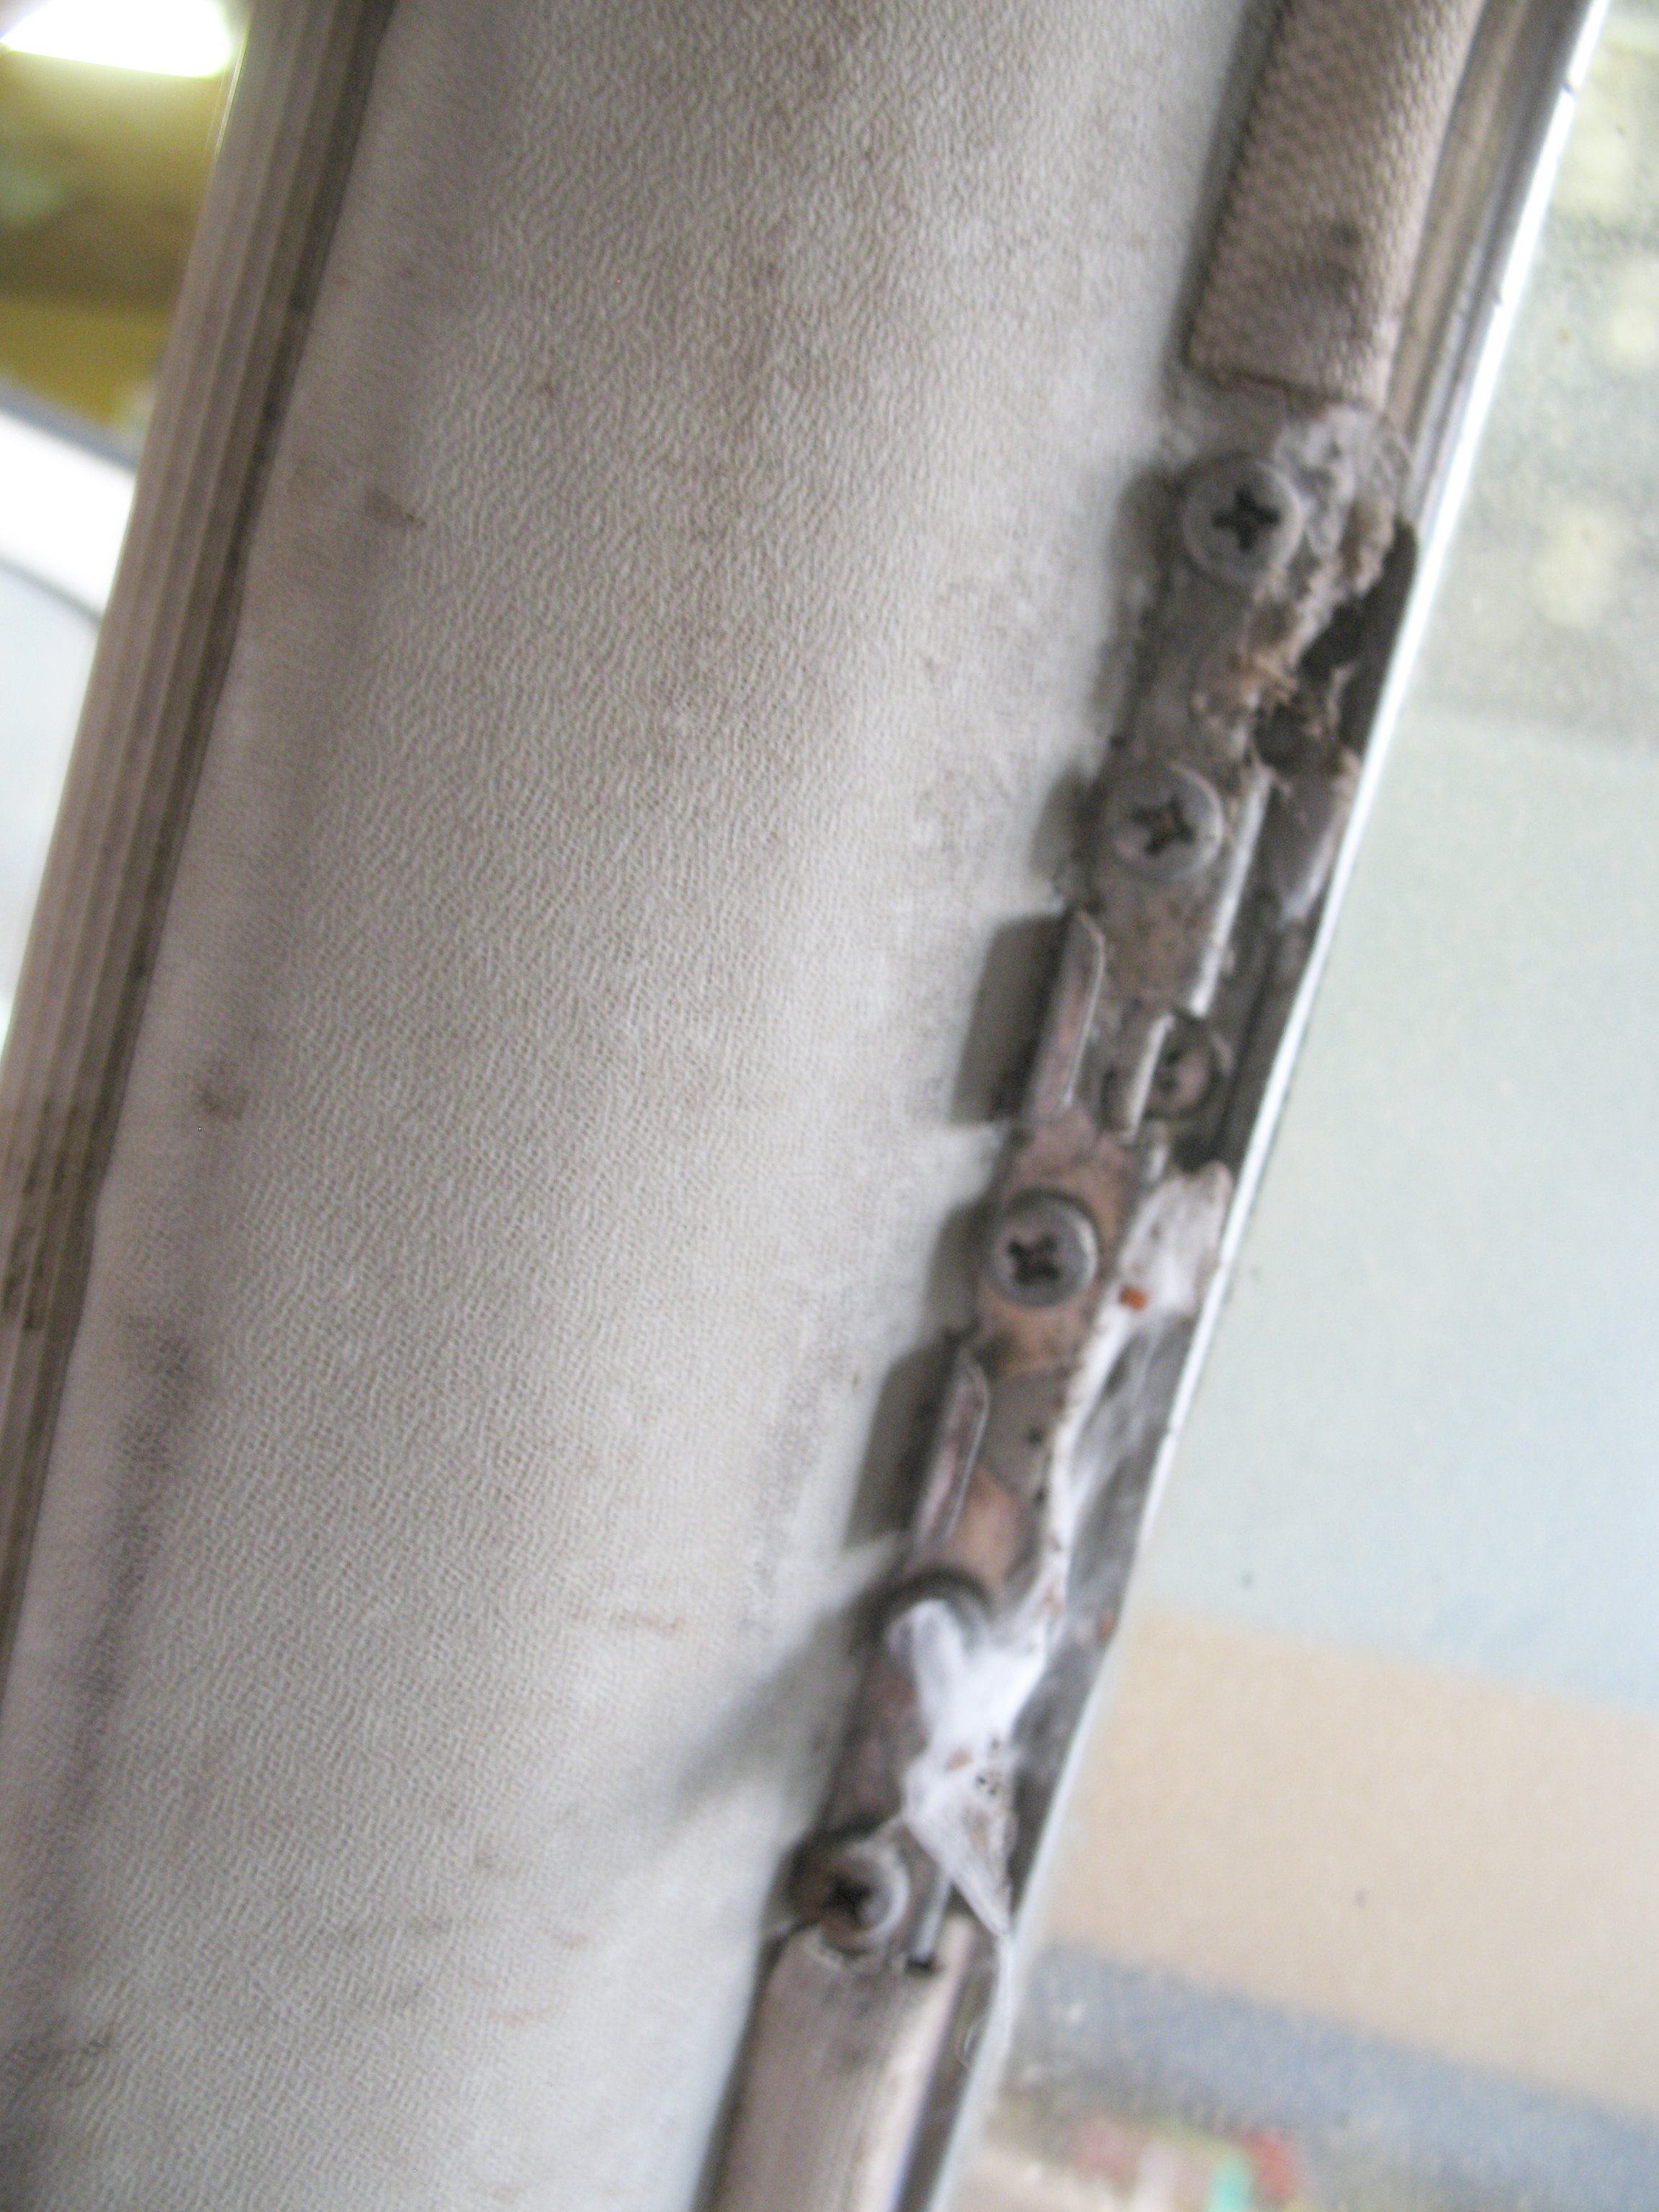
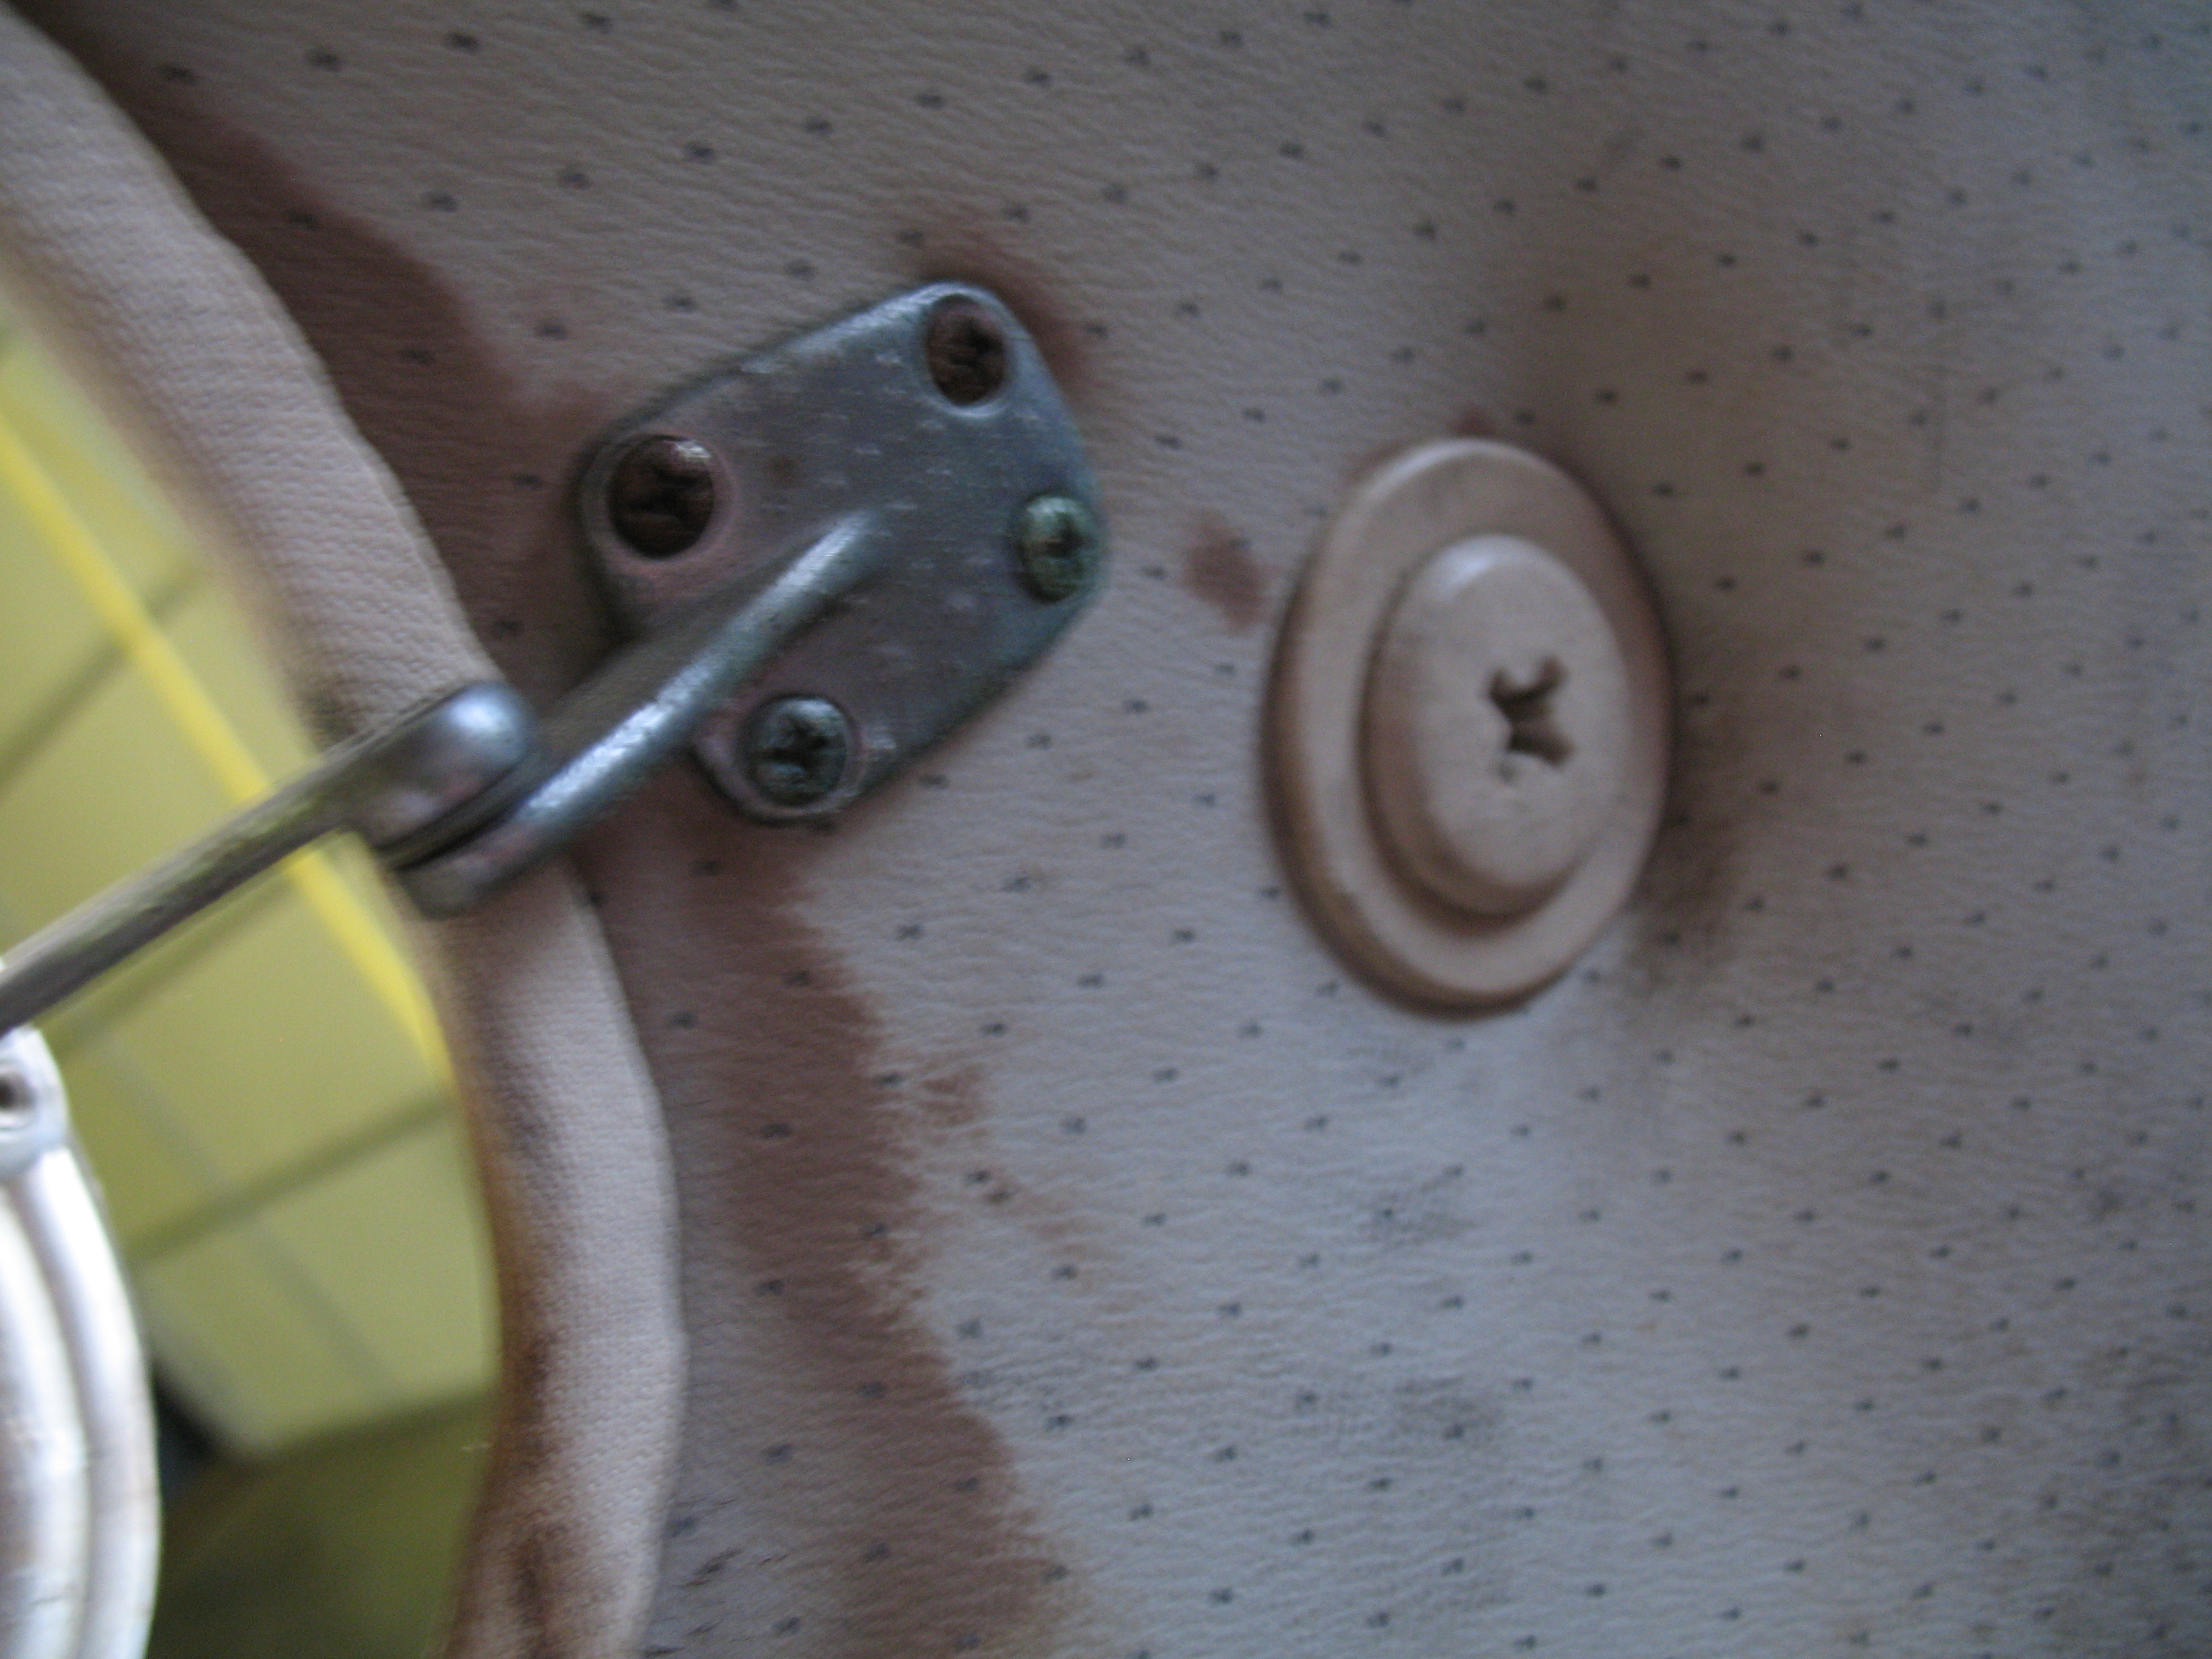
The hing for the side-window, after the chrome trim-piece has been removed.
Rear hardware for the pop-out side window.
Window seal area on one of the side-windows. Rust is not nearly as bad as I throught it would be.
Restoration of vehicle comes down to three things, it seems: 1) Repair 2) Replace 3) Protect. You have parts to repair, or parts to replace. Then you want to protect all of the parts. The biggest enemy of an old car is rust, I think. So when I repair or replace a part, I want to make sure it’s protected and will last as long as possible. There are a number of product offerings designed to remove rust or retard the rusting process. I’m not sure it can be stopped completely. But, then again, I’m not a chemist.
I’ve looked at some of the products, and scoured over the forum postings at theSamba.com to find out what others are using and which ones seem to work best. There’s always a trade-off. You can have a great product that’s expensive but works well, or one that’s cheap but not as good, or one’s that mid-priced but involved more installation steps. I want something that will work reasonably-well, but I want to minimize the number of steps needed to use it. And I need to establish a methodology for working on the car, so that the steps I take are clearly defined depending on the repair needs of any given part. I don’t want to take the entire car down to bare metal, but some of it definitely will be. So I need a process for both painted surfaces and bare metal. Since I’m going to try to spray primer and color, I want to spray a lot of area each time and not be repeatedly mixing and cleaning paint supplies. This means there will be some parts that are prepped, and then set aside for future priming.
A couple of the heavy-hitters in the rust-protection world are POR-15 and MasterSeries by PM Industries. I have chosen to go with the MasterSeries Silver, and another product that PM Industries sells called Captain Lee’s Metal Prep. POR-15 has a lot of fans in the rust world, but the MasterSeries seemed to be more flexible and simpler in its application. MasterSeries Silver
After emailing the nice people at PM Industries, I have concocted the following workflow:
IF I GO TO THE BARE METAL
1. Use Capt. Lee’s Metal Prep, and the panel can sit for a while (months, let say.)
2. Then, when I’m close to primer time, use the MasterSeries Silver. Body filler can be used before or after this step.
3. Spray primer. (it can then sit for a while longer, if I’m not ready to paint, and the primer doesn’t have any time requirements.)
4. Color paint.
If I don’t go to bare metal, of course, start with step 3.
There are some areas like the back/inside of a chrome bumper, for example, where I can just clean it up and use MasterSeries Silver on it. If MasterSeries Silver sits for more than a week, then primer/paint has a harder time sticking to it. But if it’s not going to be painted (like the bumper back), it doesn’t matter.
I think this method will work for me. I still need information on selecting the correct primer. Don’t want one that requires painting soon after applying it. I don’t have the time to do all the repairs, then all the priming, then all the painting. Some parts will be finished and have to sit for a little while. MasterSeries is supposed to be able to work with any kind of primer/paint.
Ok. Let’s order it. Three quarts of MasterSeries Silver ($78), 1 gallon of Captain Lee’s Metal Prep ($29.95). $15 Shipping. Total — add $122.95 to the Beevis Bill ™.
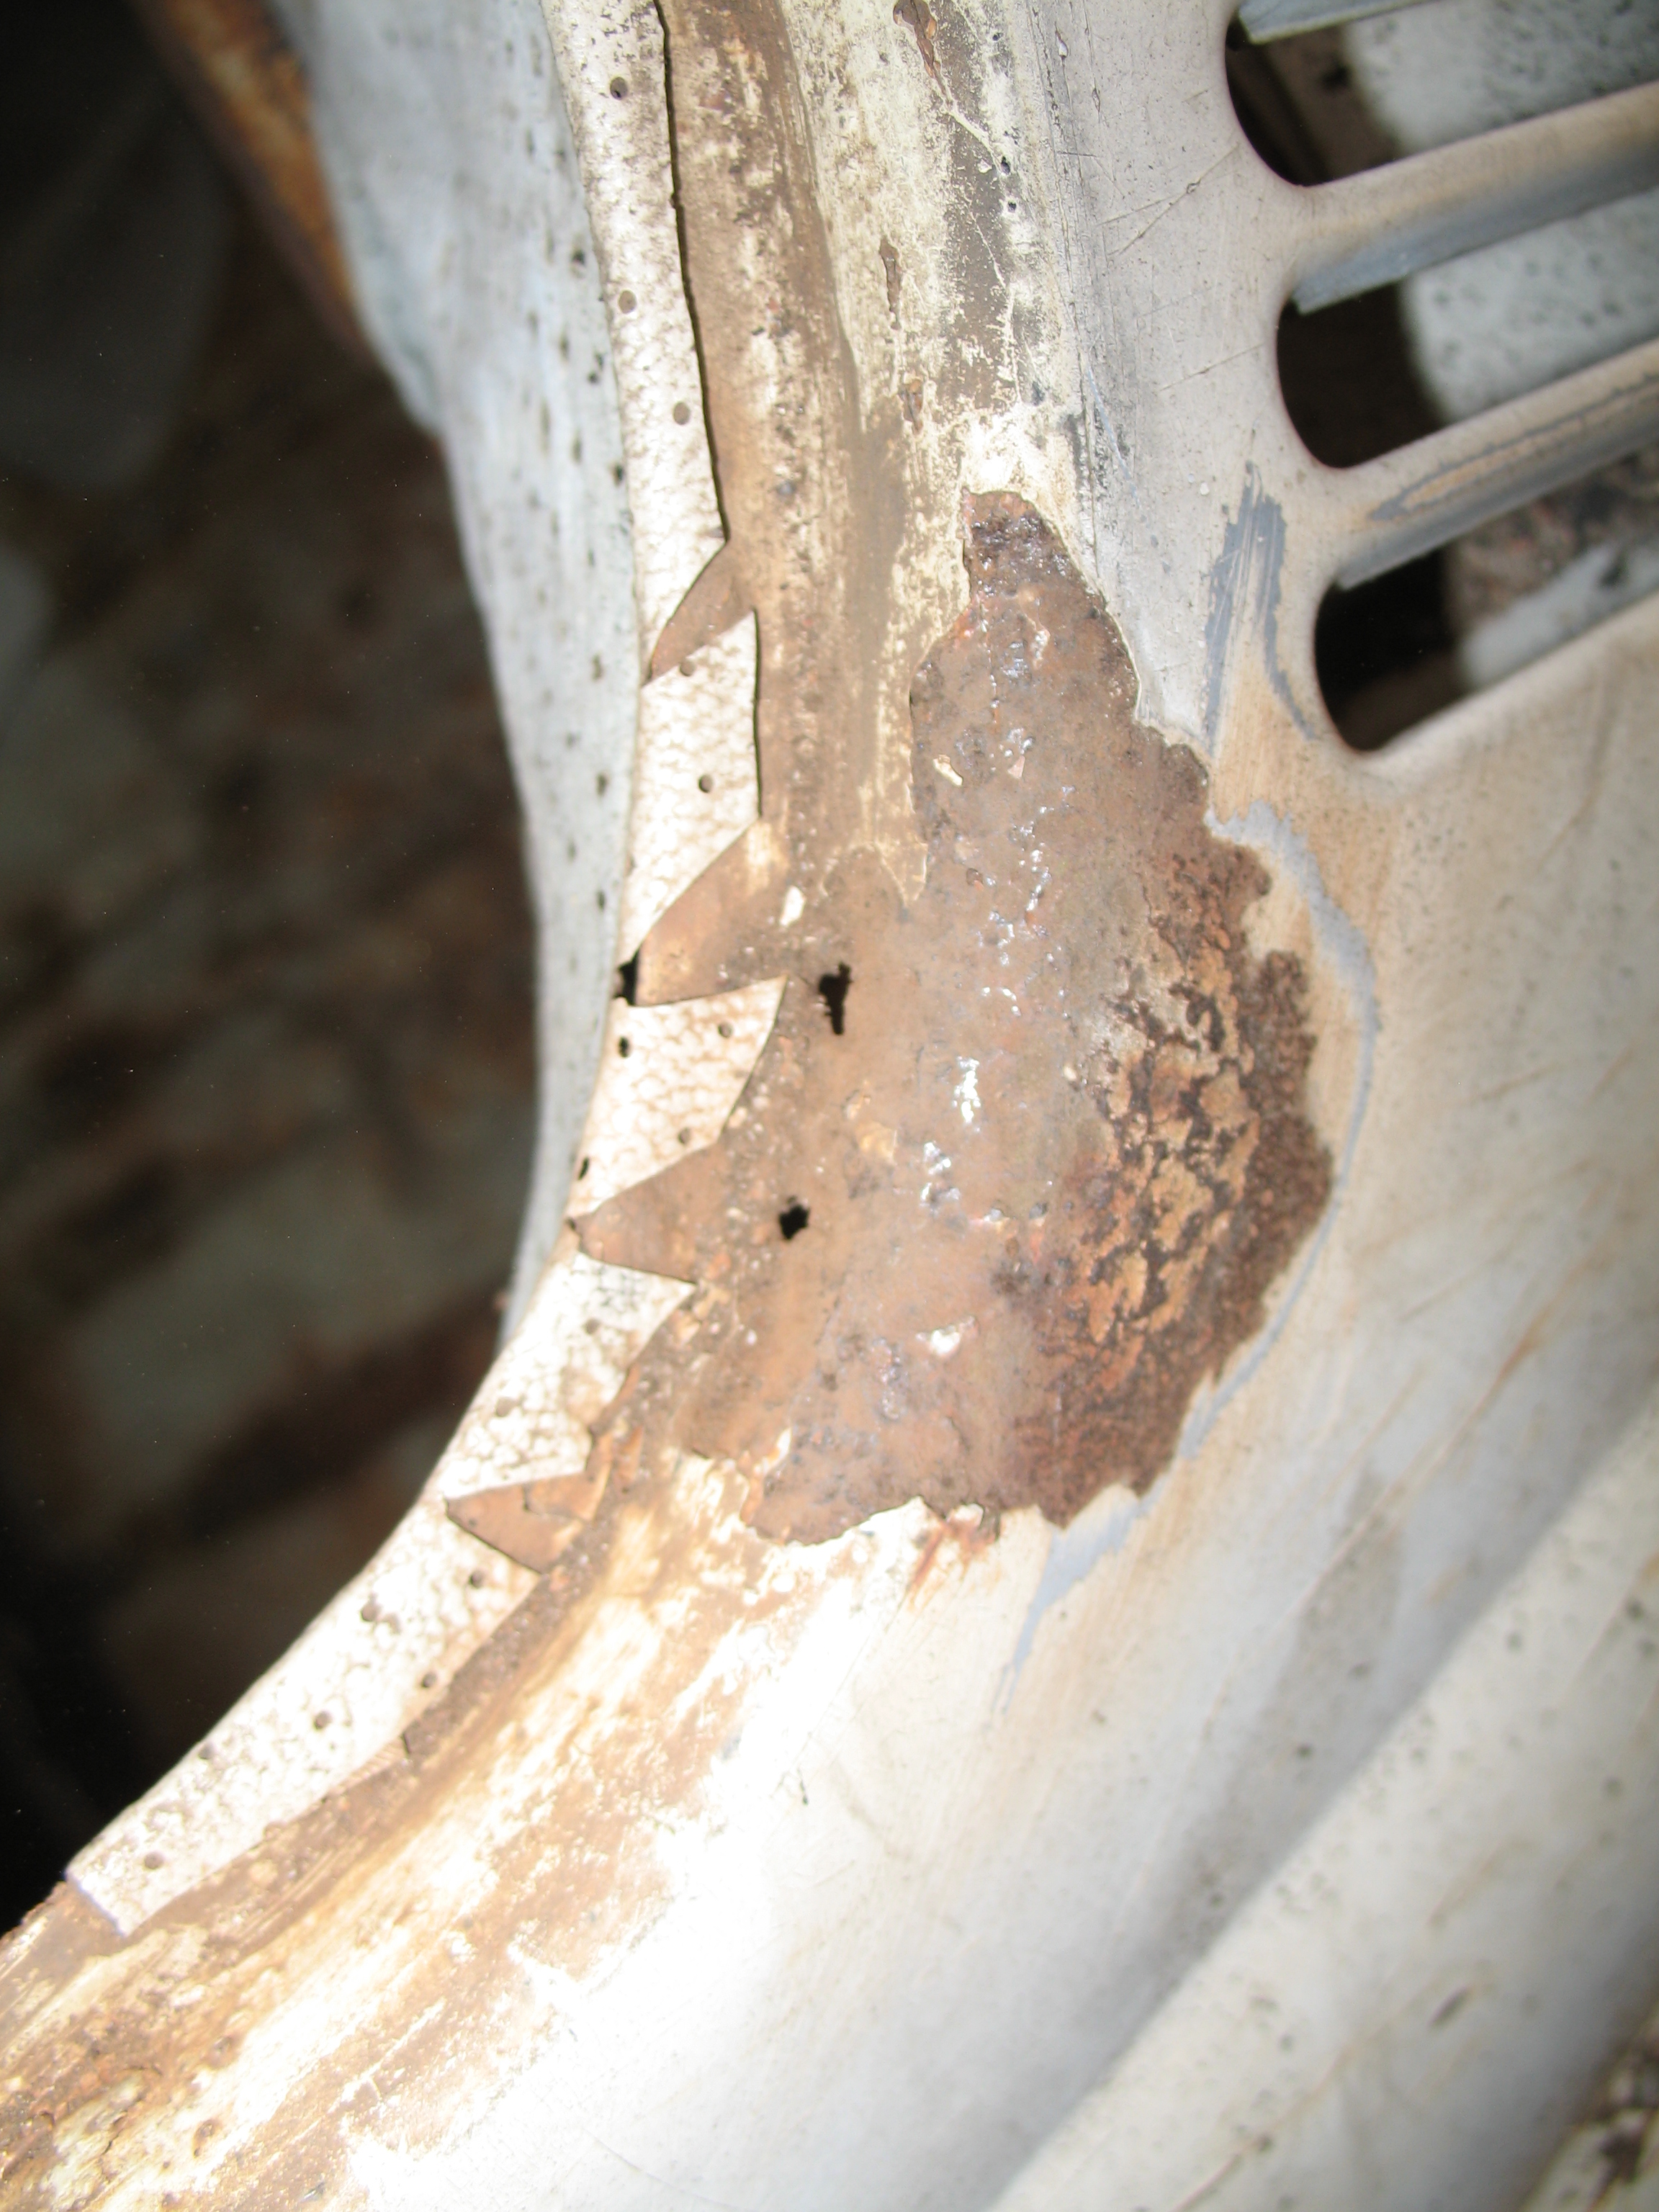
After a closer ‘surface’ examination, it’s obvious there are some problem areas. The window rims are troubling, as is the bottom of the ‘A’ pillar on the passenger side. It looks cancerous. Once I dig in and start disassembling the whole thing, I’ll be able to see the extent of the damage. On the brighter side, there aren’t a lot of parts that are missing.
Up next, I want to do two things to the car:
Make a list of what parts are missing.
Make a list of what areas are damaged.
Then I can price the missing parts and come up with an estimate for purchases, and I can start to get an idea of how much repair work needs to be done.