REPAIRS – Wheels, pt. 5

I’ve decided to build a jig to hold a wheel while I’m installing rivets. The basic plan is this:

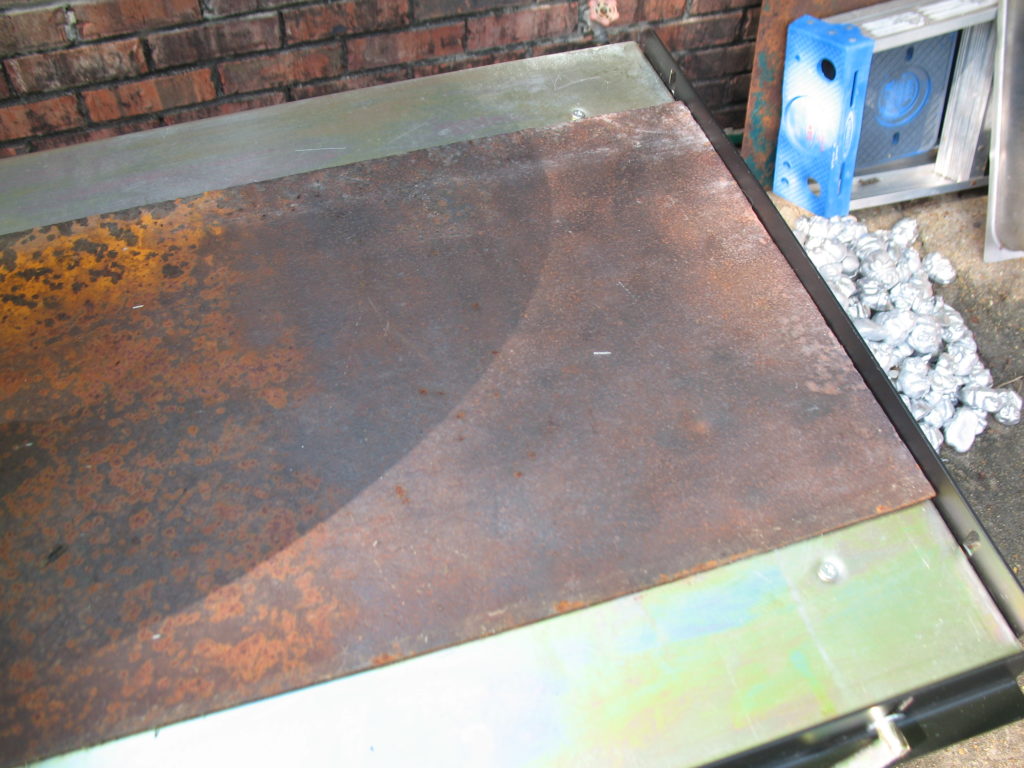
  • Use a piece of steel plate as the base. Mine was about 1/16″ (1.5 mm) thick.
  • Weld the rivet install tool, and two wheel support pipes to the steel plate
  • Create two wheel hold-downs out of pipe with nuts and washers.

For more information, see Wheel Repair, pt. 3
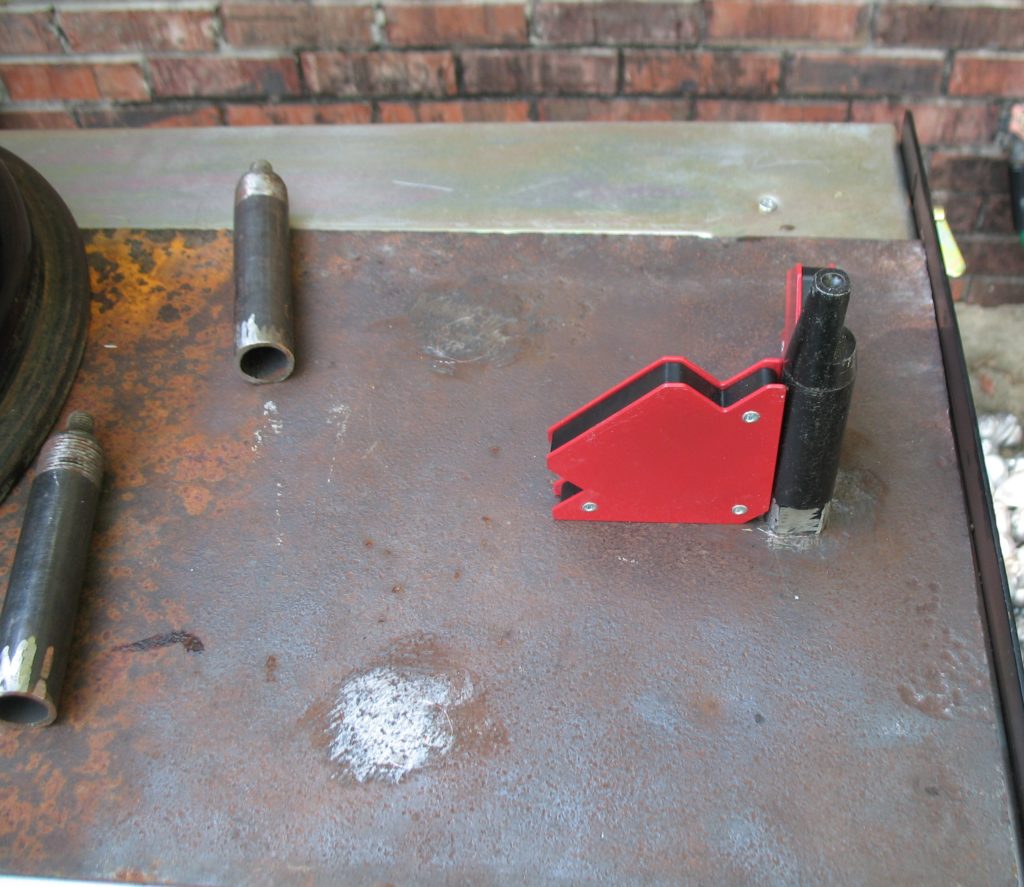
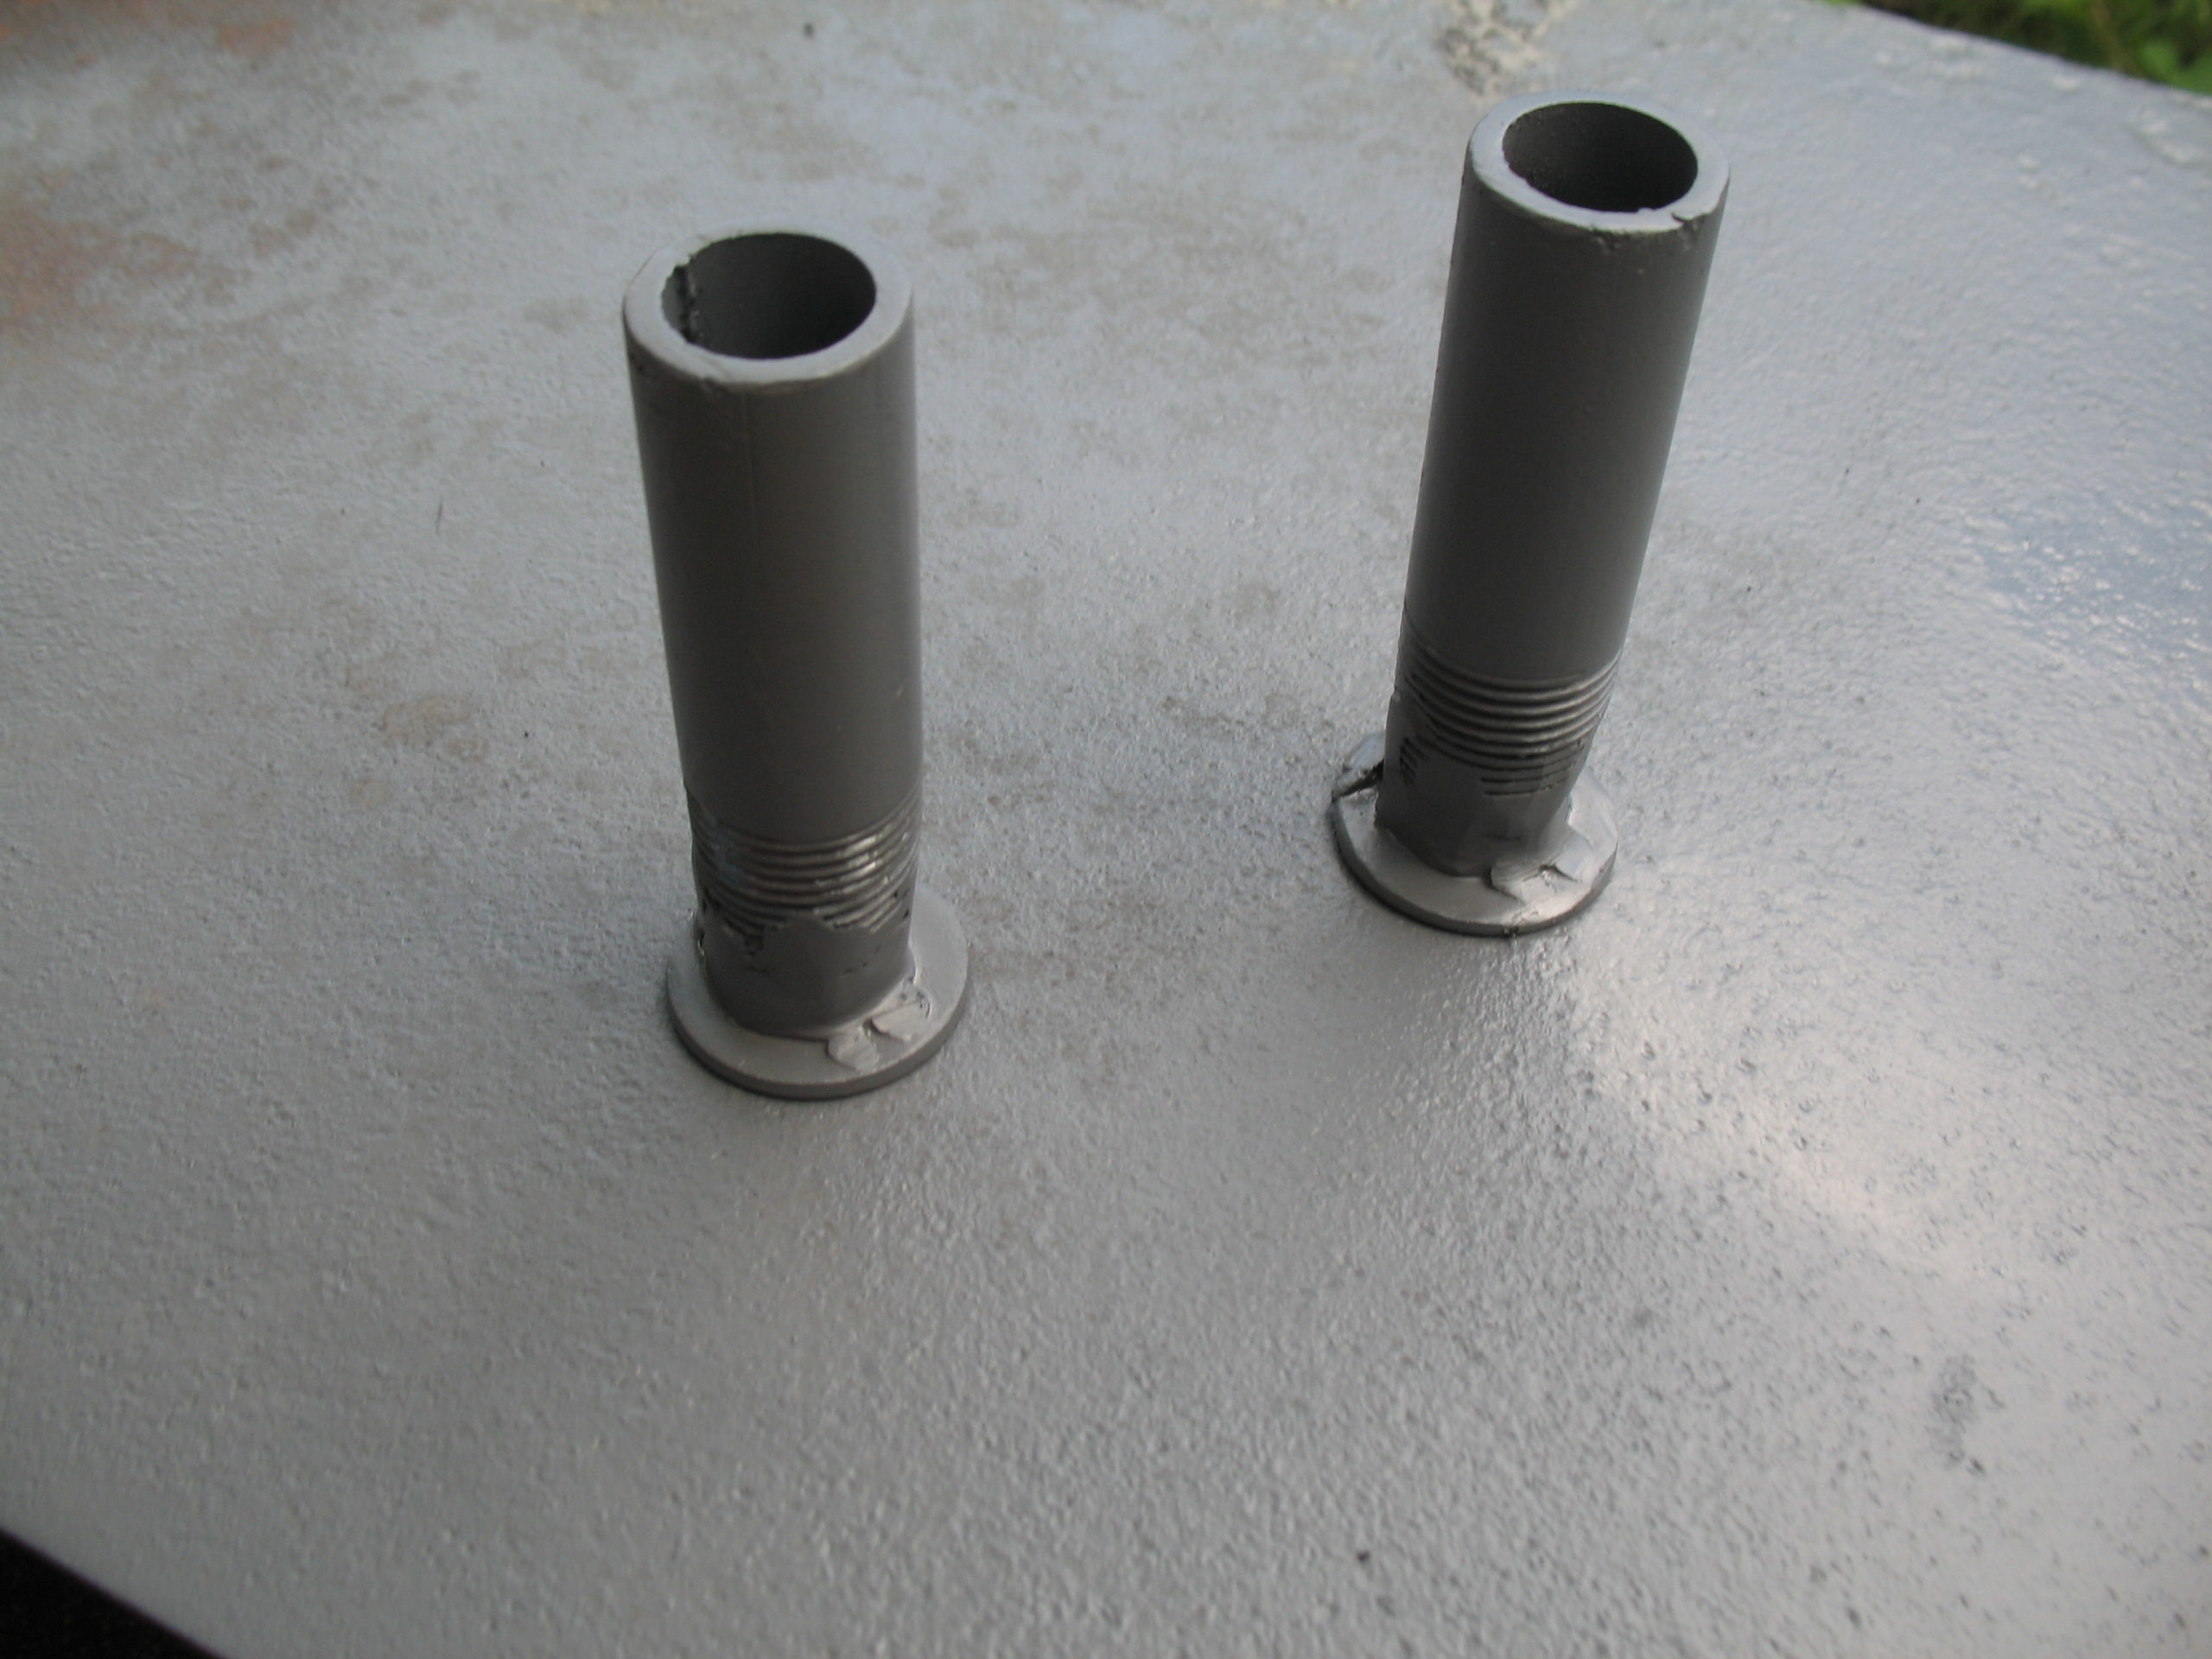
On the wheel hold-downs, I was going to put a bolt through the top to act as a handle, but they seem to work well enough without it. I can always add them later. I did need to weld a washer under the nut, on the bottom side of the hold-down; just a pipe with a nut would not tighten-up enough against the wheel.

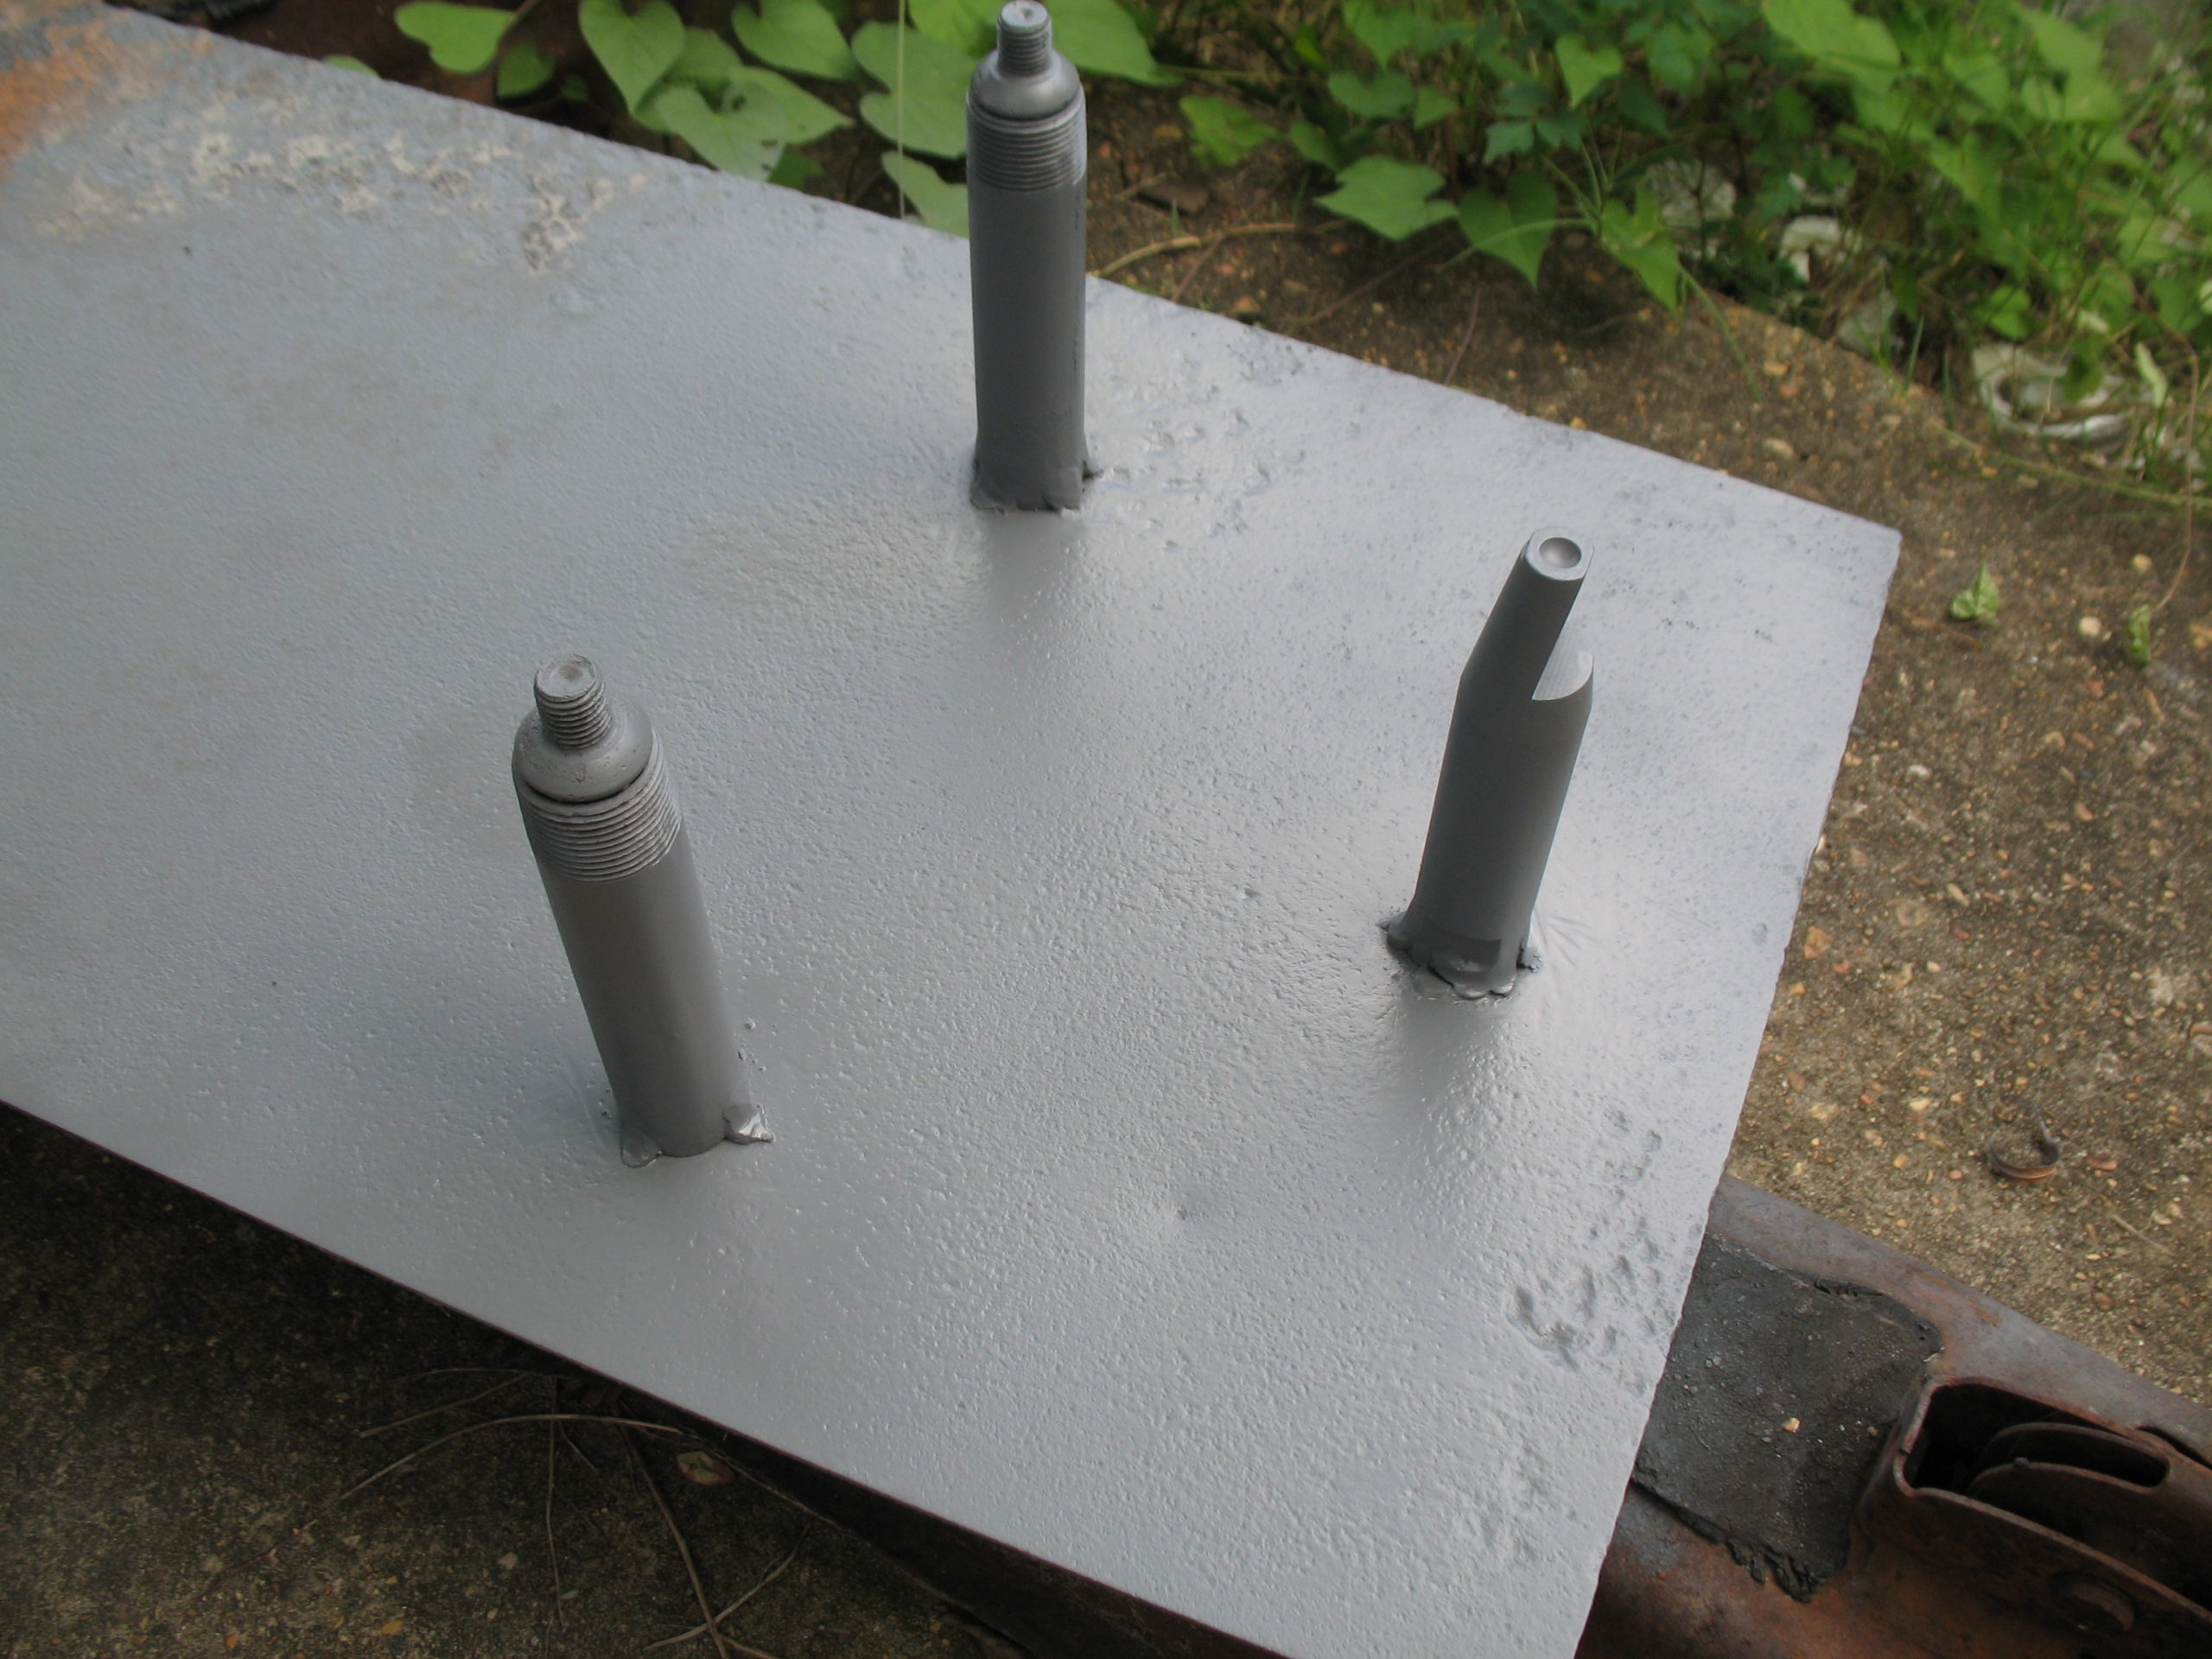
For the wheel supports with the VW lug bolts, they too seem to hold up when tightened, and don’t turn. I could weld them to the pipe, or hammer the pipe flat against the bolt to keep it from turning, but as of now I think it will work without that. Plus, I won’t be damaging the lug bolt and will be able to return it to use in the future.

REPAIRS – Wheels, pt. 4

I’m removing the old hubcap retaining clips from the four main wheels. Most people probably just grind-off the top of the rivet head, and use a punch to remove what’s left of the rivet. I put some grinder marks on the wheel when taking out the rivets from the spare, so decided on this method for the remaining wheels:

  • Remove the old tire valve
  • Strike a mark with a center punch on the underside/bottom of each rivet
  • Drill a hole from the bottom of the rivet through the top (I first used a 5/32″ or 4 mm, then came back with a 3/16″ or about 5 mm)
  • Use a pin punch, just punch out what’s left from the bottom.

REPAIRS – Wheels, pt. 3

Today I started cleaning the wheels. The extra wheel that I have will be my spare. It has some dents around the rim, and I’m not sure how serious it is.

First off, I ripped out the old valve stem. Then, with an angle grinder, shaved-off as much as I could of the underside of the rivets. Then I drilled holes in the rivets. This may have been unnecessary. I used the grinder on the front of the wheel, and ground off the rivet heads, then punched them out.

Finally, I used the wire brush attachment on the angle grinder to clean off the rust and grime.

REPAIRS – Wheels, pt. 2

The spare wheel that I have will not let go of its tire. It looks like the rubber has actually rusted to the metal wheel. Perhaps the steel bands inside? I don’t know, but I’ve tried regular methods of tire removal, and when that didn’t work I started cutting the tire. First, with a hacksaw, then a box cutter/utility knife. Hard work, but I got most of the tire cut away. A ‘ring’ of the tire is still affixed to each rim of the wheel.


While searching the internet for someone with a similar problem, I found a suggestion that the tire may be loosened by saturating the rim area with brake fluid. I tried that over several days. While it removed the paint from the wheel, it didn’t do a lot to free the tire.

Next step — to clean up the area where the tire and wheel meet. Maybe I can see better what is going on. I picked up a wire wheel attachment for my angle grinder.

The wire wheel removed some tire material, until I could see the metal bands/wires inside the rubber of the tire. Eroding the tire rubber smells bad.

Once I got to the metal strands, I used a pair of lineman’s pliers, and then a cut-off wheel to cut through some of the bands. Once I cut enough of them, the tire ‘ring’ came loose of the tire. I didn’t need to cut completely through the tire. It seems that the circumference of the tire had tightened-up over the years. Getting it loose enough allowed the tire to then be pried off the wheel.