DISASSEMBLY – Part 6

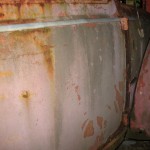
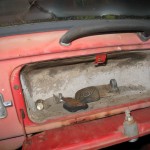
Started removing the window glass today, beginning with the rear window, and then the side windows. The rubber molding was dry-rotted so it was fairly easy break apart with fingers and careful use of a screwdriver. The glass came out easily; I’m surprised at how thin it is, it seems like my 1970 Beetle rear window was much thicker.
The rear windows and side windows are all marked as made by Sekurit. Don’t know if there’s a way to tell if it’s original glass or not. I’ve been looking for an original front windshield since mine is badly-cracked, but after reading several posts on TheSamba.com about original glass being fragile, I think I need to research it a little more and make sure I choose the safer windshield (if not the rest of the windows glass). Laminated vs. tempered vs. original vs. new.
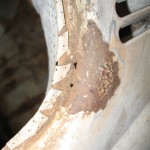
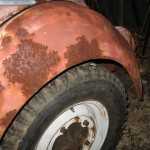
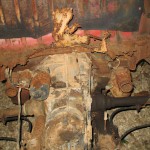
Once I removed the side windows and rear window, I was glad to see that the rust spots around the windows rims were not bad, or at least they weren’t as bad as I thought they would be. I was afraid I would be welding-in patches or lead-soldering some sections. The windshield damage remains to be seen.

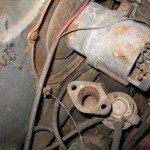
In addition to removing some glass, I also began treating some rusty fasteners with Kroil penetrant to aid in their removal later.

Total time: approximately 40 minutes. Photos follow.

Getting the convertible

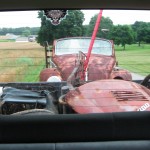
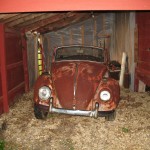
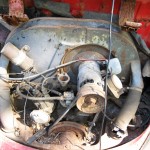
I finally got the weather and my schedule to cooperate, and I went back to Alabama to pick up the second of my bugs: a 1966 Convertible. In rough condition. There are some parts here and there to be salvaged (like a motor, maybe, and a transaxle) but most of this vehicle is lost, I’m afraid. I’m going to use it as a practice dummy, and test some repair skills on this one before I work on the ’63.
REPAIR – Driver-side door panel

I picked up a piece of 4’x’8’x1/8″ Masonite (hardboard) from Lowe’s today. A 4’x8′ sheet of hardboard is enough to do all four panels and then some. About $7.

The door panel, laying on the piece of hardboard
I’m going to use this to repair my driver-side door panel, which has a warped and torn and decayed backing, but still has some vinyl with a few years left (maybe). So first, I’m going to separate the vinyl from the hardboard, and use the hardboard for a template to cut out the new door panel.

What is left of the driver-side door panel backing.
There’s the vinyl, then there’s a trim piece (like beading) that goes around the perimeter. There are staples all around the perimeter holding on the beading, but the staples don’t go completely through the door panel. They’re not bent like normal staples — just stuck in a little.

The vinyl (back view), after it is separated from the hardboard.
Because my panel’s hardboard backing is in pieces (and some pieces are missing), I have to re-assemble it. But it’s also warped badly, so I’m going to try to flatten it before I try to put the pieces together. My approach is to wet the hardboard, and lay it out flat with some heavy weight stacked on top. At the Vanagonauts website someone name Chris talks about this very thing.

There are only three cuts to be made — the rectangular pocket opening, and the two circles for the window crank and door latch handle. Then, I will need to drill the holes around the edge of the backing (and NOT through the vinyl, of course) for the press-in fasteners that hold the panel to the door itself.

DISASSEMBLY – Part 5

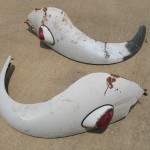
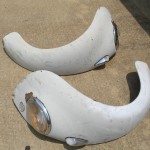
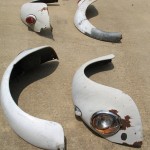
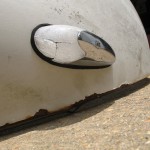
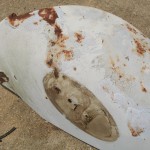
Disassembled the fenders today.

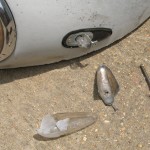
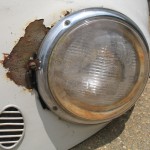
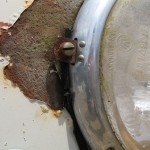
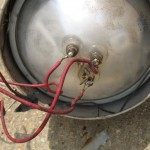
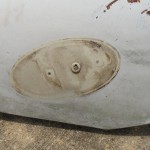
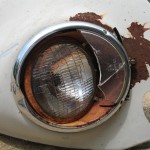
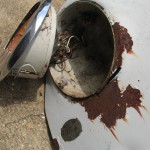
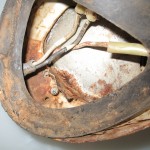
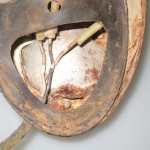
I broke a piece on one of the tail lights where the stud is mounted. The nut underneath was a little too rusty – I probably should have Kroil’ed it first. Also found a huge wasp nest condominium inside one of the headlights.

Work time: 45 minutes. Photos following: