PARTS – Fasteners

New, stainless steel fasteners have arrived from England.

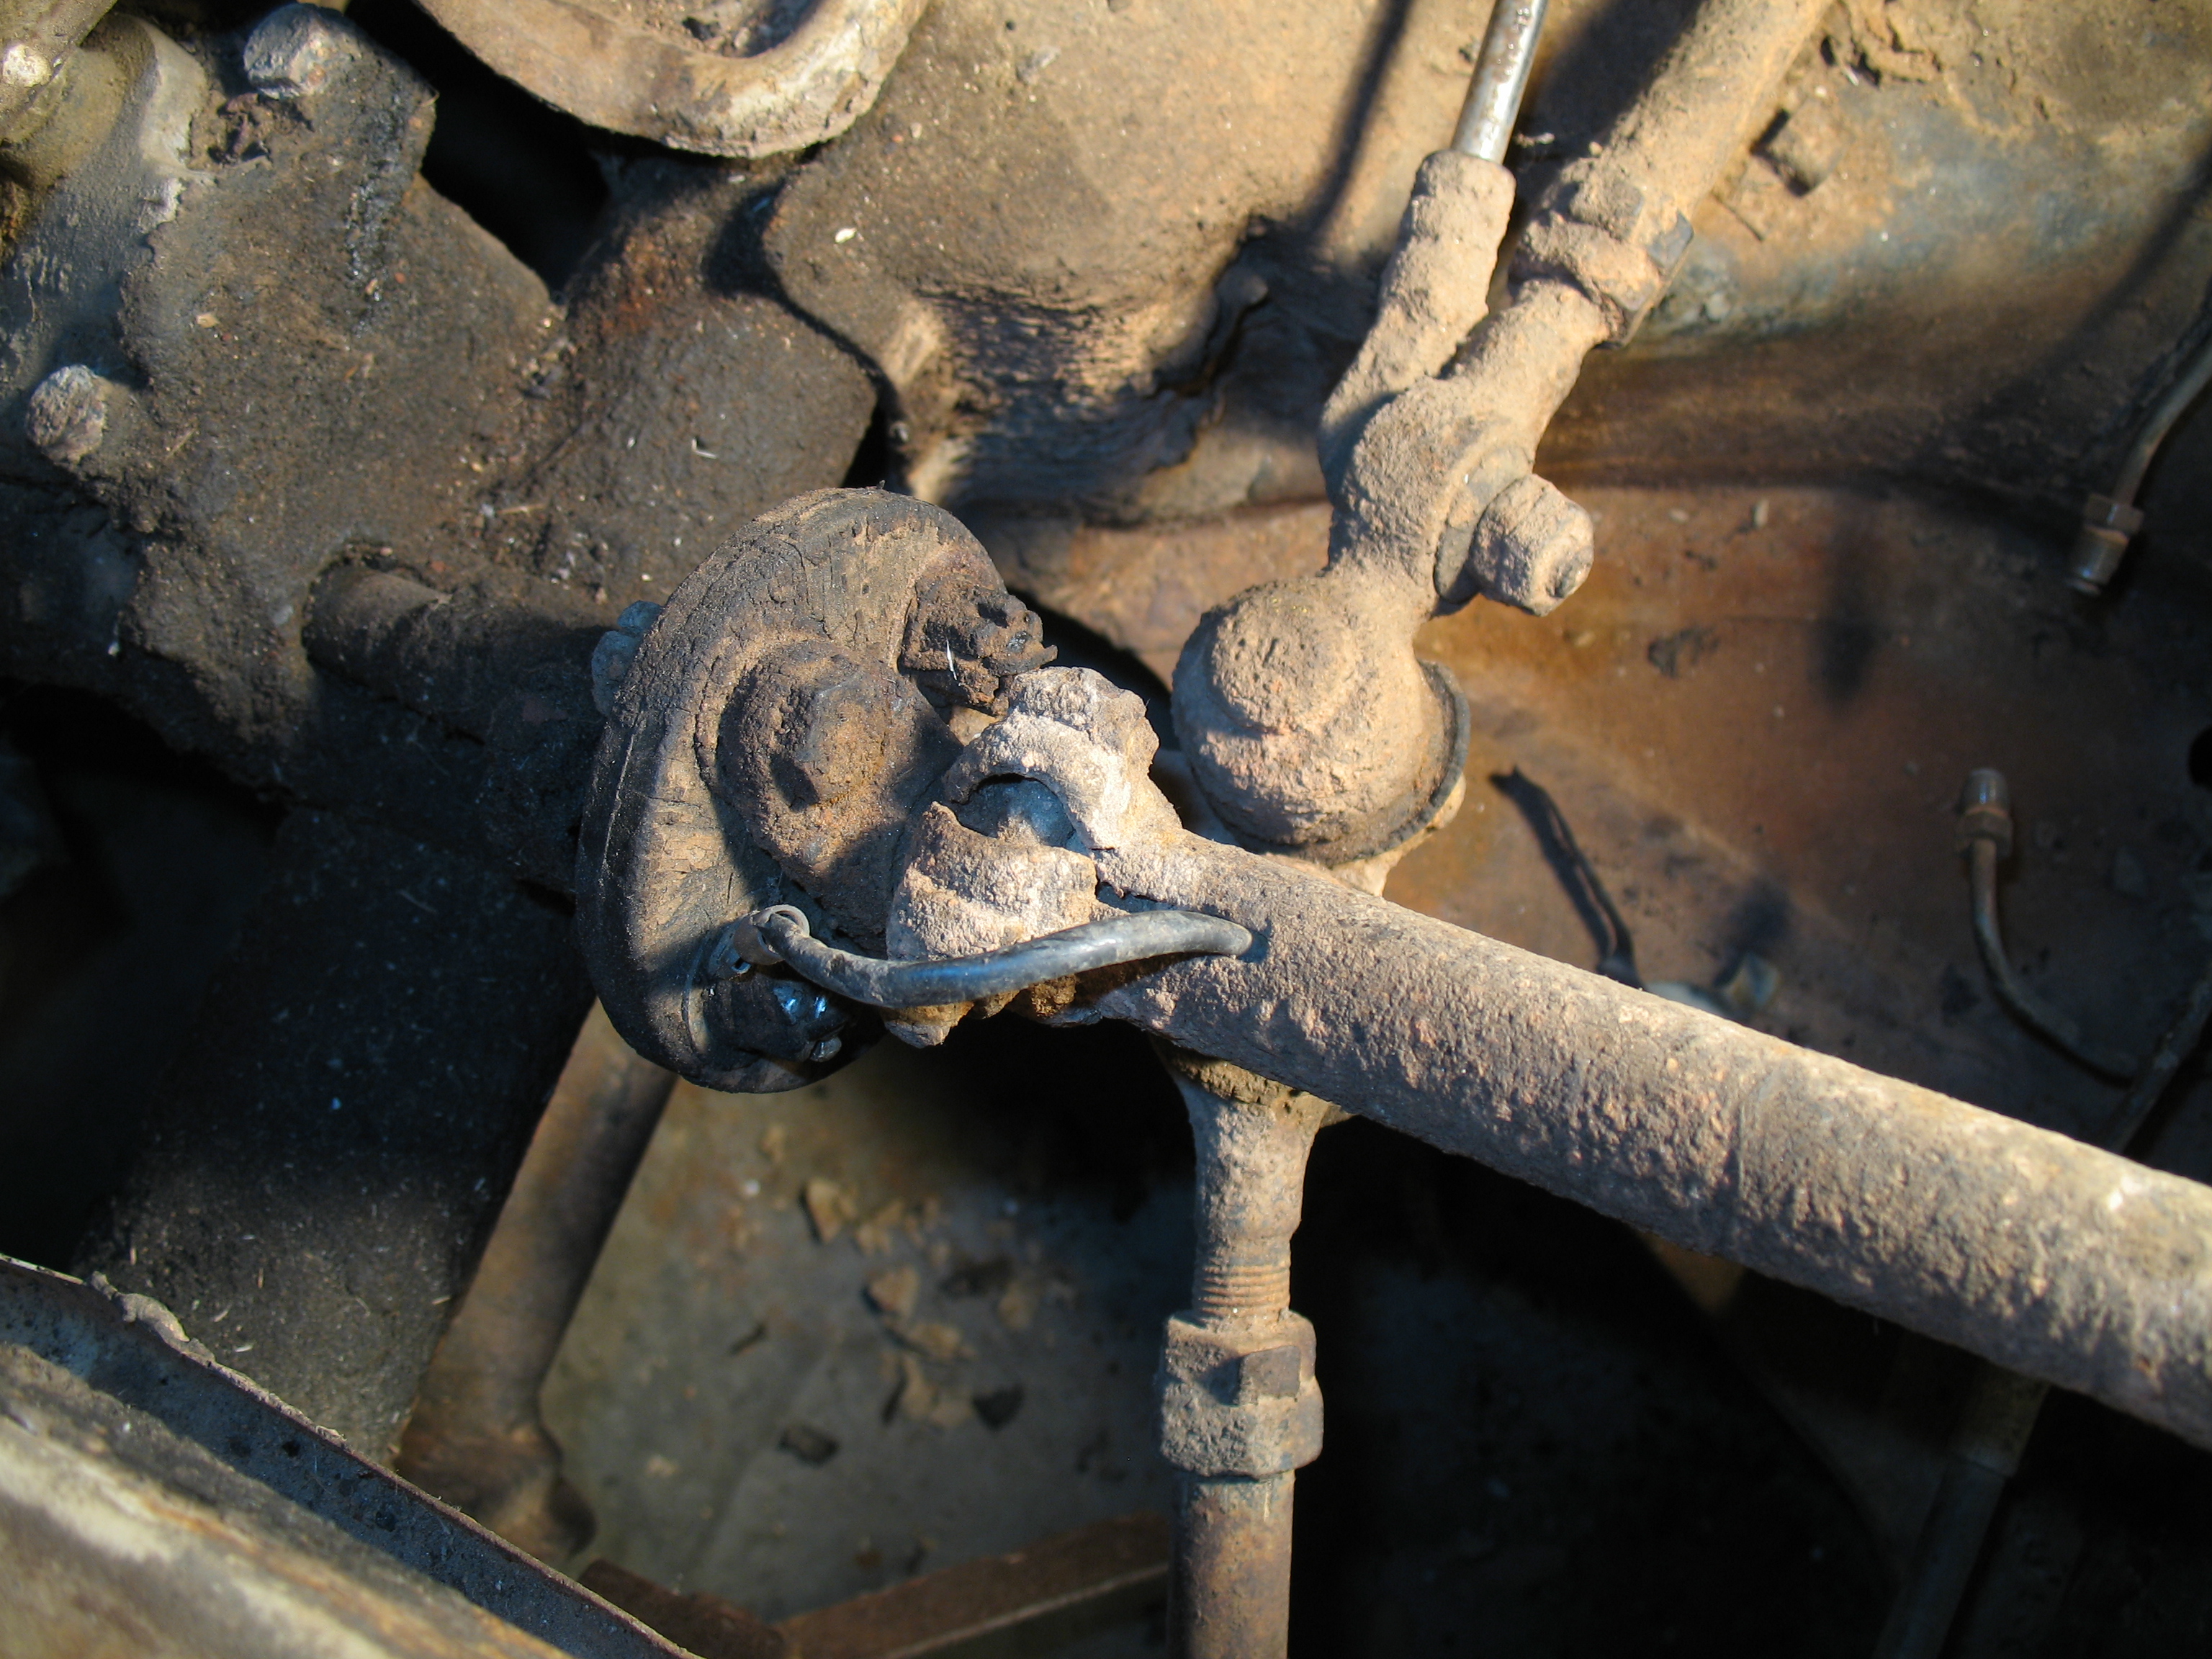
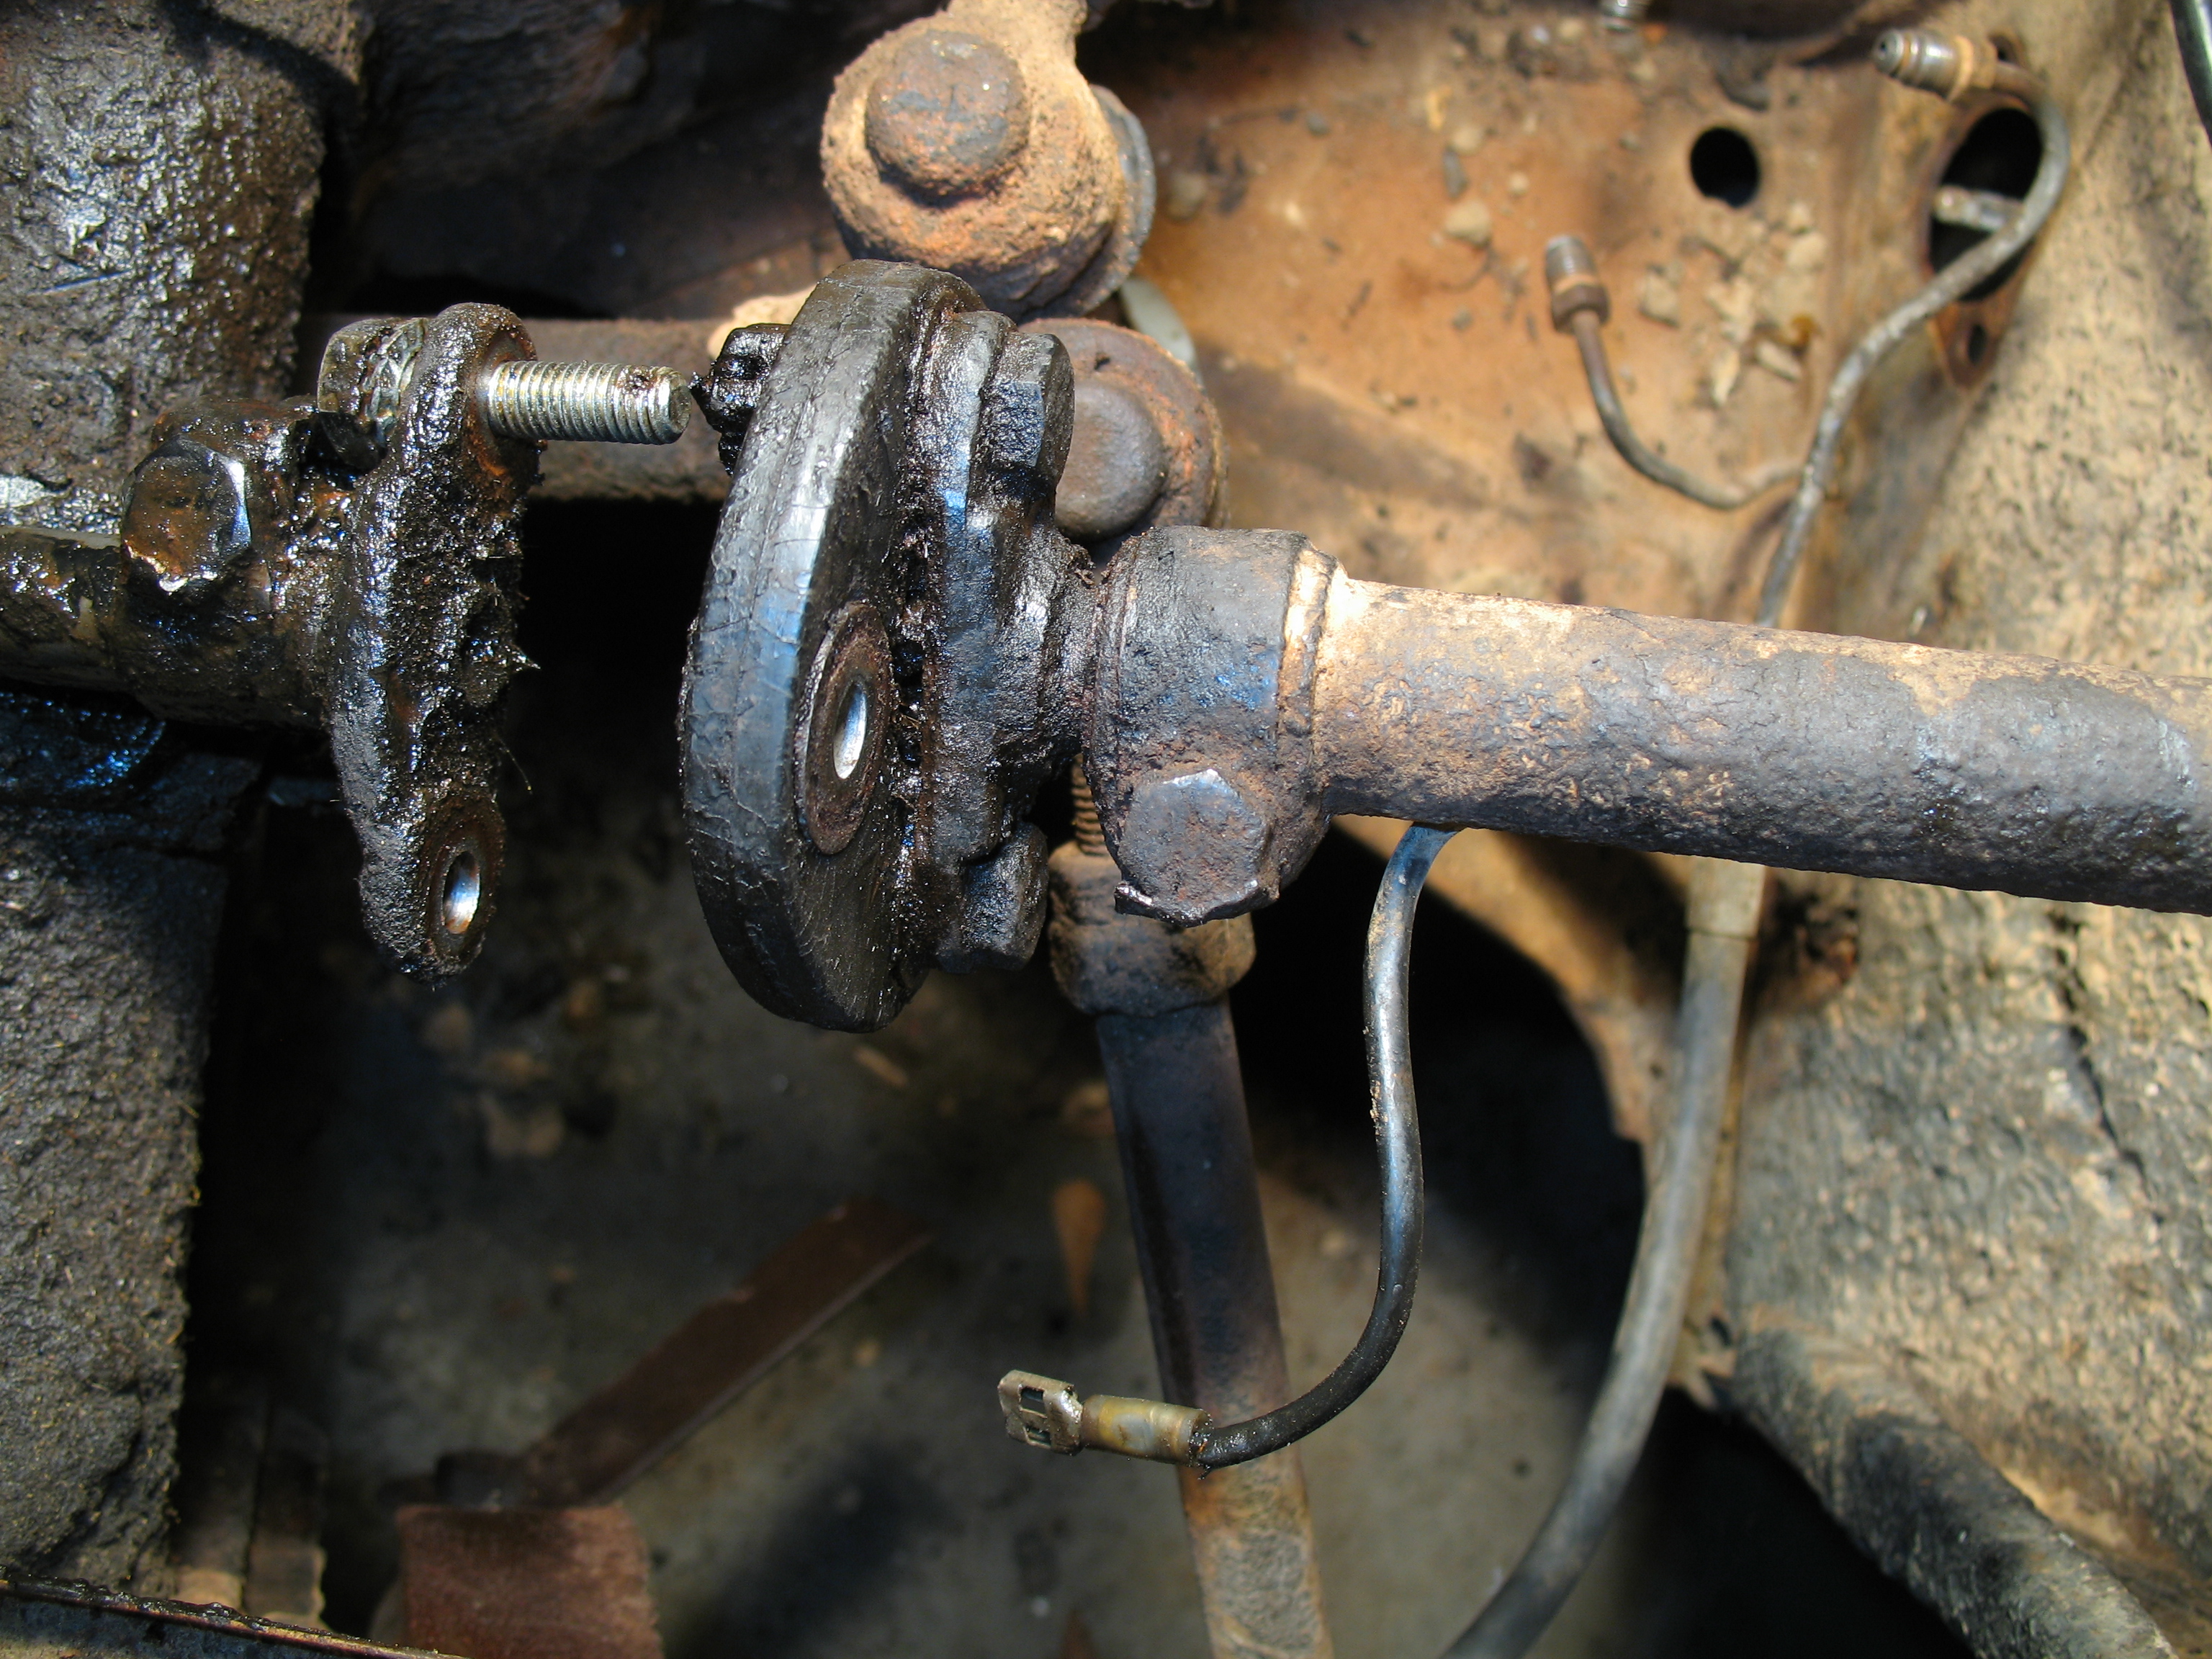
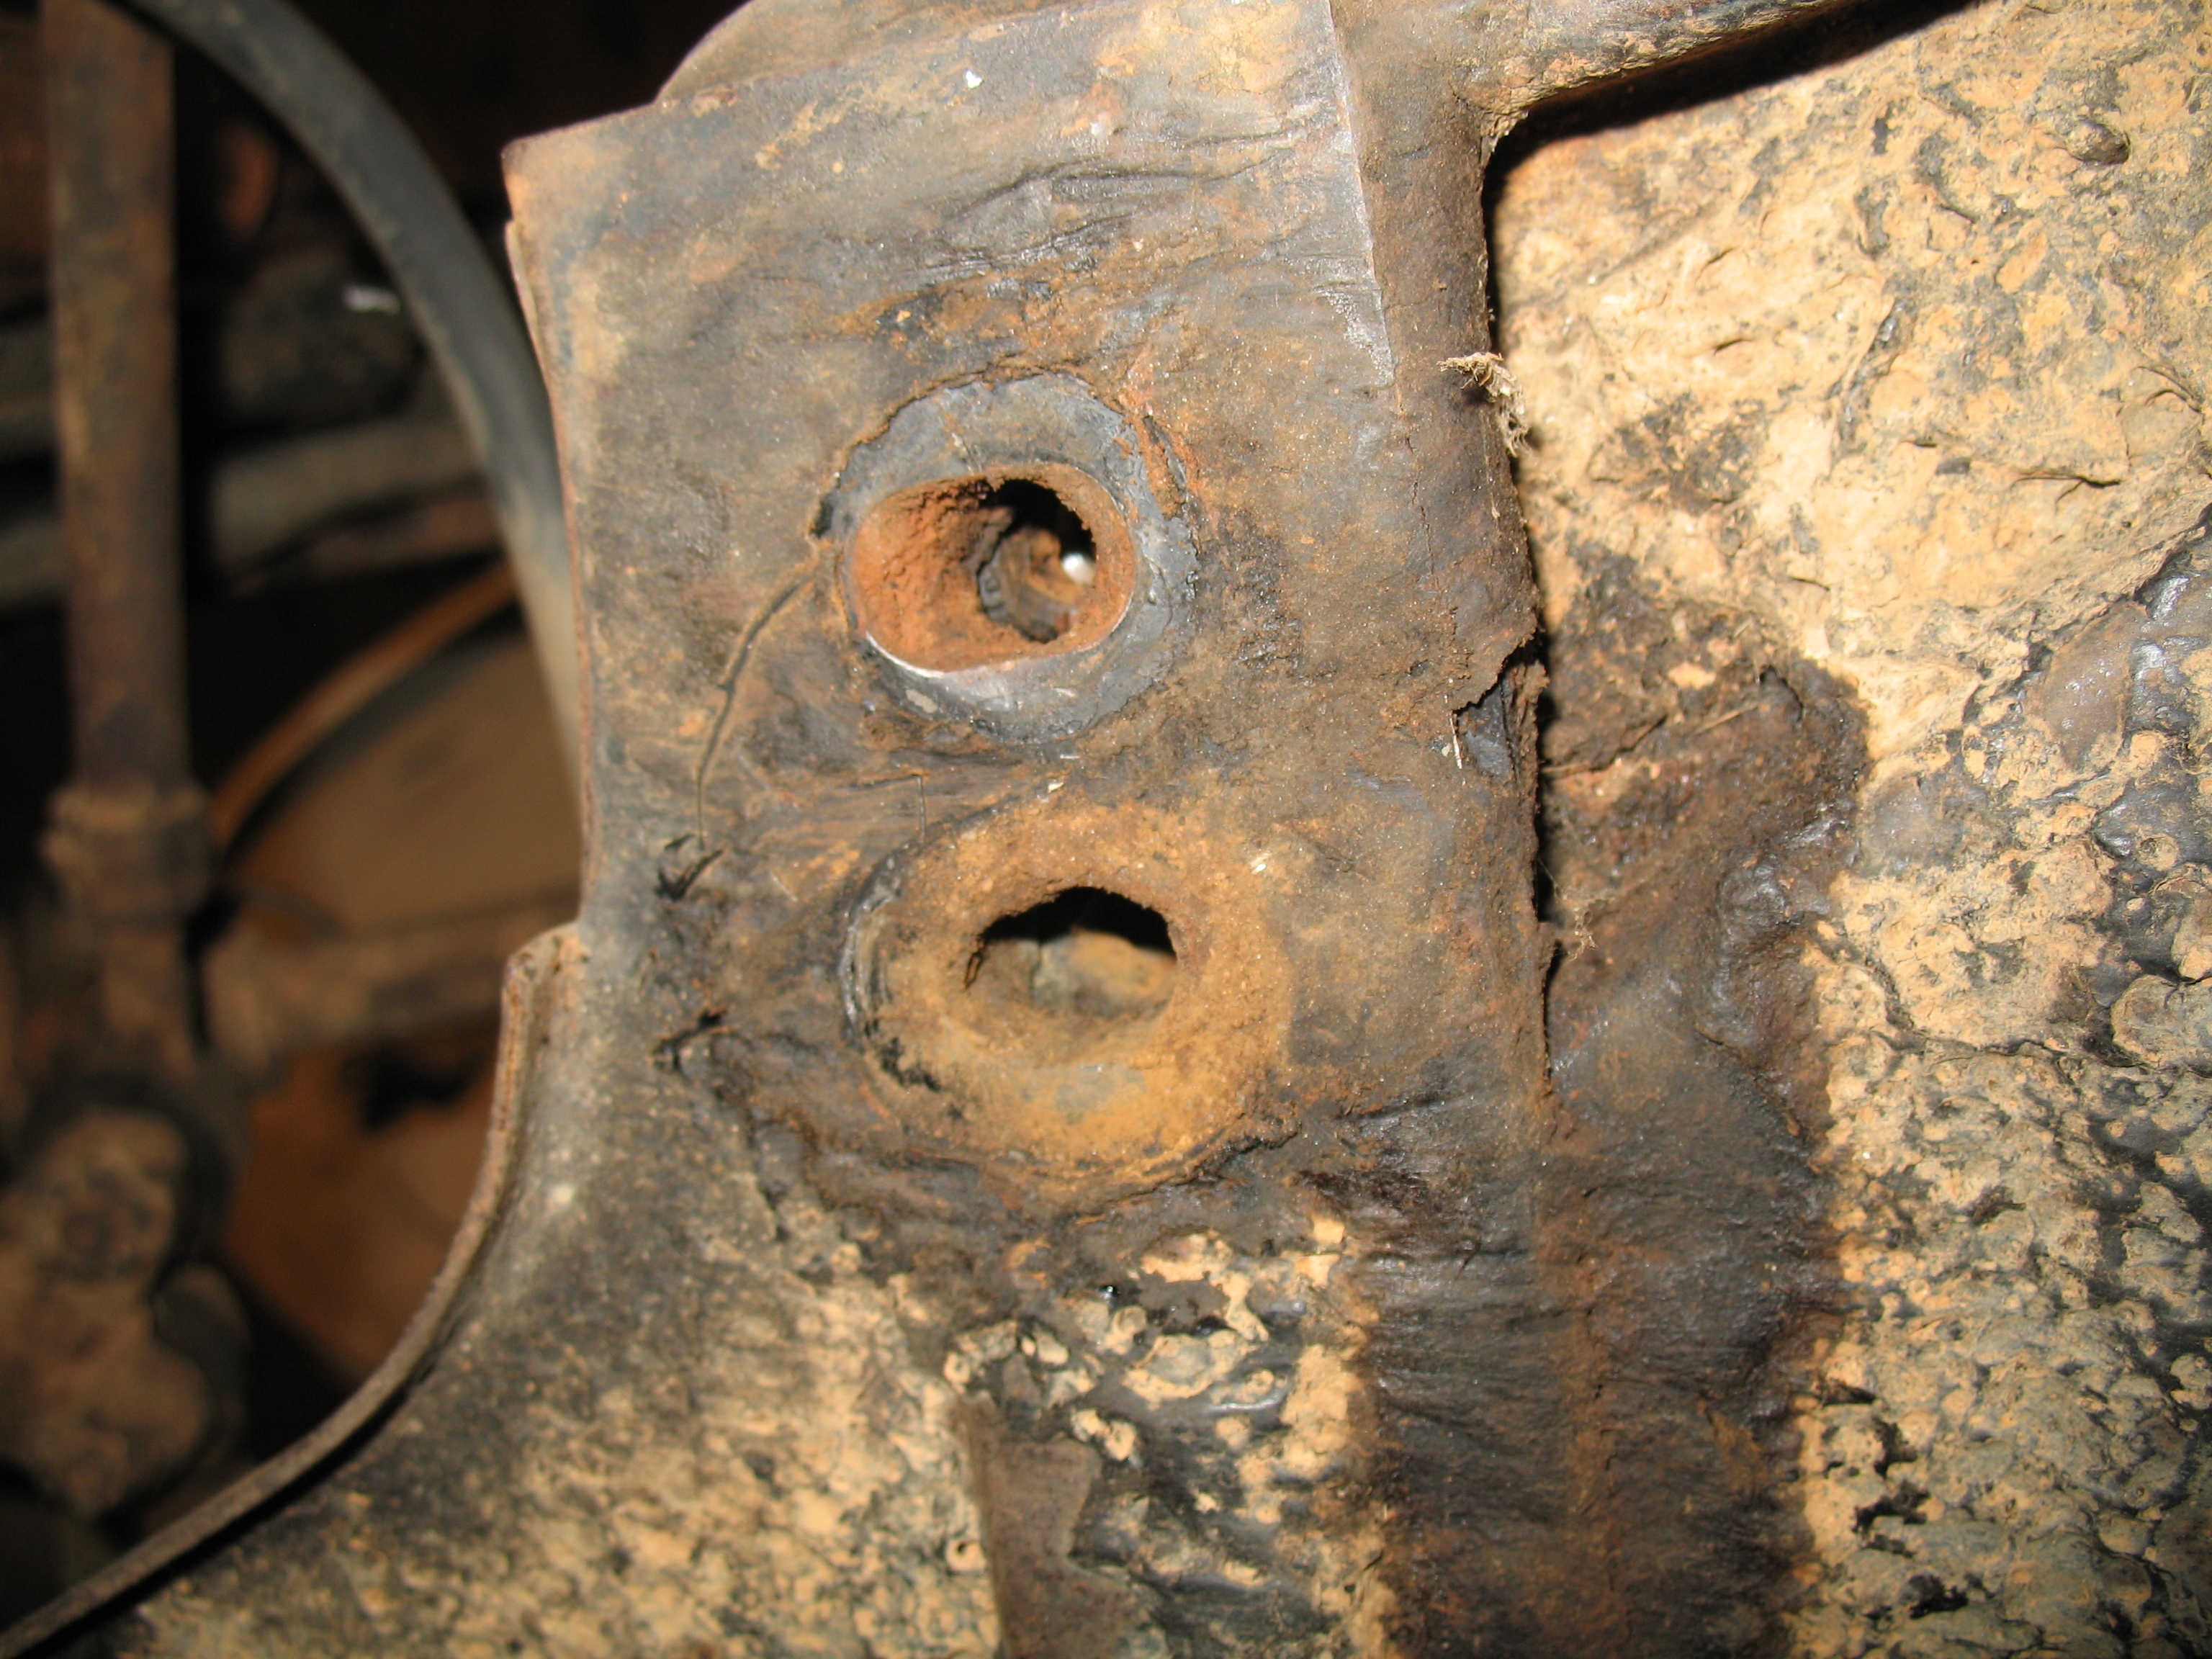
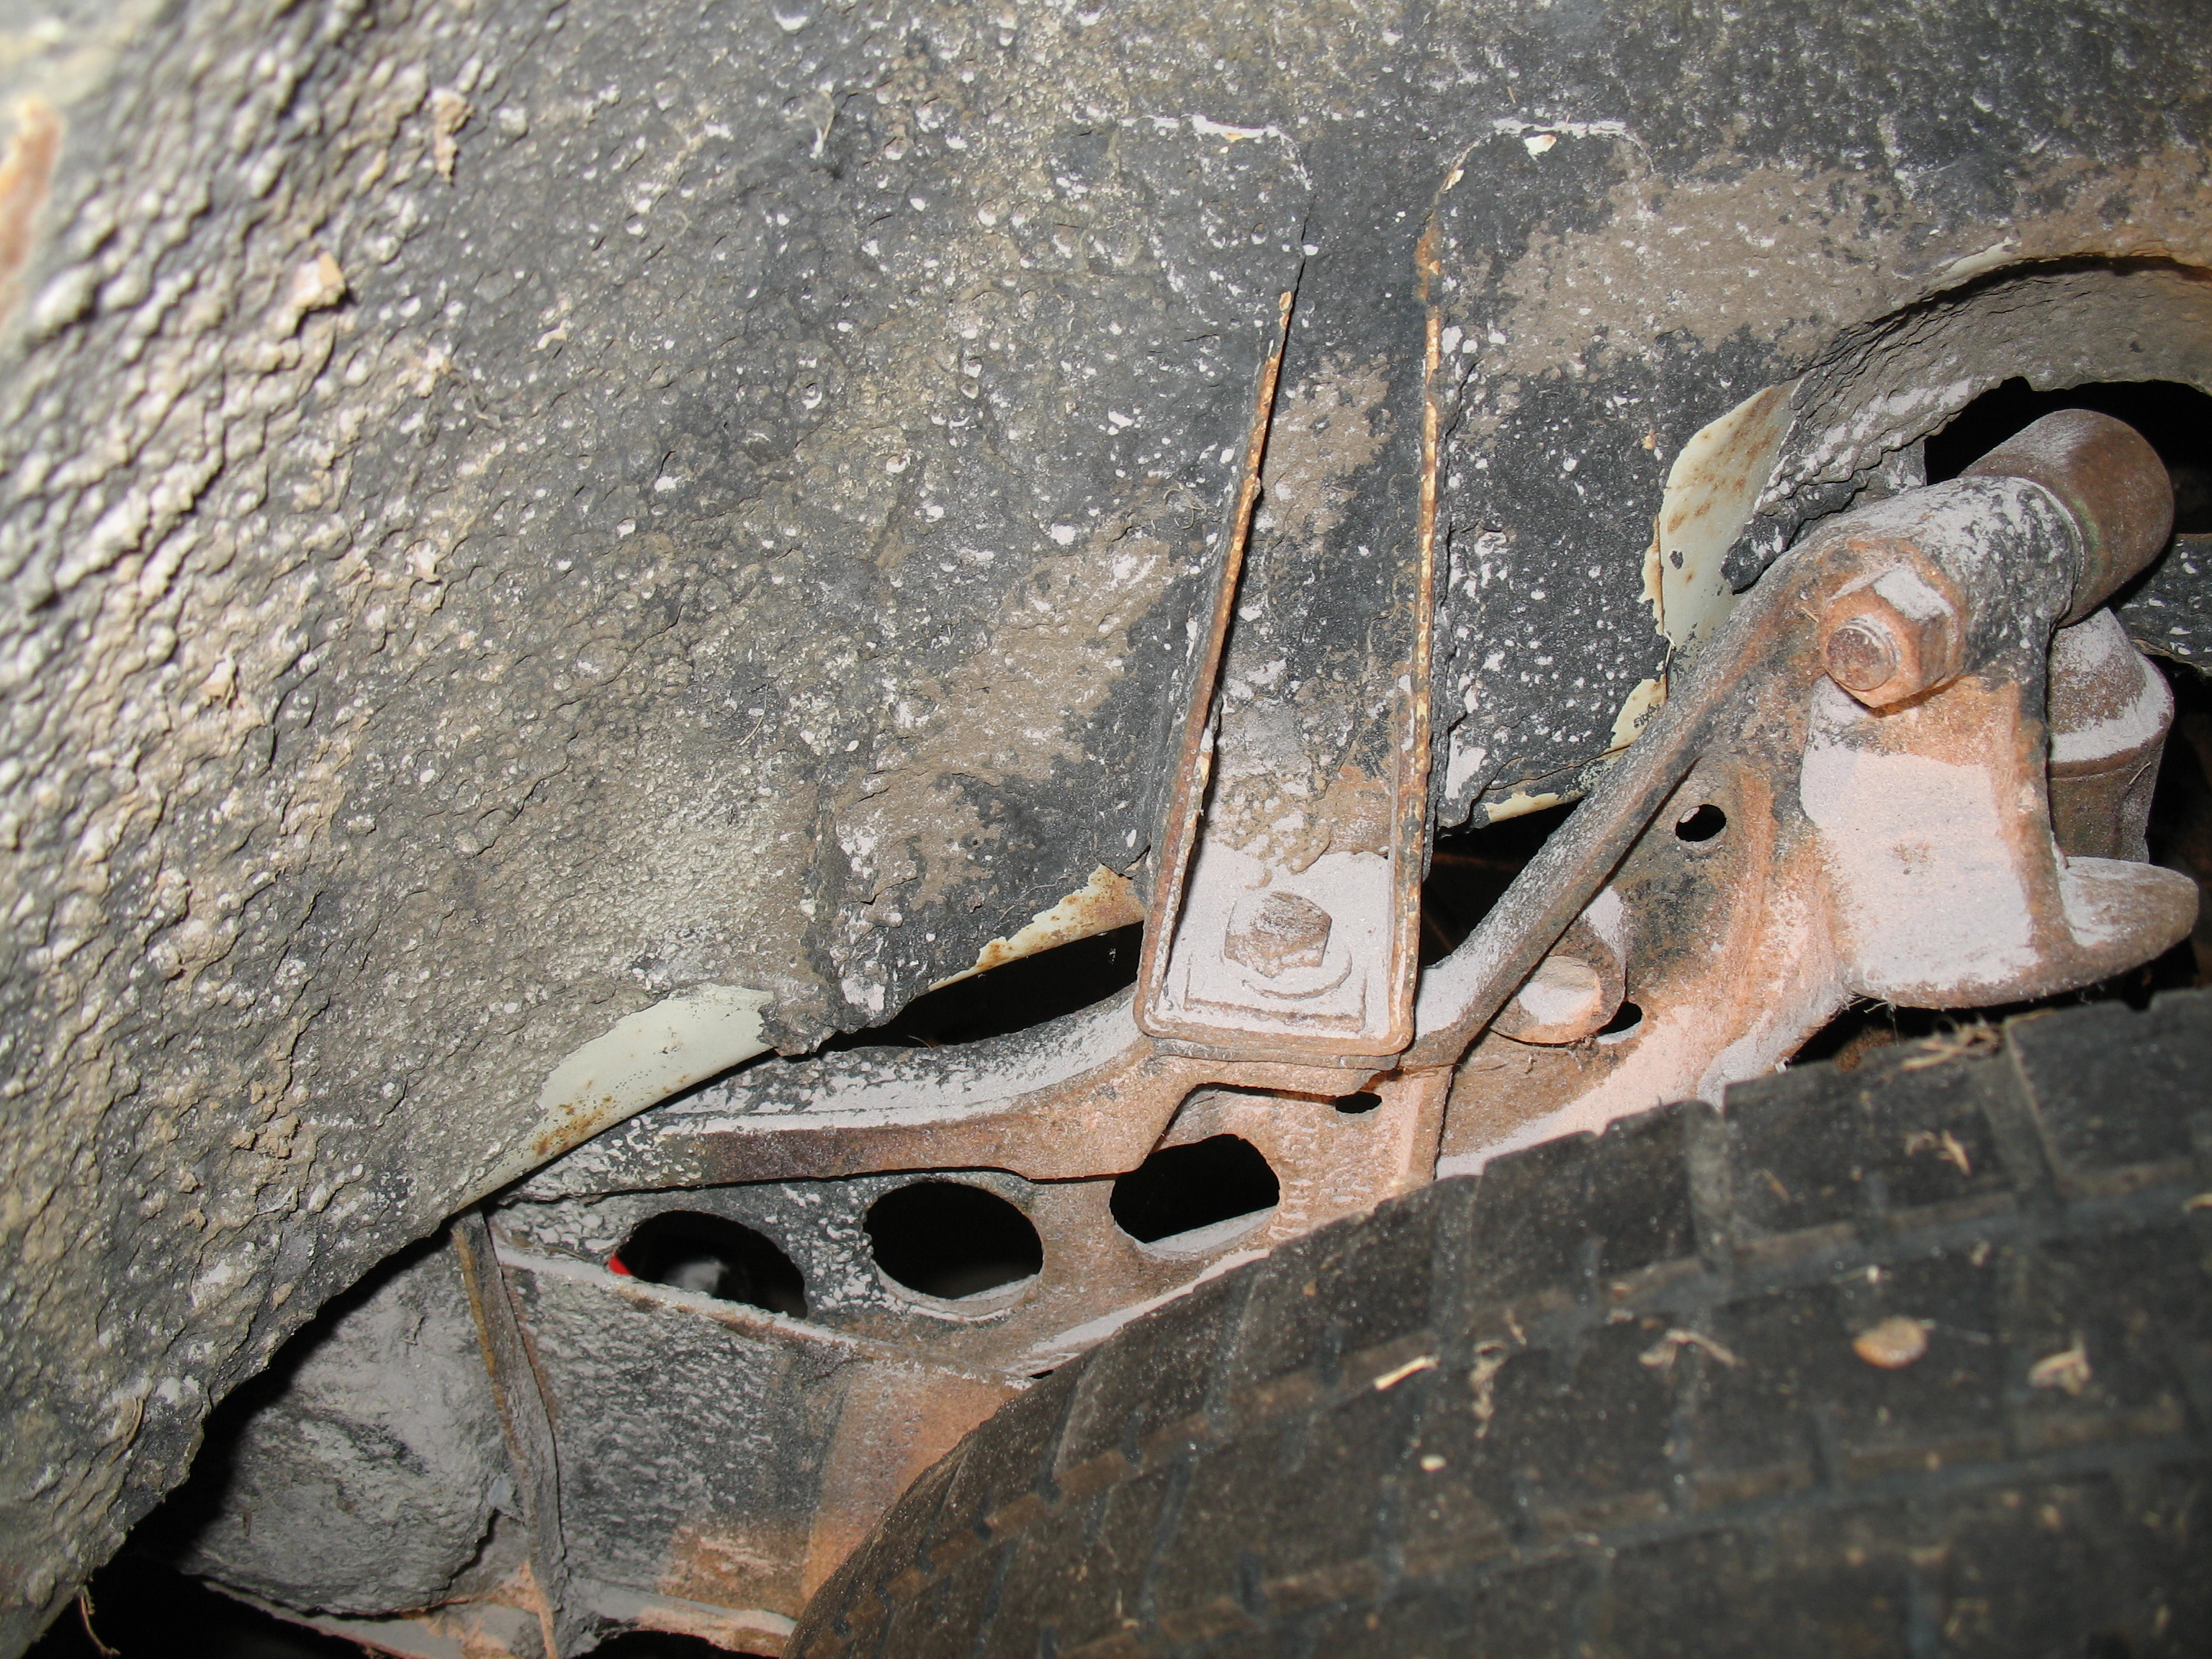
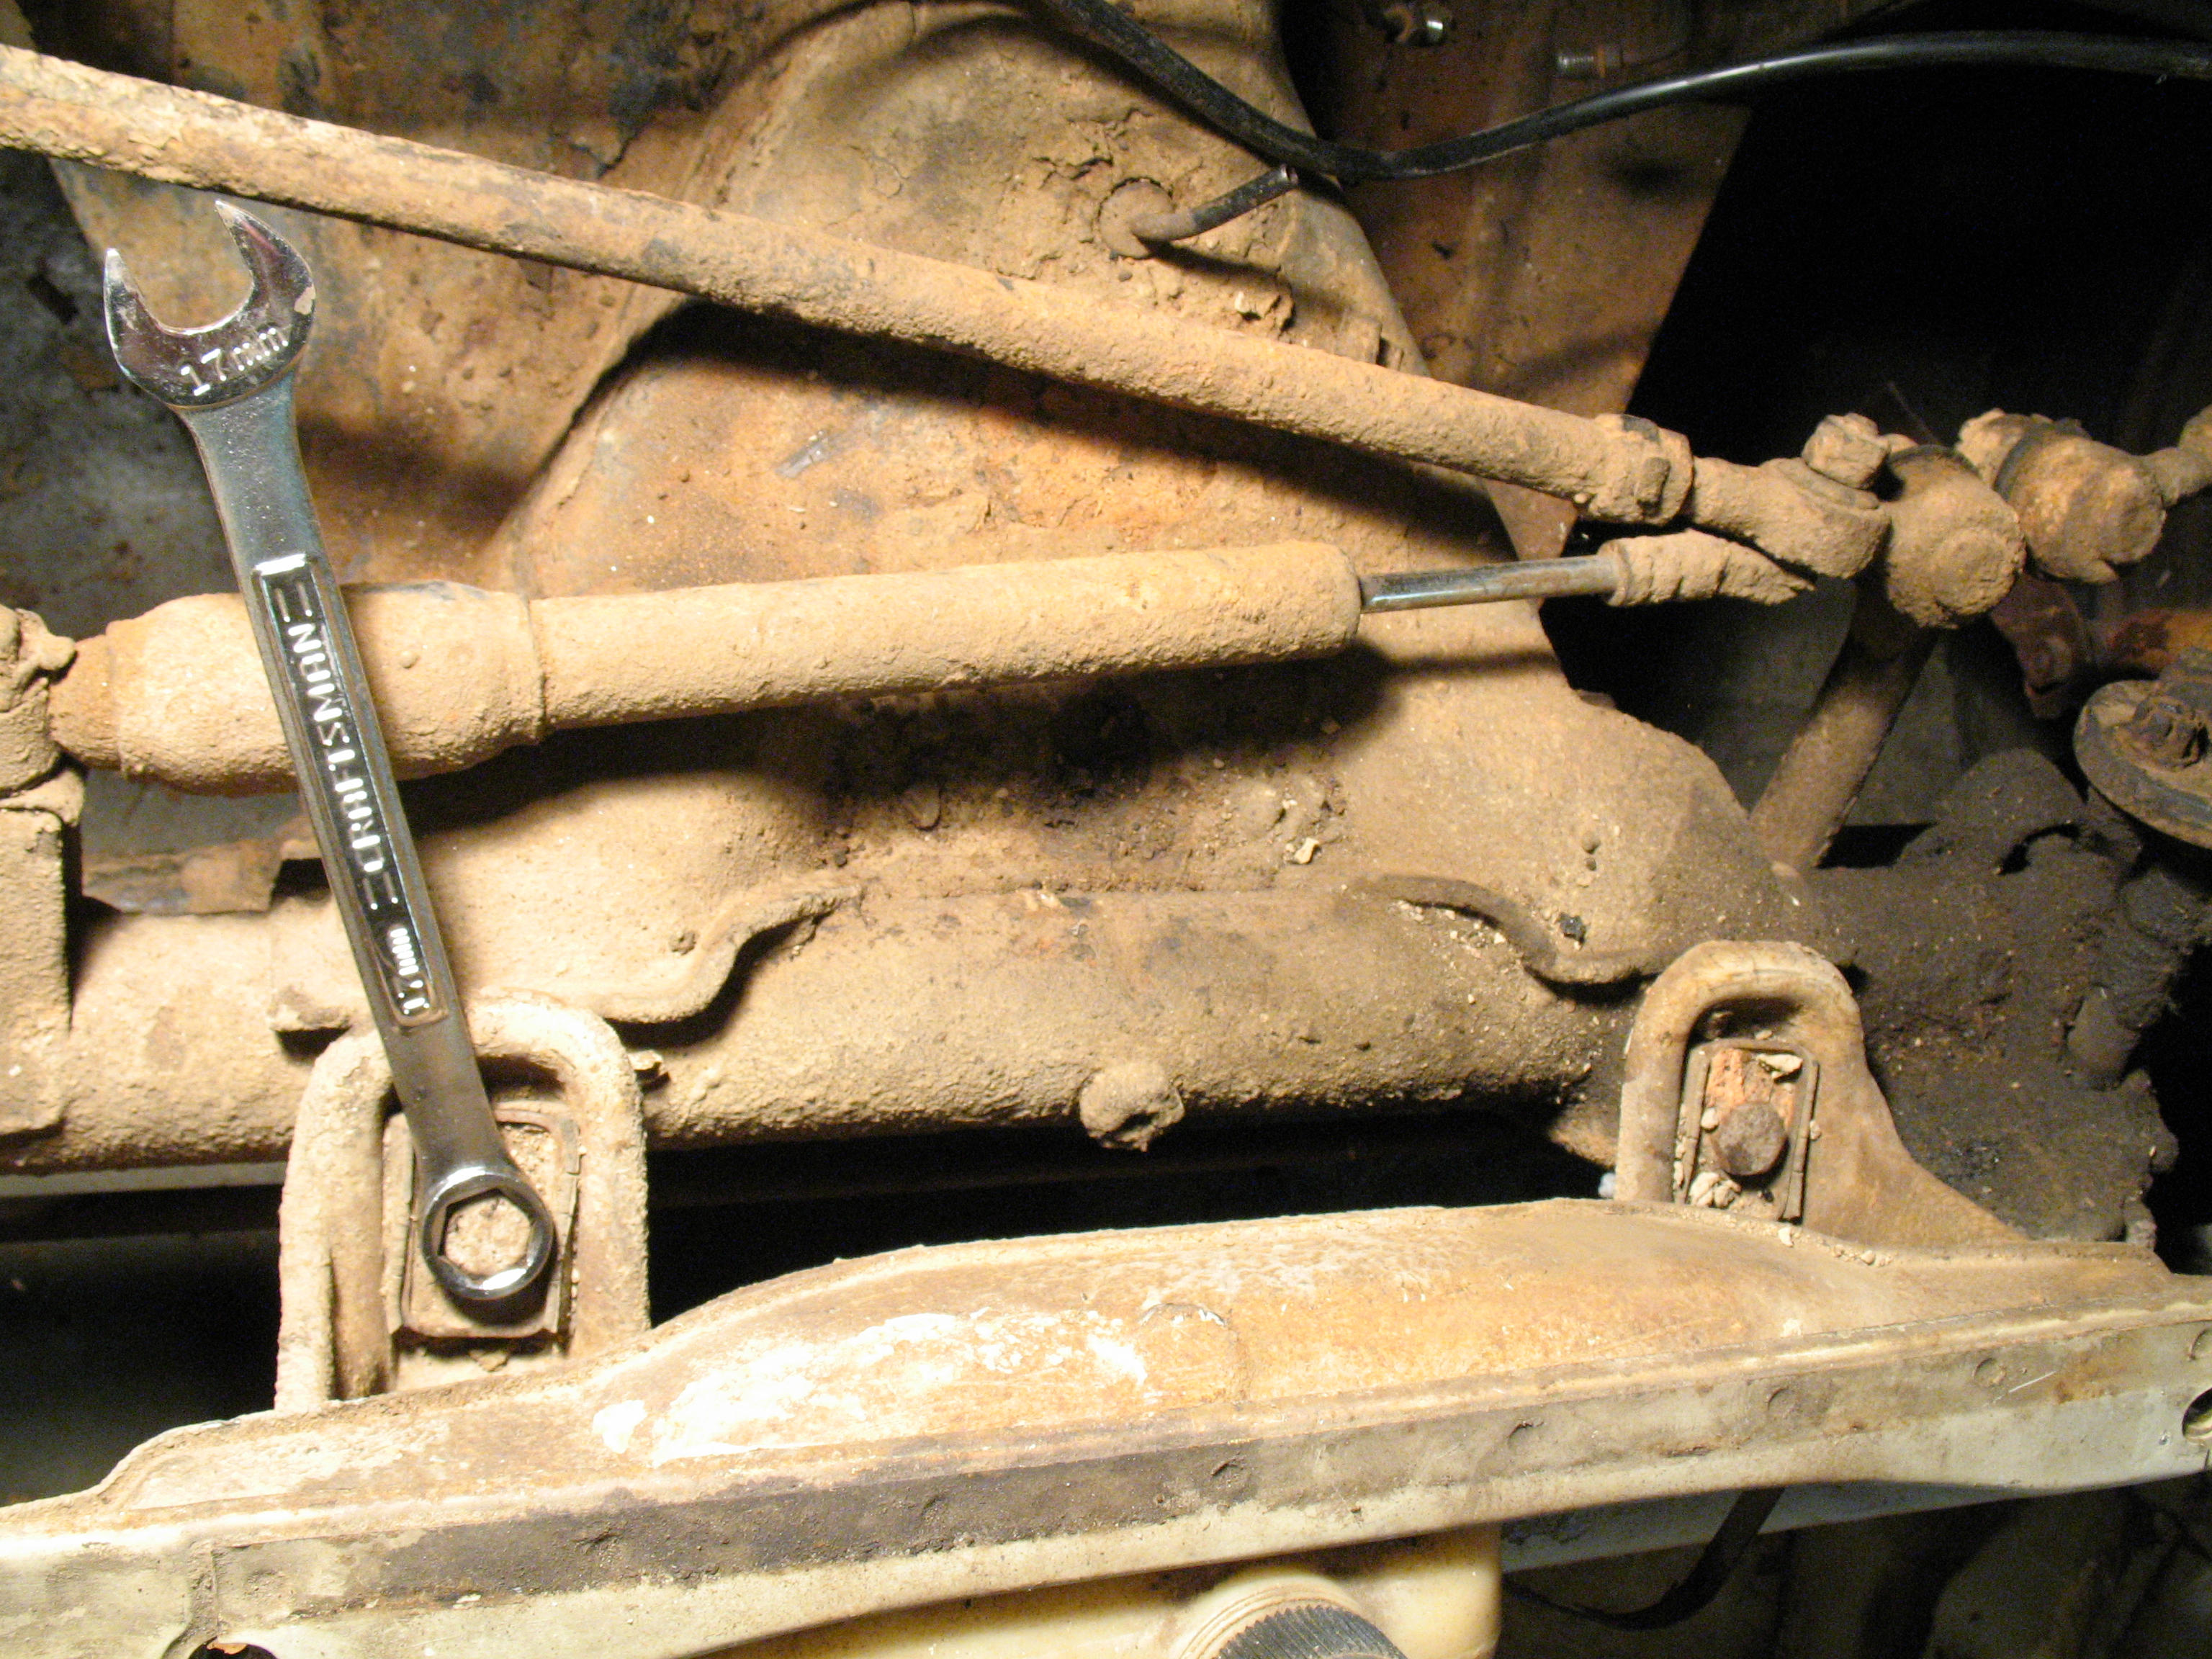
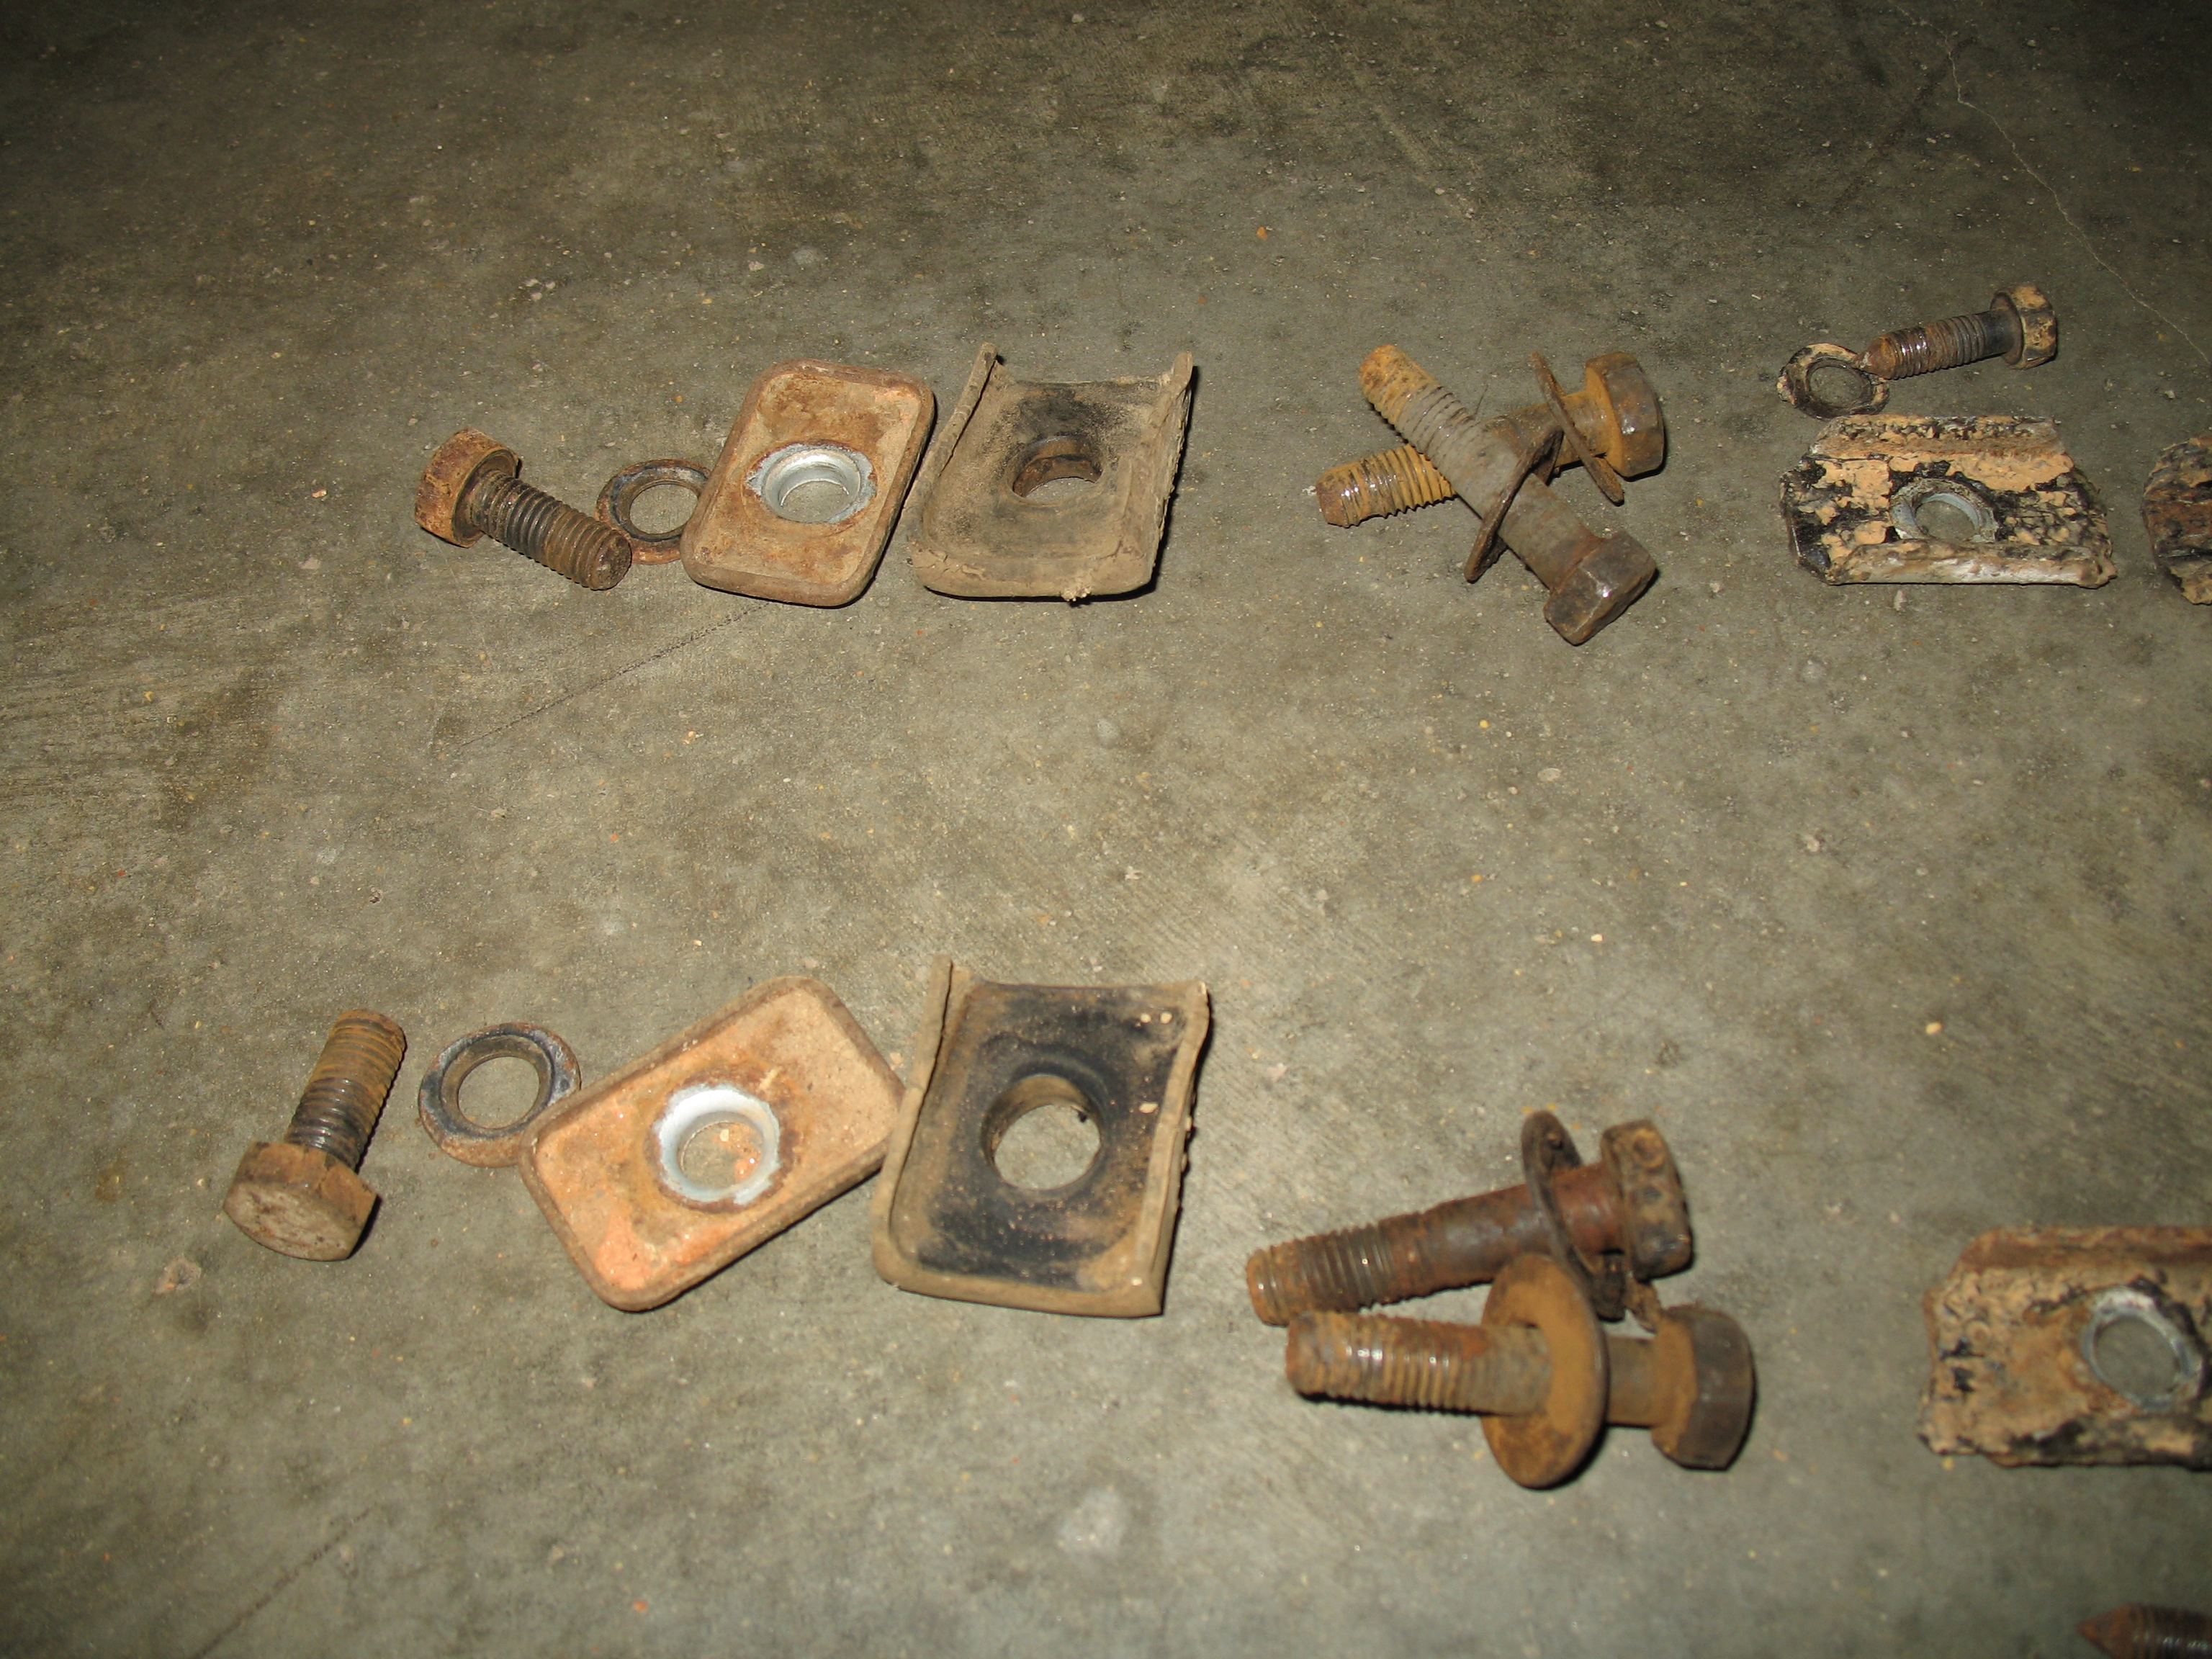
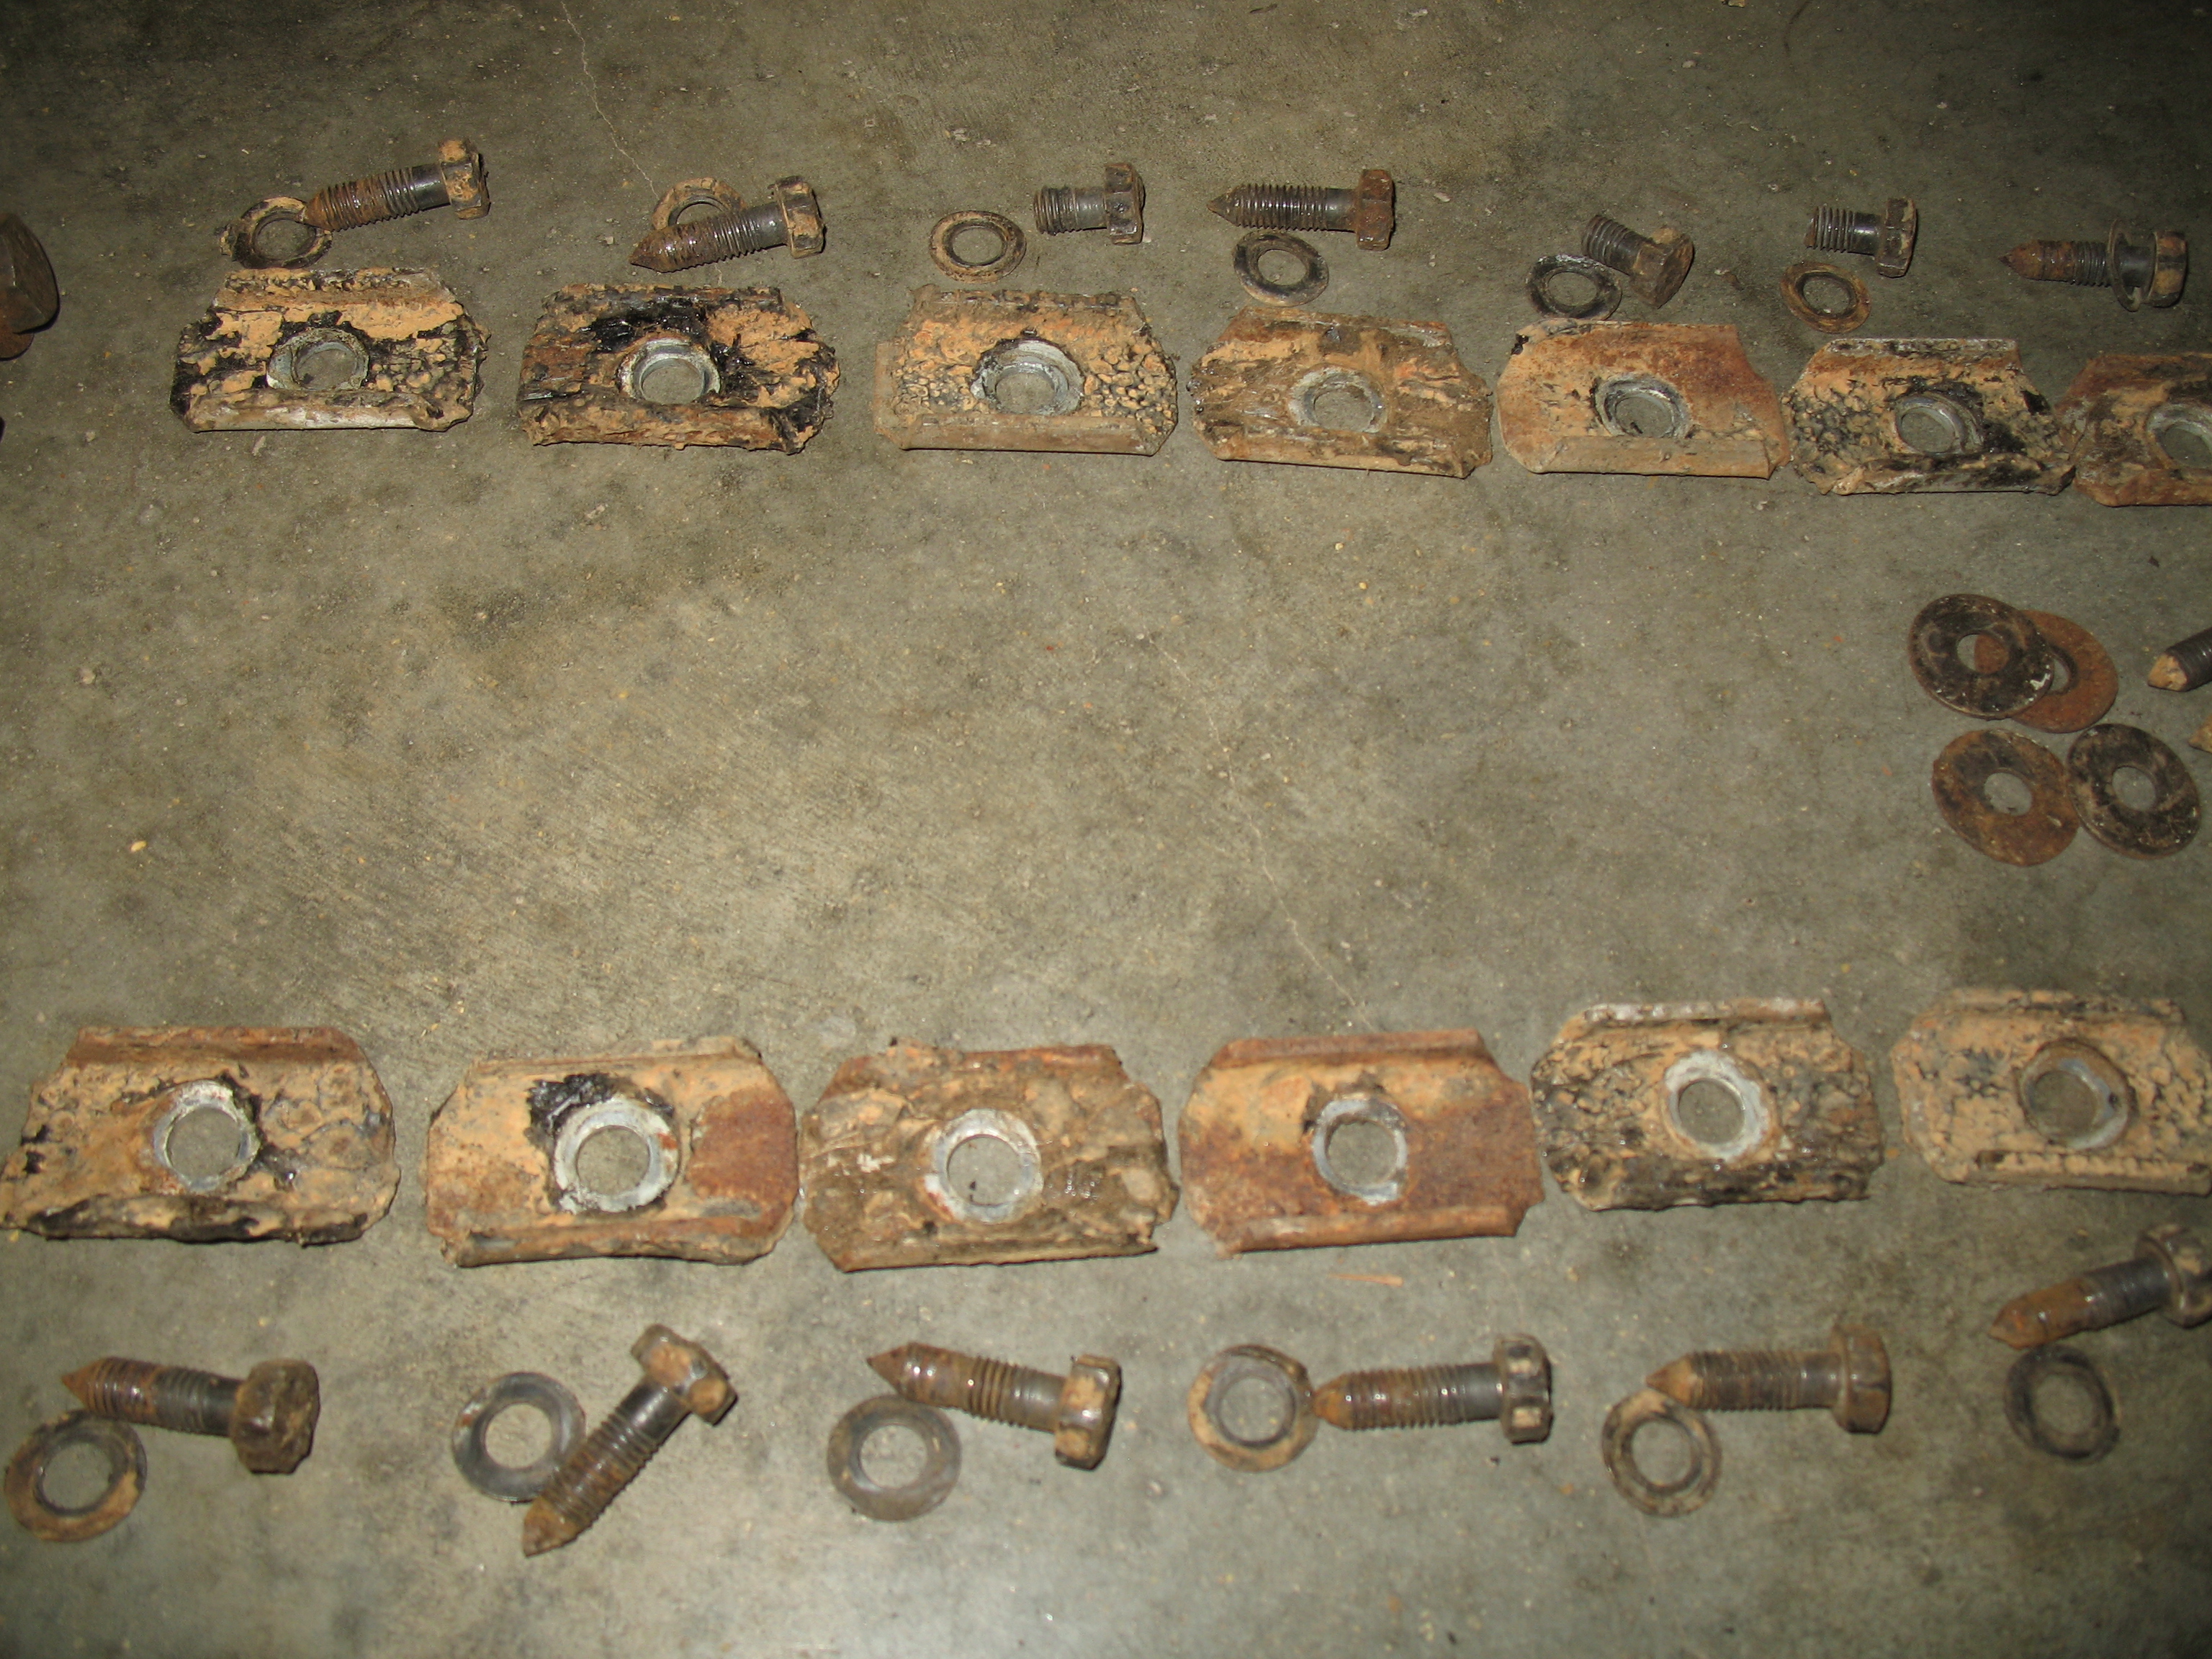
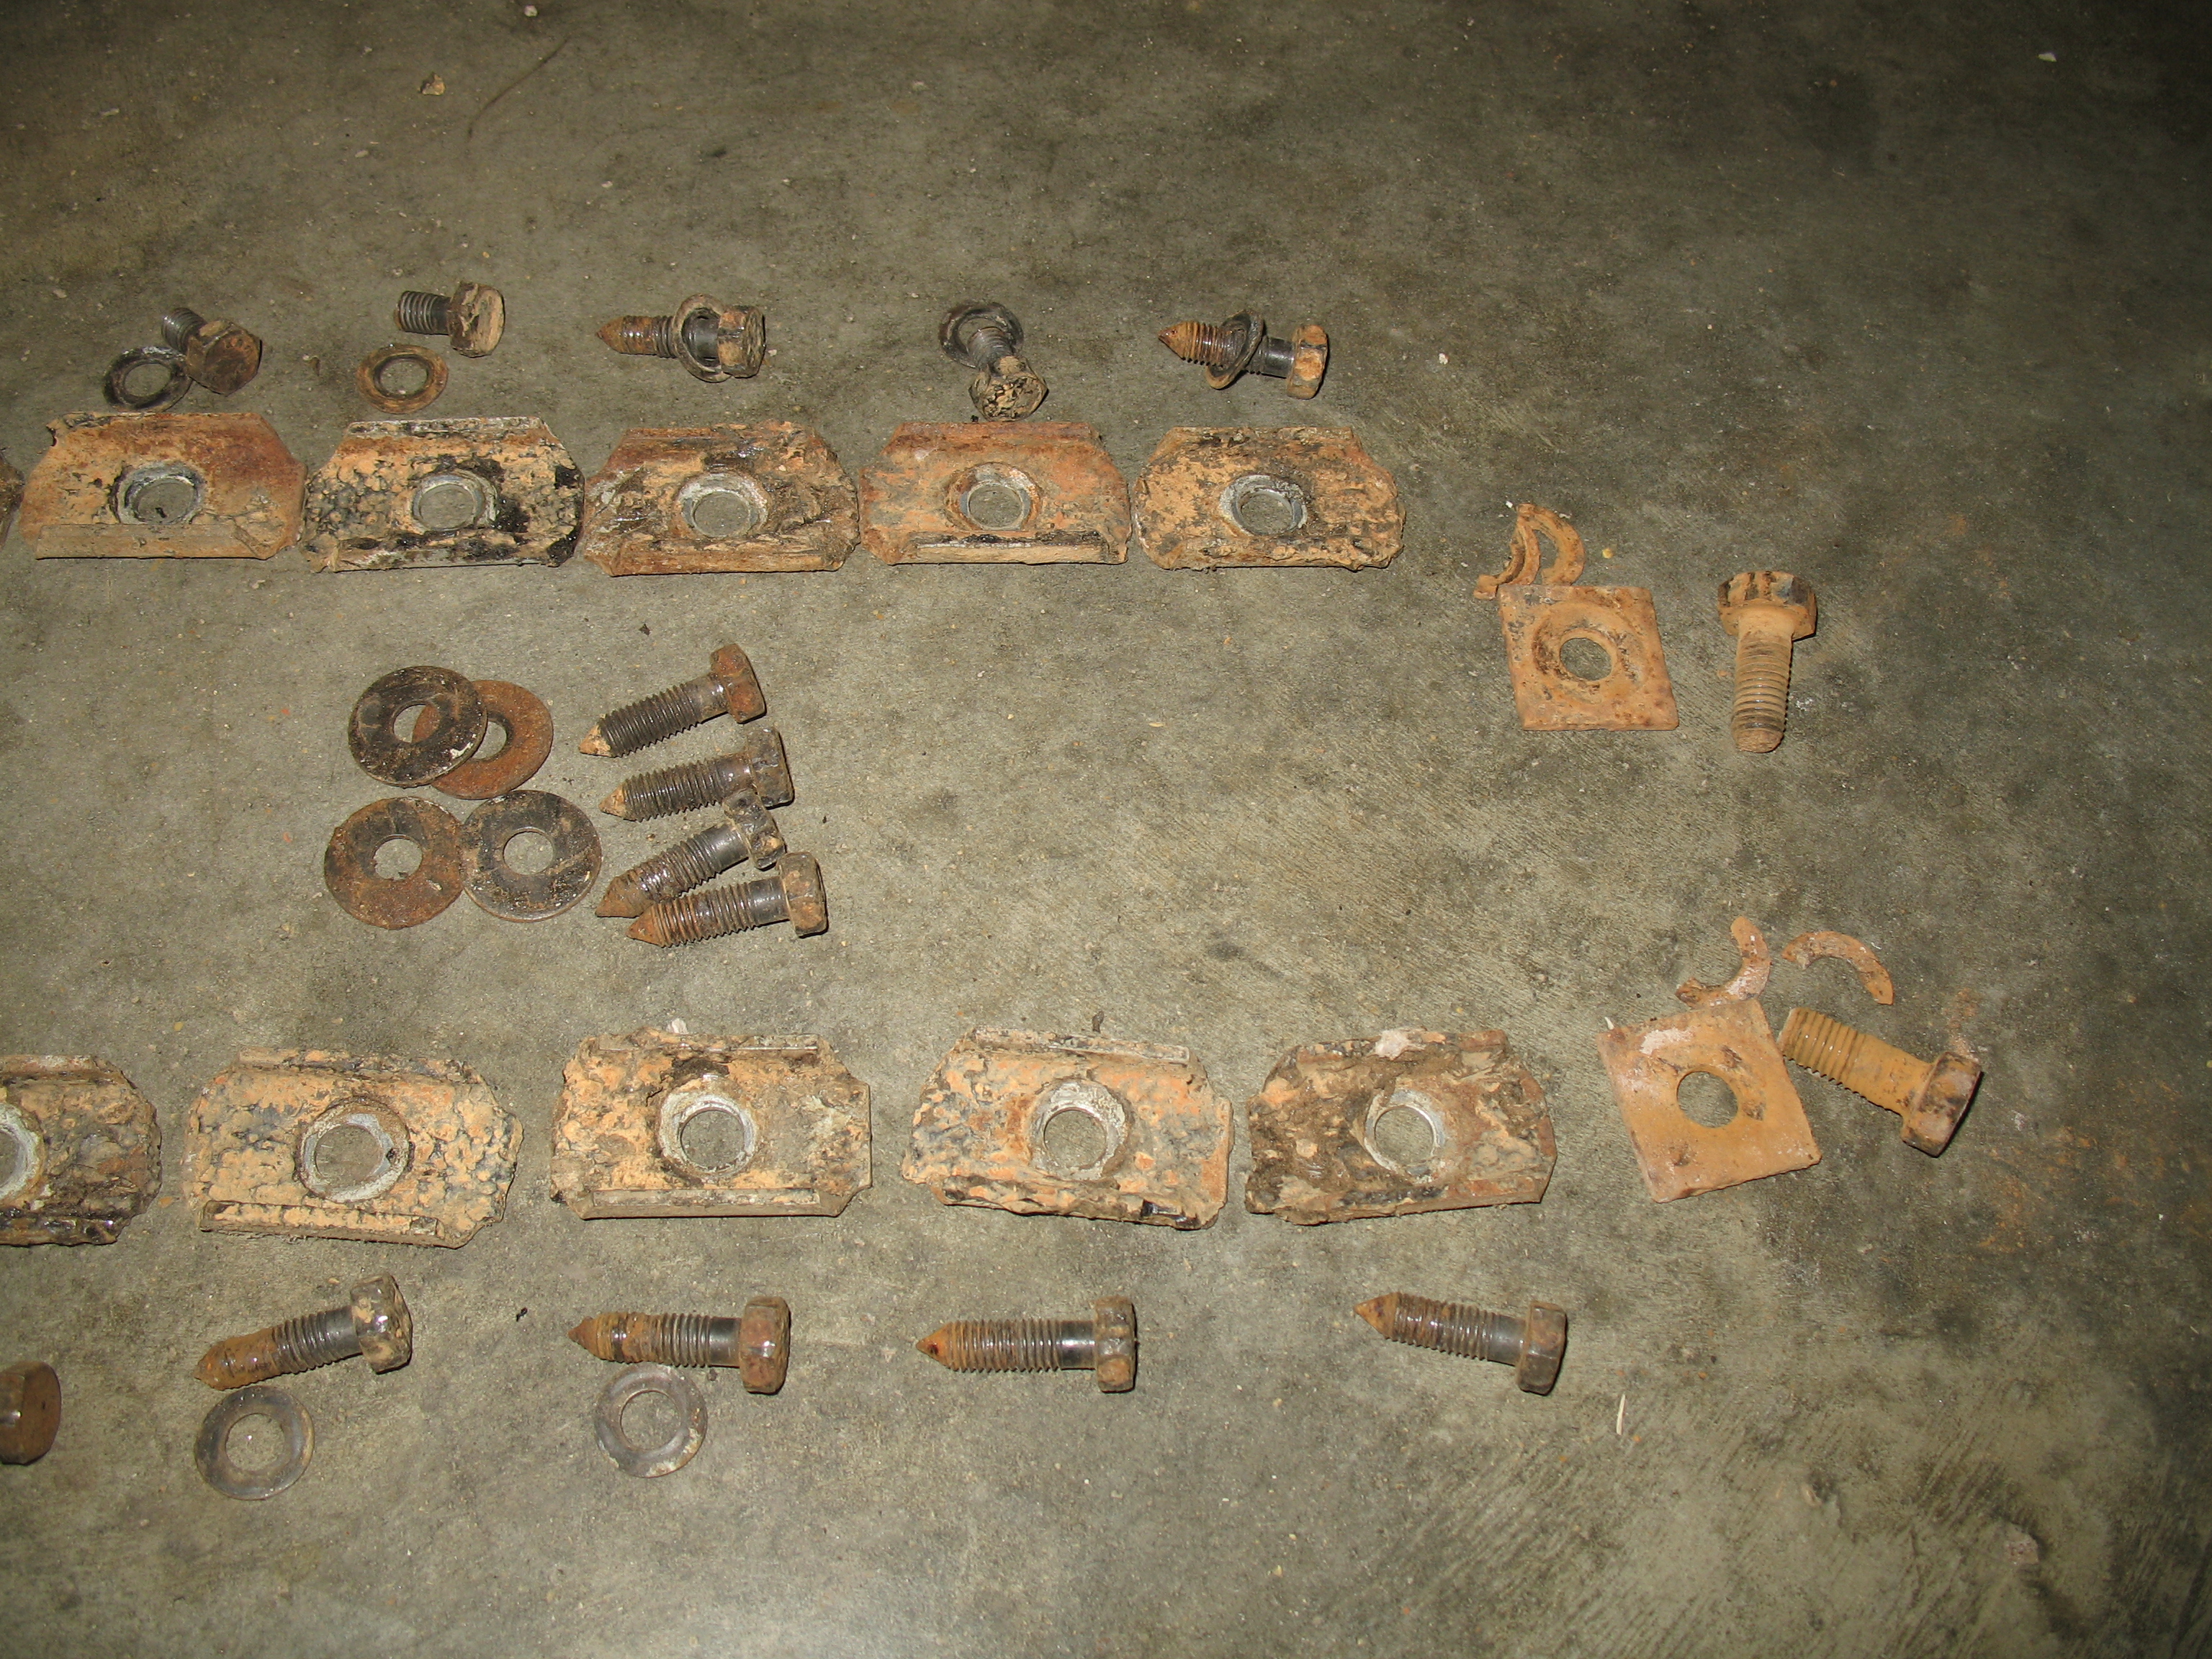
I wanted to upgrade the fasteners holding the chassis to the body, so I picked up a set from a gentleman on eBay (Member id: dcmotorsportuk). Some people sell these kits and include the rectangular mounting brackets, but I decided to keep my originals, and just clean them. The bolts could be cleaned too, I suppose, but some of the broke anyway when I was taking them out; I think the stainless will give me a longer-lasting, rust-resistant fastener.

Also, the engine tin bolts just seem to deform when you take them out. Straight-slot heads are tough when they get rusted. So I also picked up a set of engine tin fasteners from the same eBay seller.

DISASSEMBLY – Part 15

Disconnected the steering wheel coupler by unplugging the horn ground wire, then removing two castle nuts and cotter pins on the coupler. Cleaning off some of the gunk makes it easier to see the parts. Especially when trying to get the cotter pins out.

Steering coupler doesn’t look that bad, but I’ll know more when it’s cleaned off. I always assumed I would just replace it since it’s a ‘soft’ part. There’s an interesting forum thread on the Samba.com site, that talks about using urethane couplers. I’ll think I’ll stick to a OE part like this one from CIP1.com.

DISASSEMBLY – Part 14

Finished removing all the bolts that hold the body to the chassis. First, I made sure I got the bolts and brackets alongside the car — there are nine on each side. There are four bolts and washers inside the car, underneath the back seat. Some websites show that these have a similar bracket as the fasteners underneath the side of the car; mine only had bolts and washers. Next, there are two on each side of the car near where the running board meets the front fender. Then, there is a bolt, washer, and bracket on the mounting post near the rear shock (one bolt on each side of the car). Finally, there are two bolts, brackets, and rubber mounts underneath the gas tank in the front.