PARTS – Floor Pans

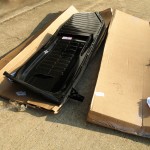
Received new floor pans today. I ordered these from a supplier on eBay (eBay ID: CarParts) for $62.55 each, shipping included. Jack points and cross braces are included, and are welded-on. Seat brackets are also included.

The price was quite low, so my expectations were, too. Shortly after paying for them, I noticed that eBay had marked their userID as “No longer a registered user”. CarParts had a feedback rating of about 37000, so they were selling a lot of stuff. Perhaps they had some billing issues? Not sure. I was a little worried, and sent some messages to the website (carparts.com) and found out the pans had already shipped. That was a relief. Pans showed up a day or two later.

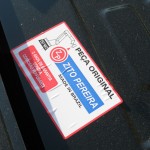
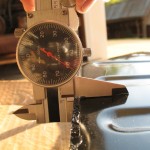
Pans are made in Brazil. They look OK. I’ve never installed floor pans before, so I have no idea how they should look/feel. Will know more when I put them in. Everyone talks about the thickness of the metal, so I put the caliper on it — .061 or thereabouts. According to this UNC web page that works out to 16 gauge metal. Other sites, users, and suppliers refer to 18 gauge metal for floor pans, so maybe that’s what these are. I’m not sure how much thickness is added by the paint, and how that affects the gauge.

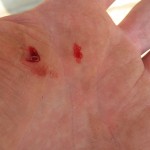
I cut my hand pulling the pan out of the box — the sheet metal is sharp. I hope that’s not one of those lessons that take a lot of ‘experience’ to learn.

The company still has them on the website (here’s the passenger side: Floor Pan, P/N:113-701 060), albeit at a little higher price ($104.99).
Get the Lead Out

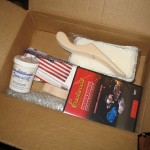
Received an auto body solder kit today that I purchased off of eBay. It was $89.99 plus shipping. The item is the Eastwood Body Solder Leading Kit Basic with DVD.

I thought this would be a better product than the usual plastic body filler (like the Bondo brand). I’ve read that the plastic fillers are moisture magnets. Plus, I think that sticking some more metal on the car has to be a stronger repair than plastic.

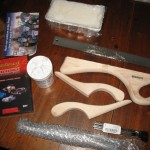
Kit includes two paddles for spreading the lead, a body file and file handle, 1 lb. of tinning butter, 1 lb. tin of tallow (to keep the wood paddles from igniting, I guess), five acid brushes to spread the butter, eight sticks of lead (30/70 solder, actually), and an instructional DVD. Of course, you also need some kind of torch (think I will get an inexpensive propane torch.)

DISASSEMBLY – Part 8 – Front Windshield

Removed the windshield tonight. The seal rubber was cracked and dry-rotted in some places, but tough and flexible in others. First, I removed the chrome trim pieces, then I cut out the window seal in pieces until I could pull most of it away. Part of the windshield itself is broken, and was stuck together with glue or silicone. The glass also did not look like it was a uniform shape. the edge wavers around the perimeter, as though it was hand-cut. Some of the glass came apart as I was removing it; I can’t imagine this providing any sort of protection in a wreck. I had been looking for an original windshield from the early sixties, but now I beginning to think the safe, best thing to do will be to get a good piece of tempered or layered glass that won’t shatter with impact. It’s probably cheaper in the short-run, and safer in the long-run.

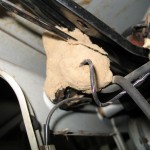
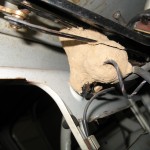
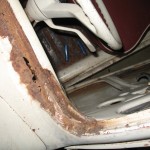
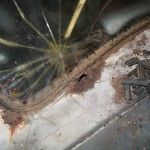
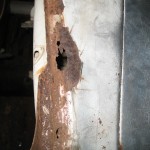
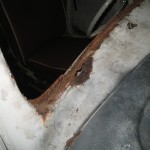
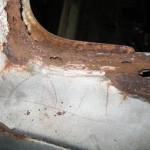
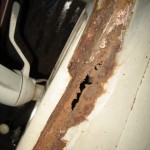
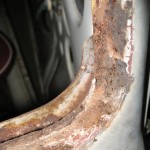
Underneath the windshield, I had been expecting some serious rust-damage and that’s exactly what I found. After looking it over, I think I will be able to repair it. There’s fairly-decent access from the top (obviously) and the bottom (through the hood.) I intend to weld-in some patch sections, then use some lead (lead-free) body solder to smooth it over. The worst section is where the window rim has been rusted away. Not sure how to build it back without putting in a section from a donor car, and that may be difficult to line up and size correctly. That will be challenging, I think.