After a long break away from the bug, I’m back on the project. My new/renewed approach it to start at the literal bottom, and work my way up. So, painting the VW’s wheels is first. The car is still in storage, and I can’t get electricity to the building, so I’m going to try to bring pieces home and work on them until I can get closer to finishing the thing.

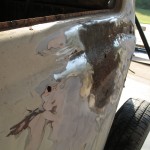
Four wheels 
…and a spare.
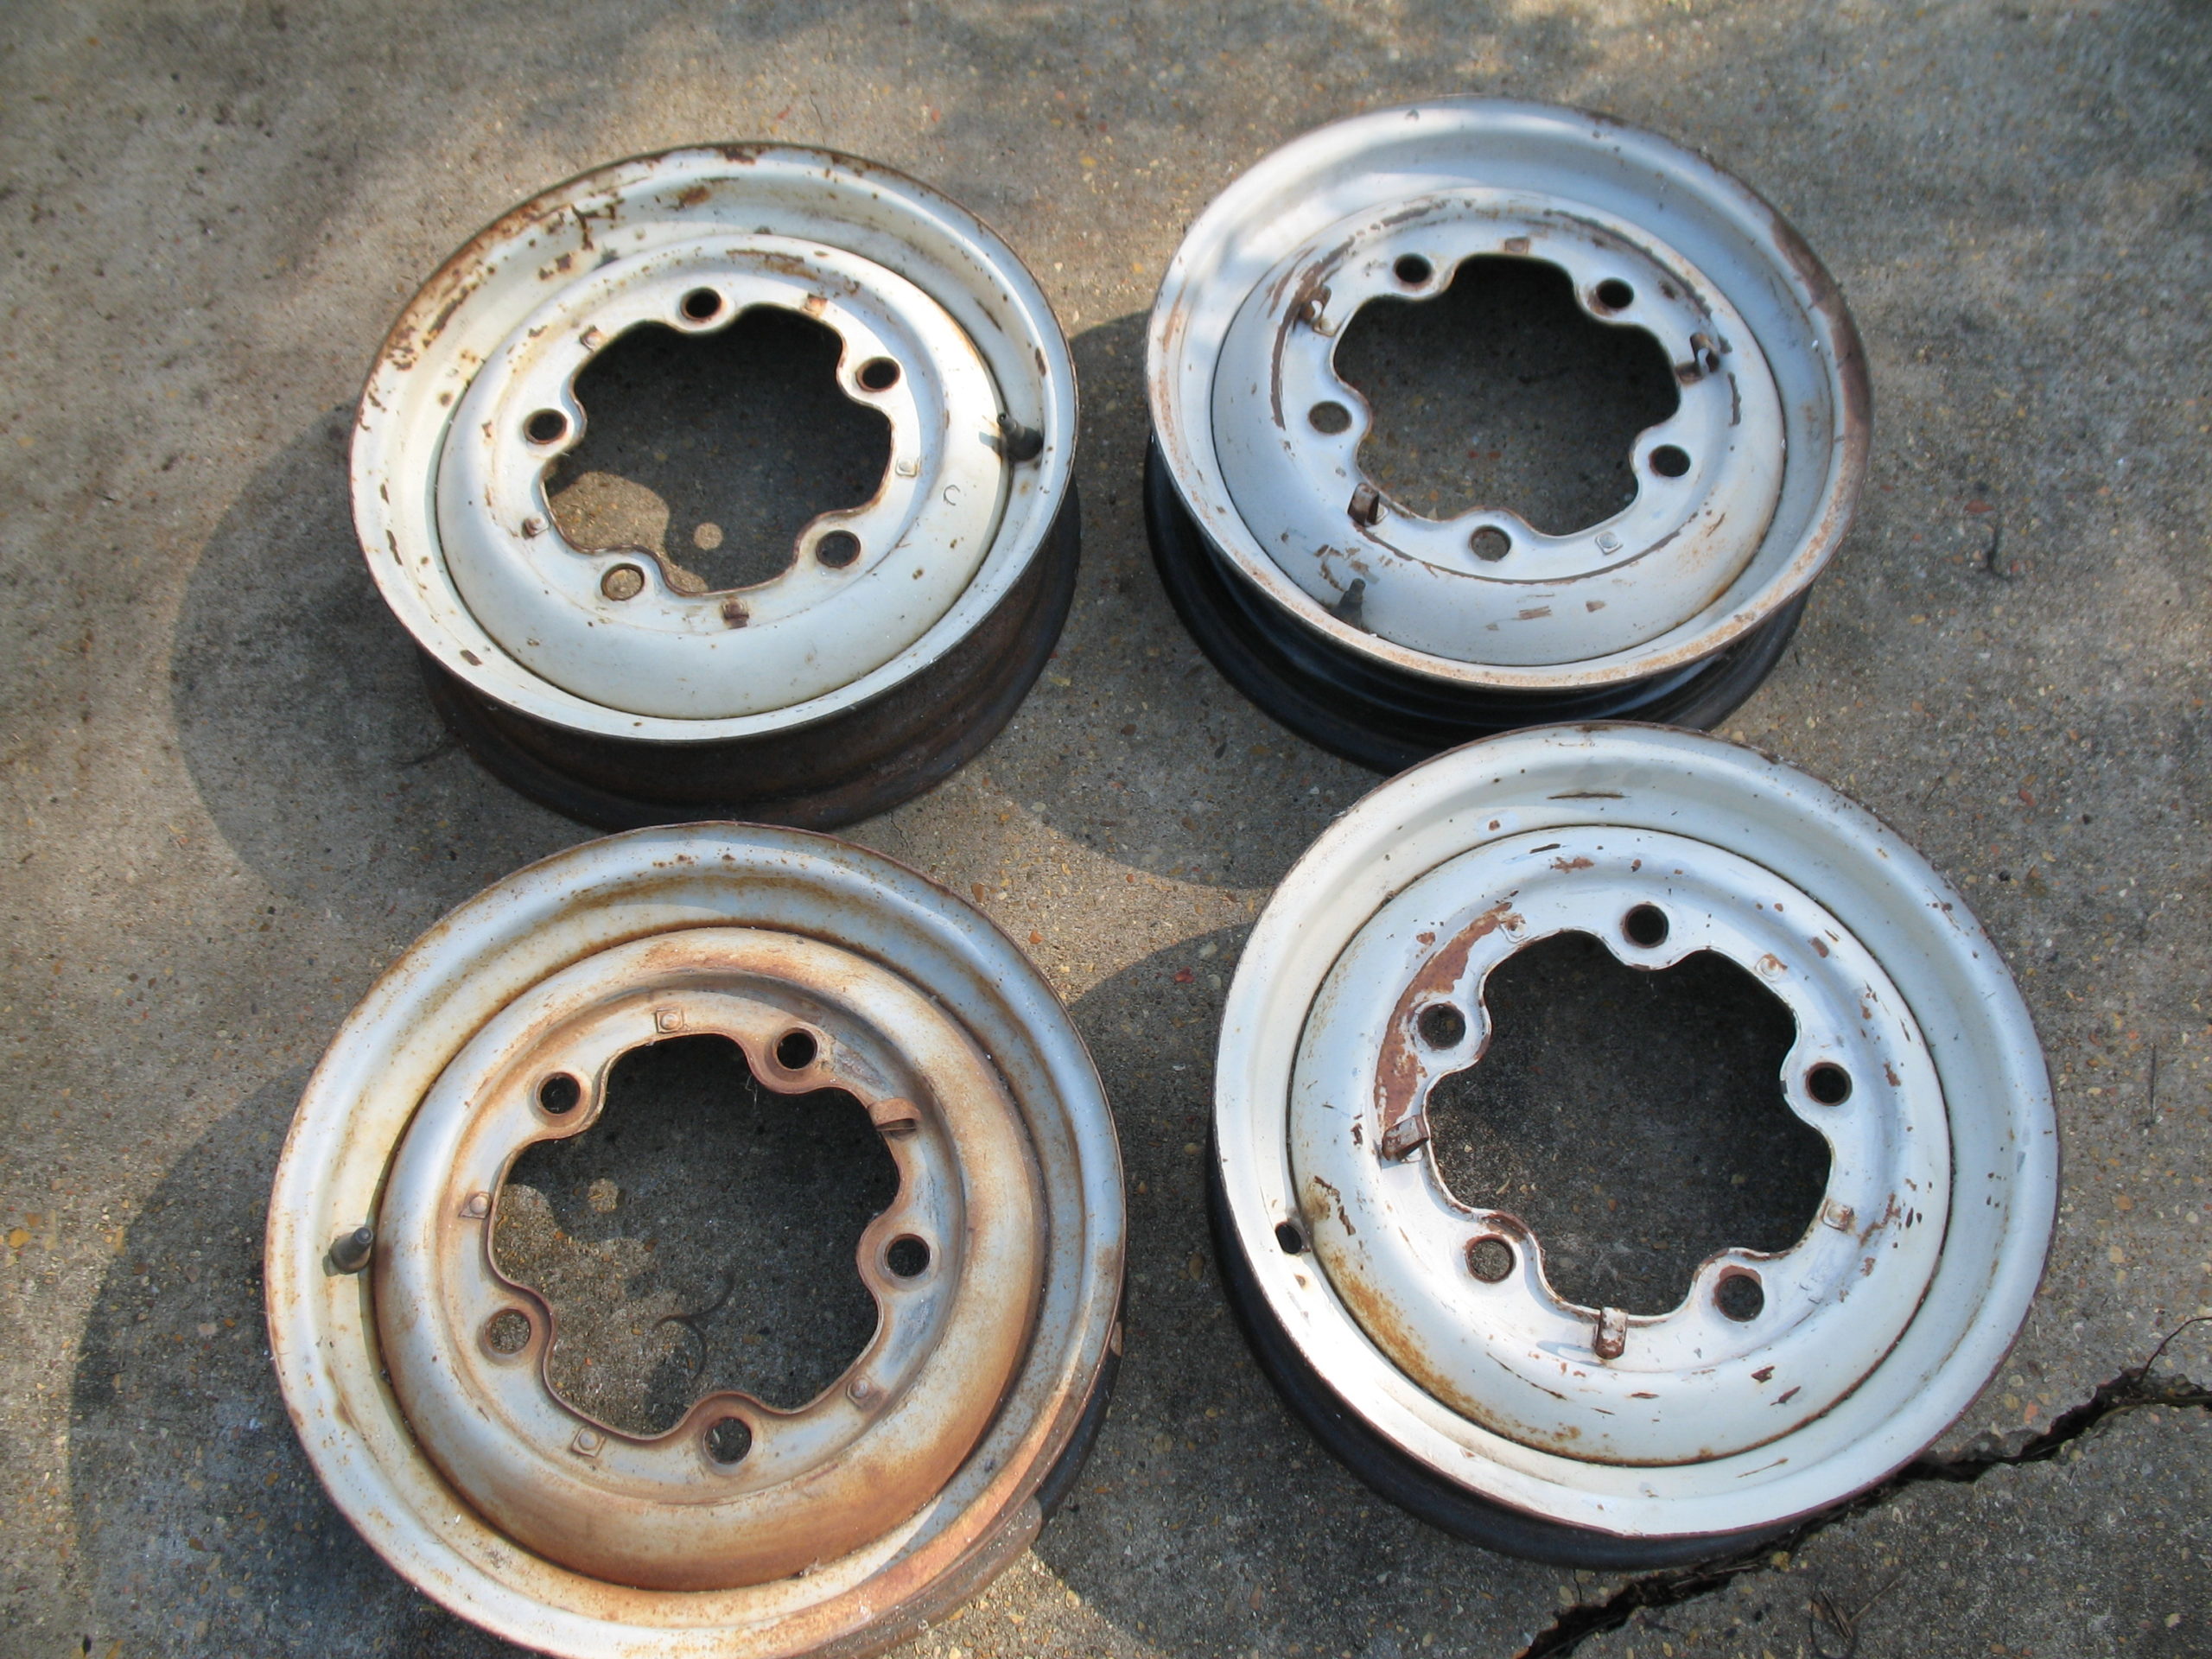


I’m going to attempt to clean and paint the wheels myself. I don’t have access to a sand/media blaster, so it’s going to be a lot of wire brushing and elbow grease, I think.
Also, there are several dents and bends in the wheels — I’m hoping none will prevent the wheels from having a tire installed, or will compromise safety. Once I get them cleaned up, I’ll know more.
Here’s what my approach will be:
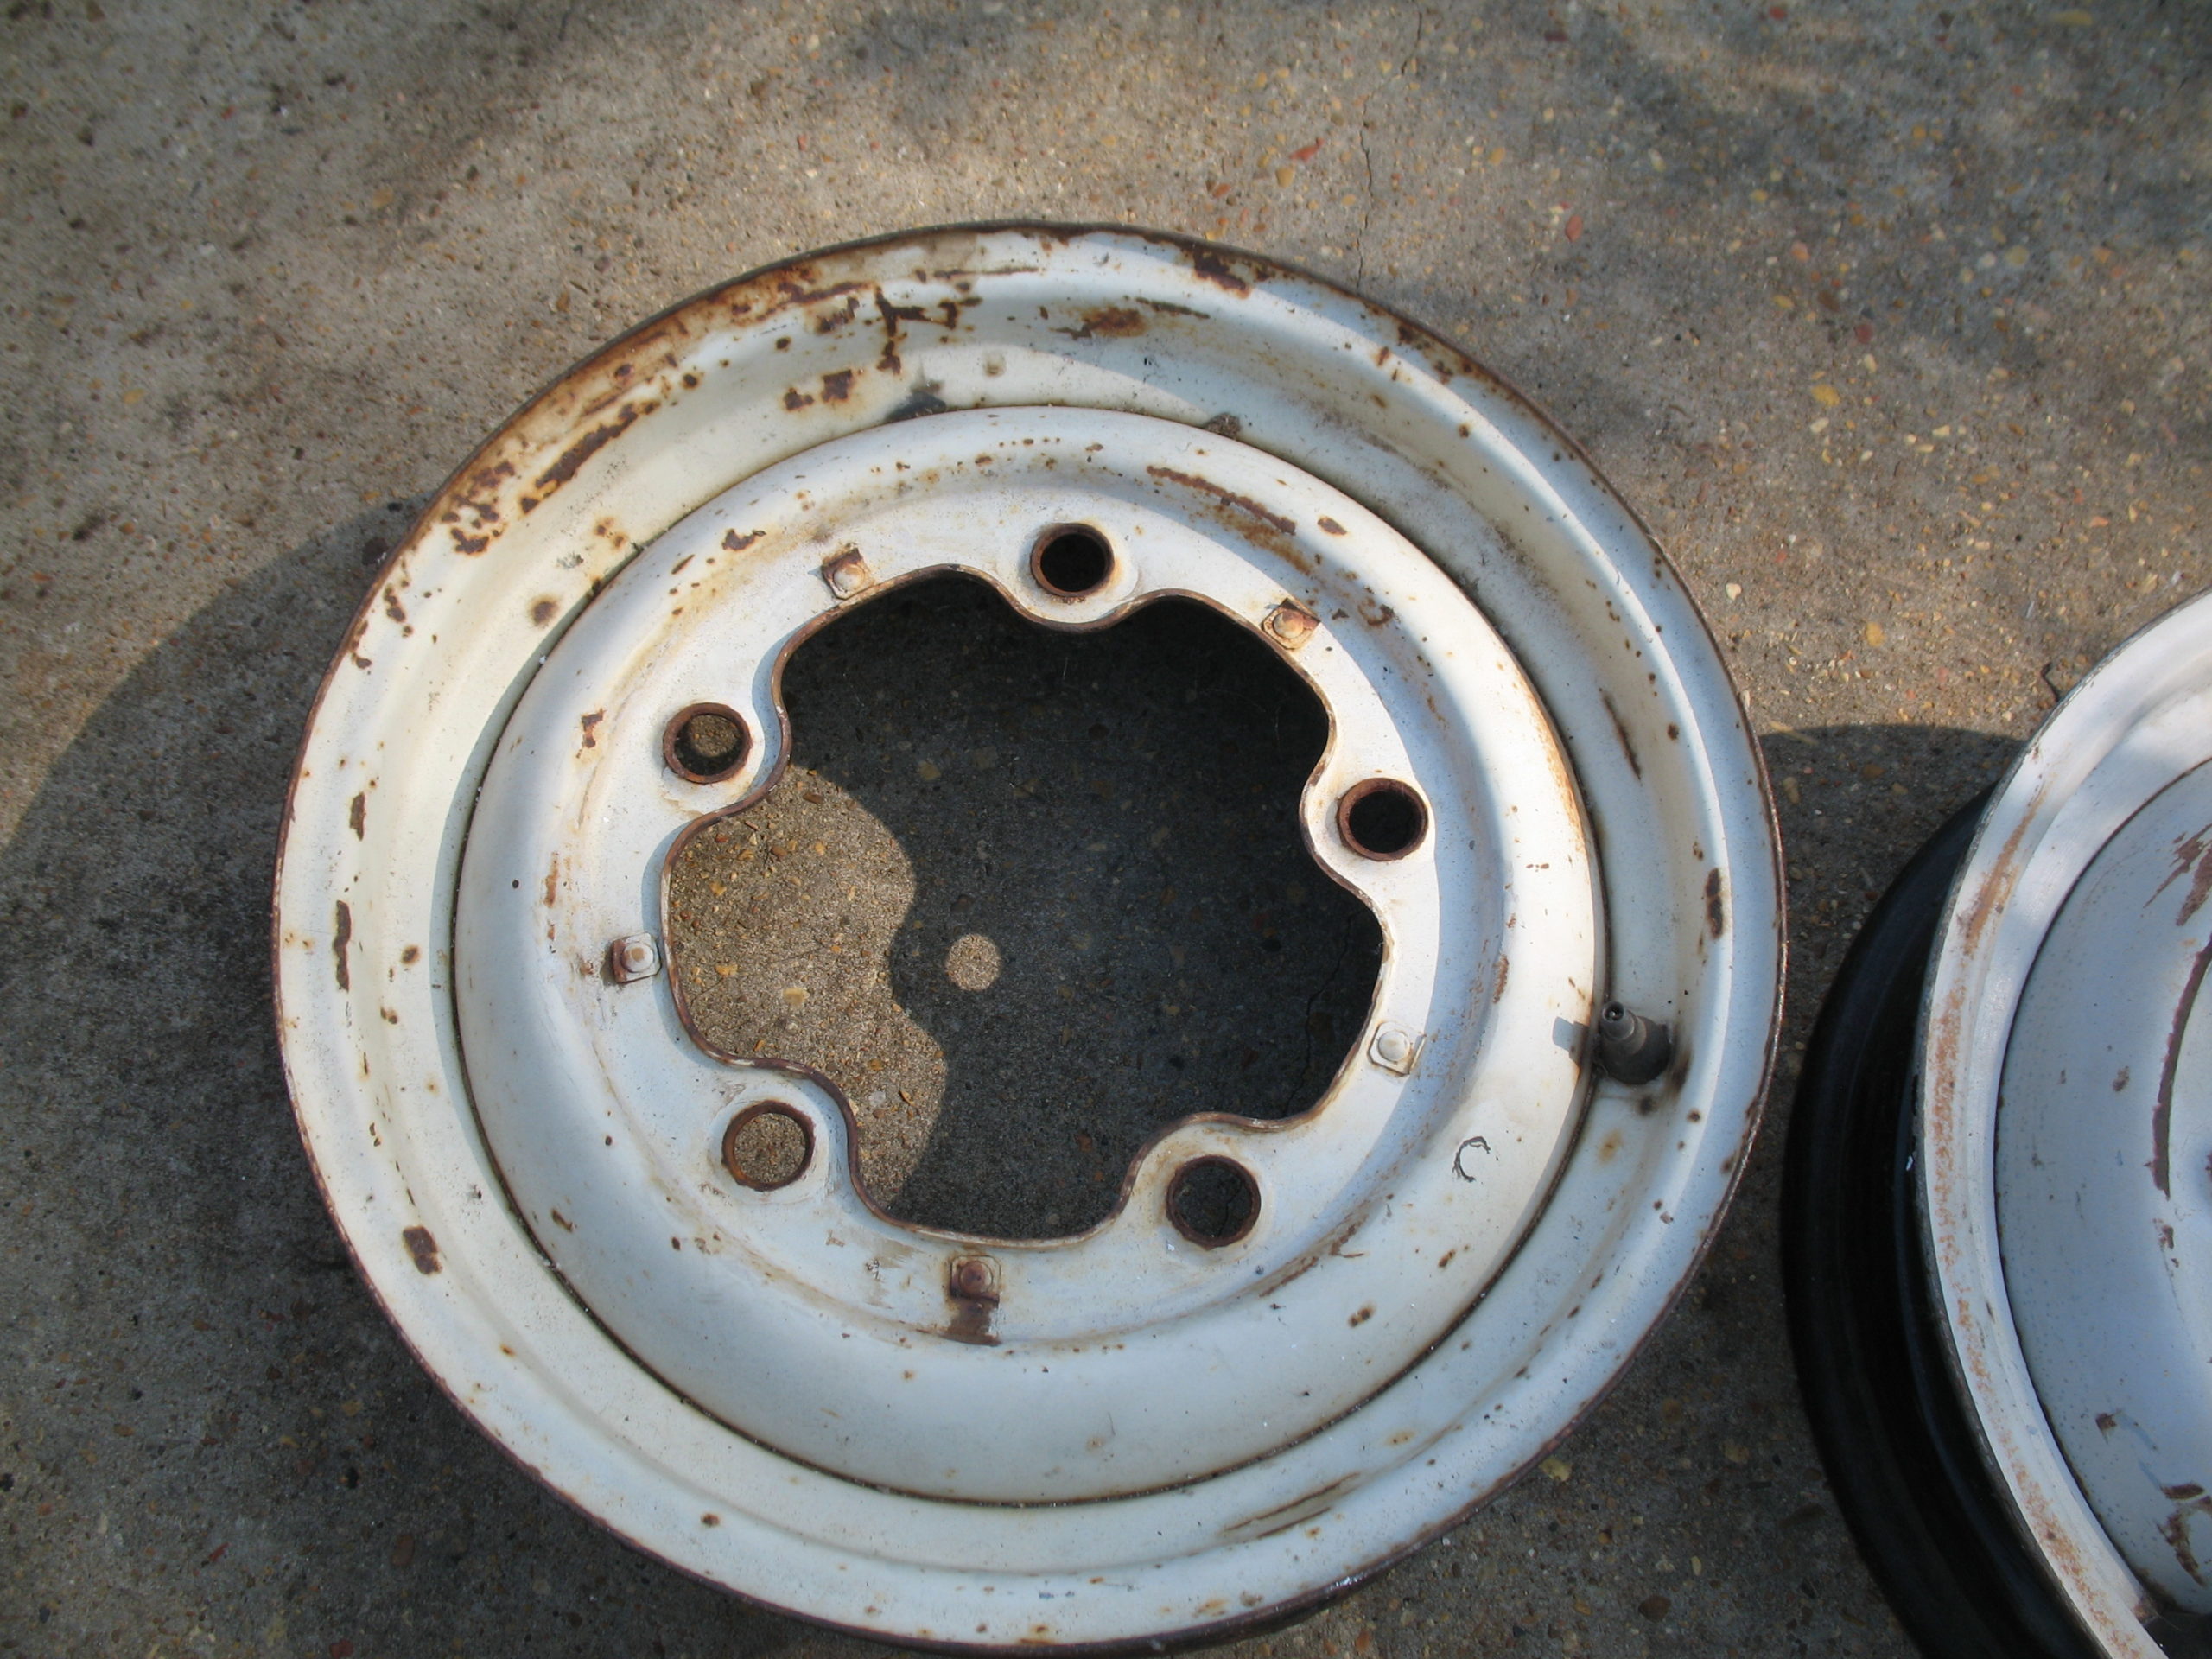
- Remove what’s left of the hub cap retaining clips on each wheel.
- Clean rust and debris from the wheels with wire brush and/or flap disc and/or abrasive paper.
- Put a basecoat of Master Series for rust prevention/encapsulation.
- (maybe) paint over the Master Series with Chassis Black.
- Build a rivet jig, and install new rivets.
- Paint the 2-color wheels with the properly-mixed colors.
- Install new tires.
Rivets

Rivet install tool Rivets and hubcap retaining clips Rivets and hubcap retaining clips

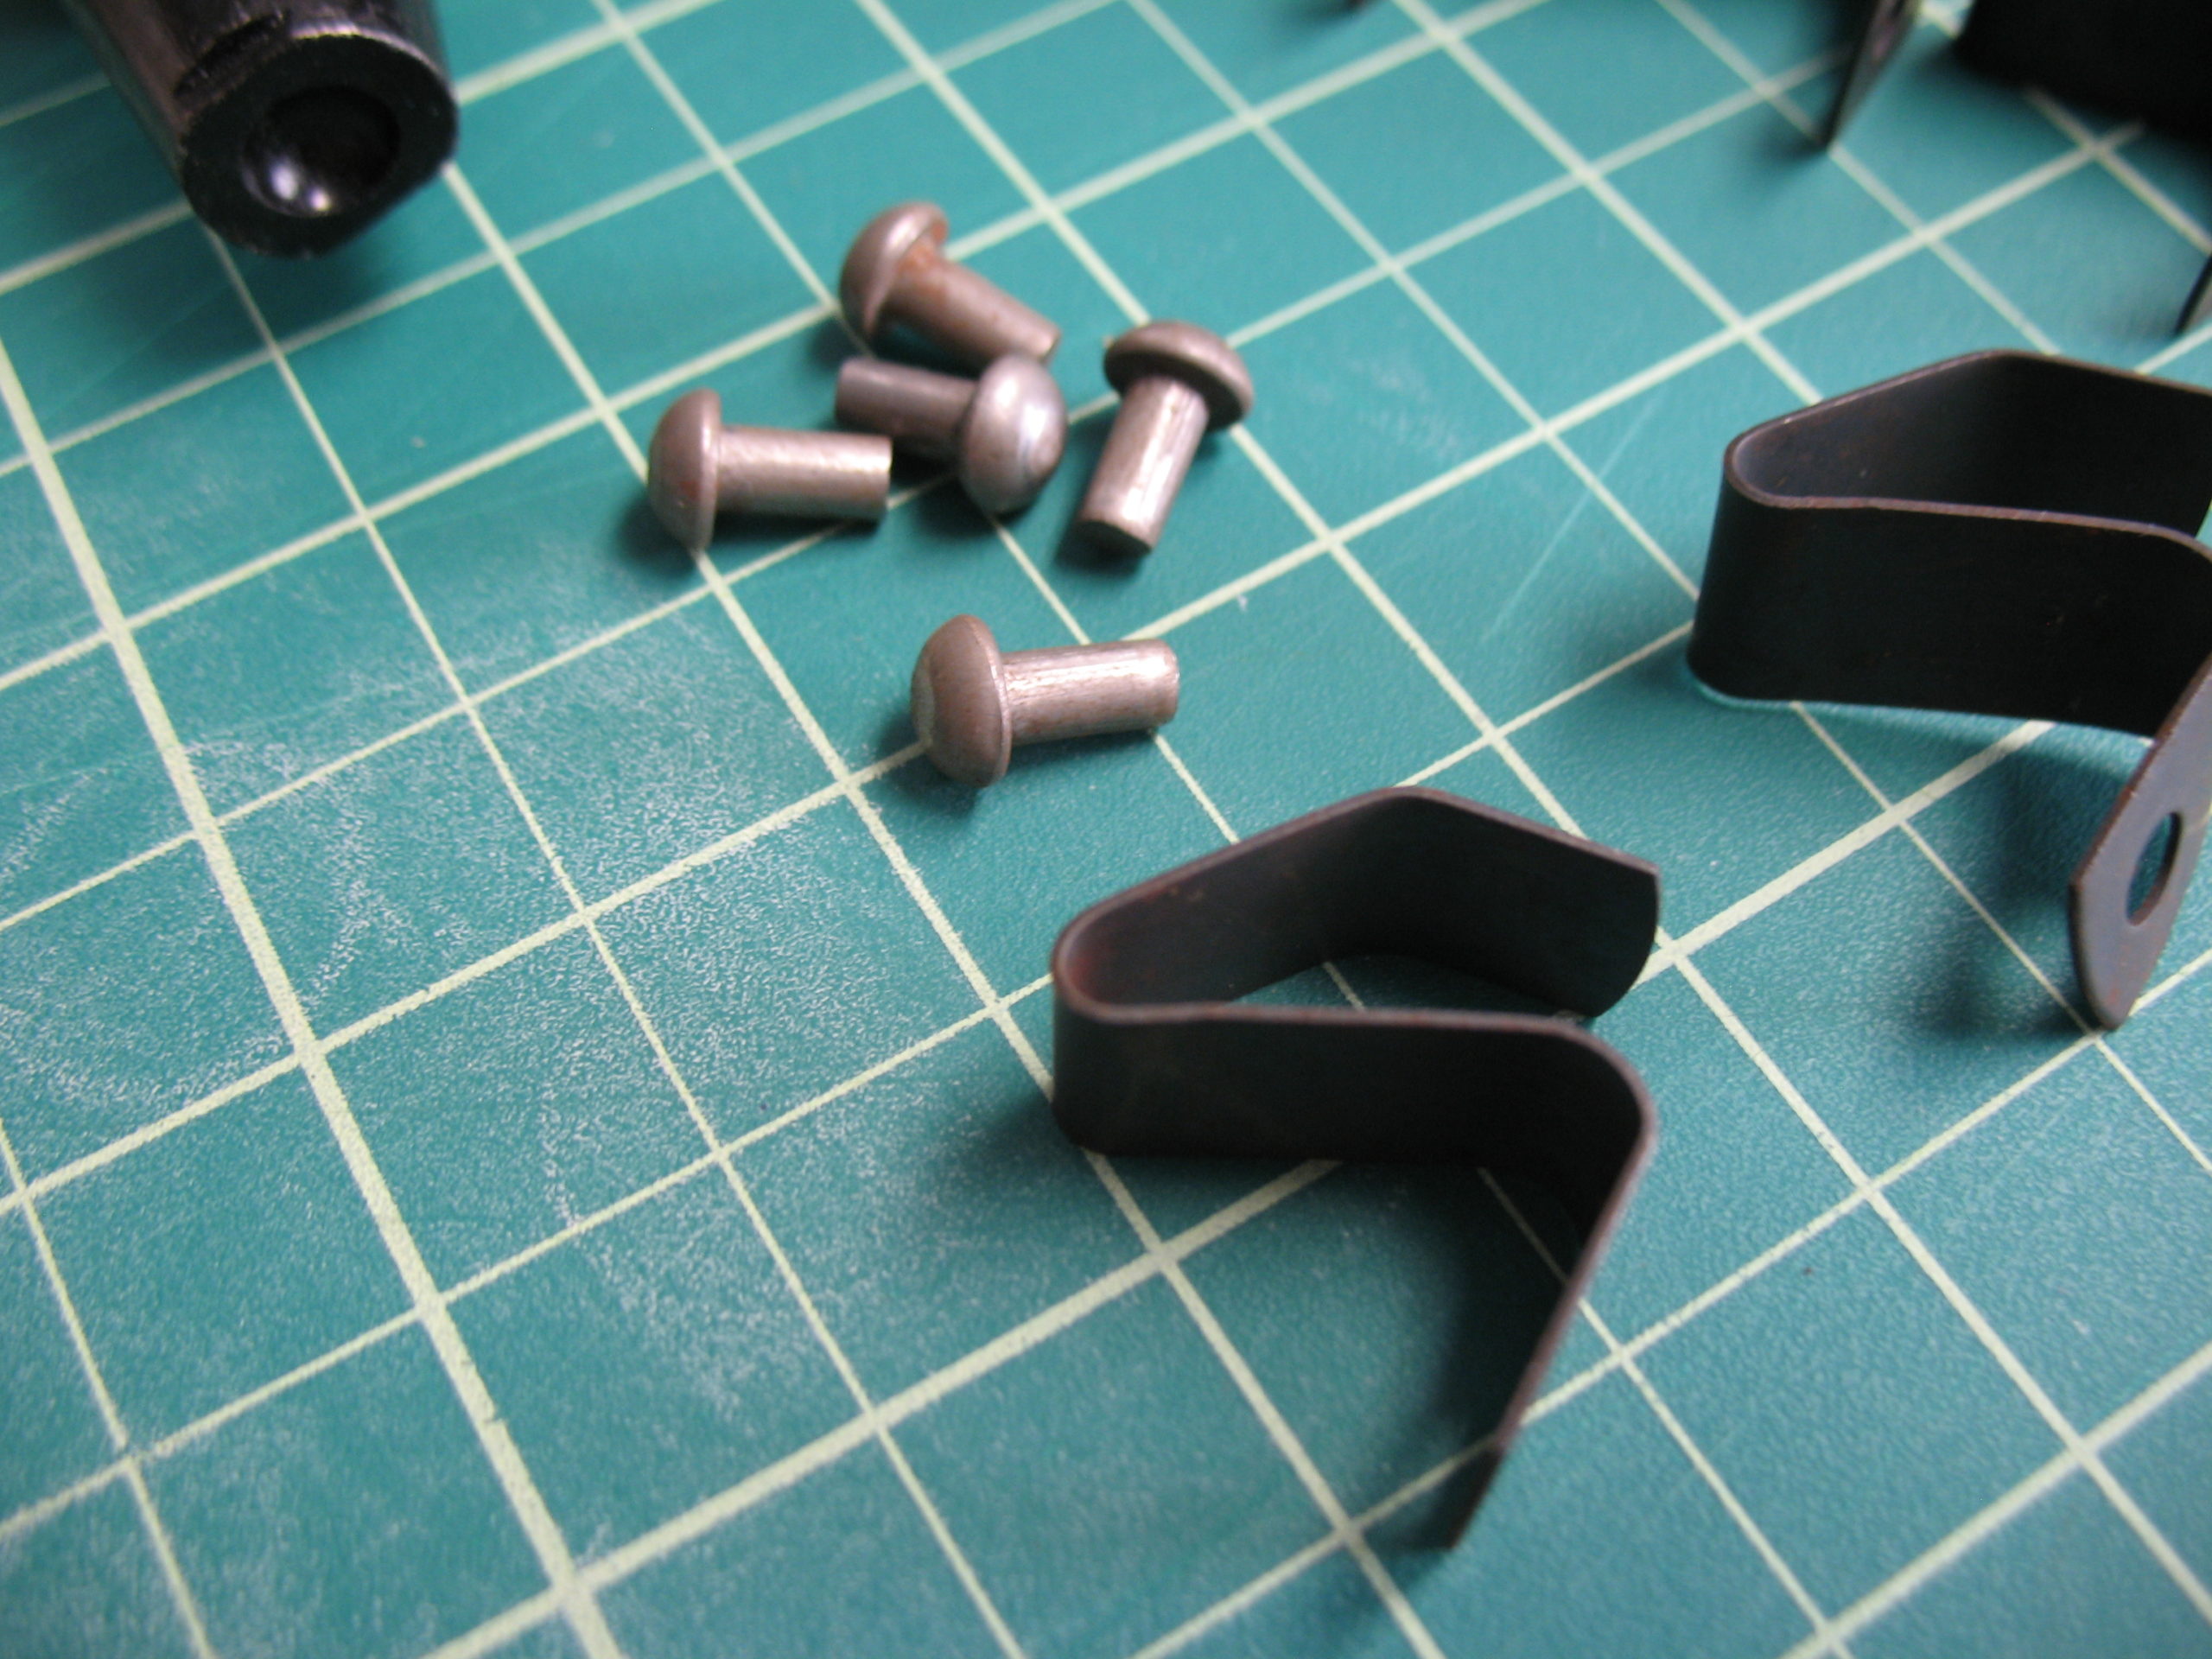

The rivet tool holds a hubcap rivet and clip while you hammer the rivet and flatten it out. There are several good video tutorials on YouTube, and there are several techniques shown. Here’s one of the simpler ones, from Mike Fn Garage:
He also has longer and shorter videos describing the technique. This method seems to work well. But here’s another method from LastChanceAutoRestore, with a jig to hold the tire in place while installing the rivet and clip:
While I like the simplicity of the first video, I’m going to make a device to hold the wheels, just to make it easier. Something more like the second video. Here’s another video more like what I’m planning:
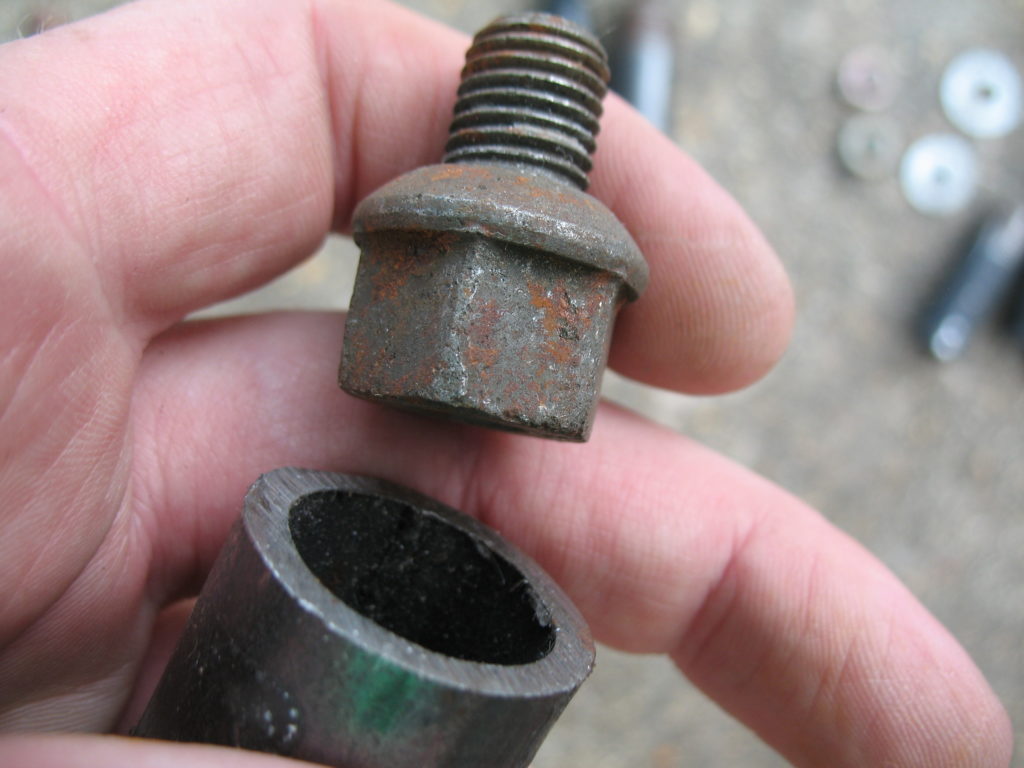
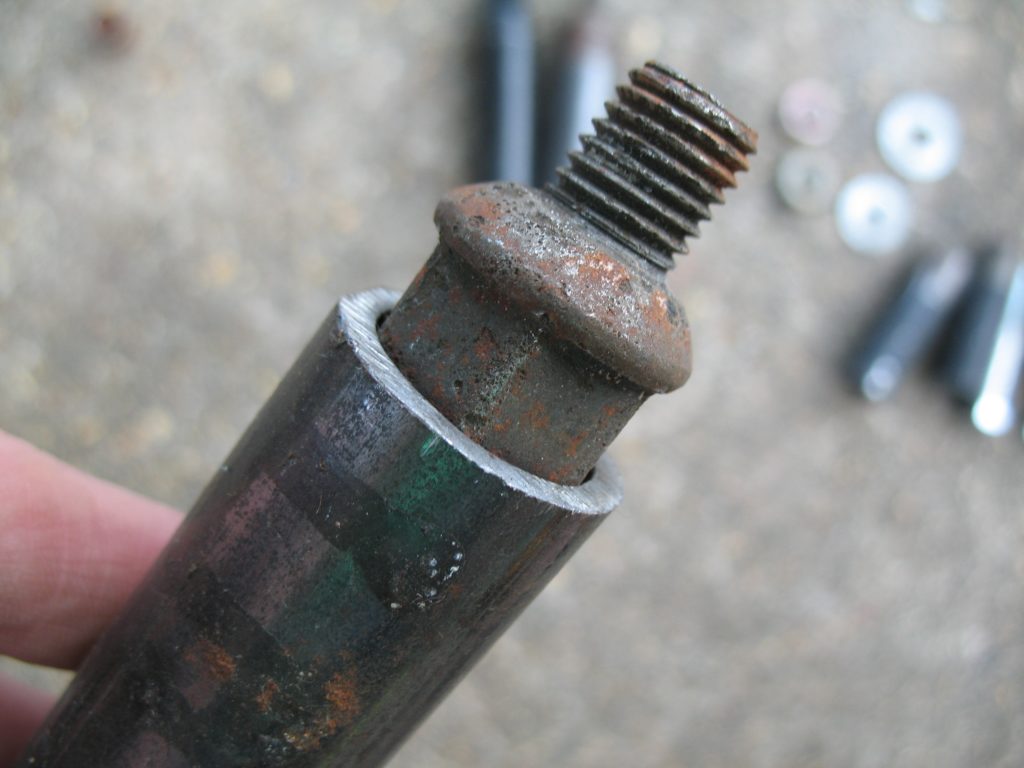
I have some extra lug bolts from a donor car (a 1966 convertible bug), so I’ll use a couple of those for my 2 hold-down bolts. I have found that a piece of 3/4″ diameter black pipe will accept the lug bolt snugly. I’m going to try to get away with hammering the pipe end to hold the bolt, so I can re-claim it when I’m finished with the rivet installs. That way, I don’t have to weld the bolts to the pipe.
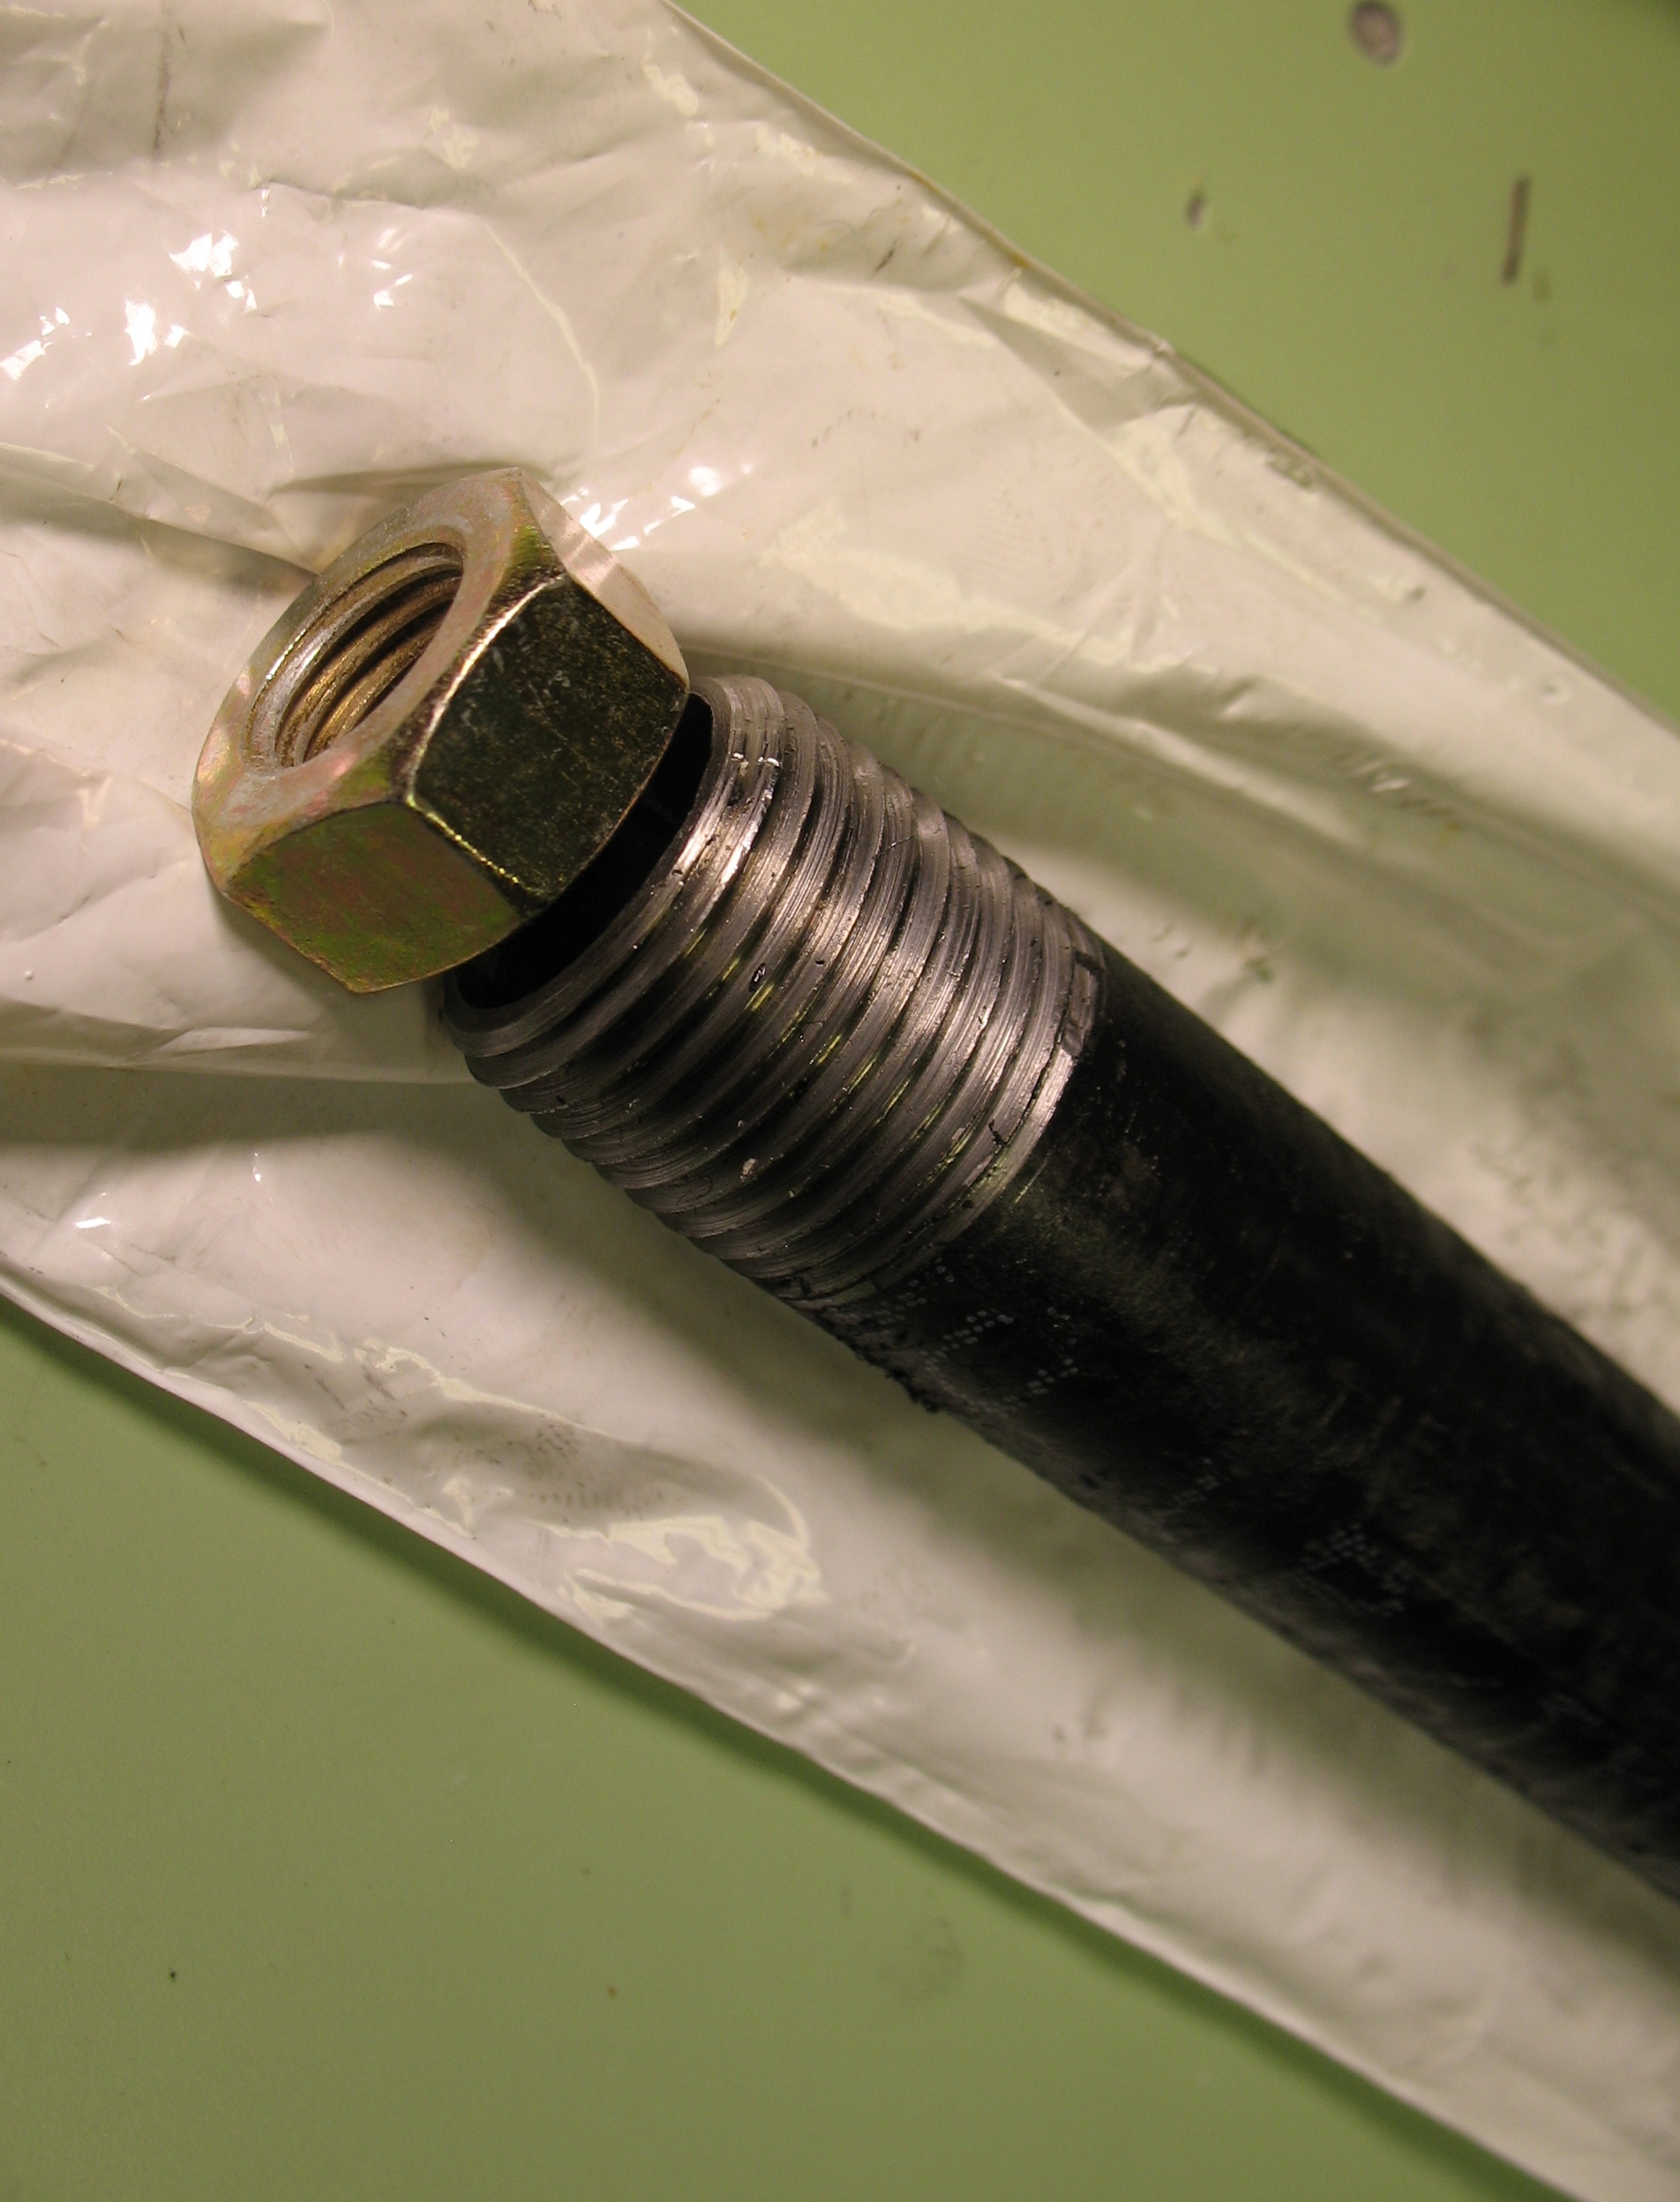
12mm lug bolt Fits nicely in a 3/4″ black pipe. I’ll actually use the threaded nipple end 3/4″ x 12″ long, and I cut it in half. 
Then I got two 12mm nuts to weld onto a 1/2″ black pipe nipple. My jig looks like this (left to right): The rivet install tool, 3/4″ black pipe with lug bolts pressed-in, two 12mm nuts to be welded to the short 1/2″ pipe, and some random bolts to serve as t-handles.


Paint
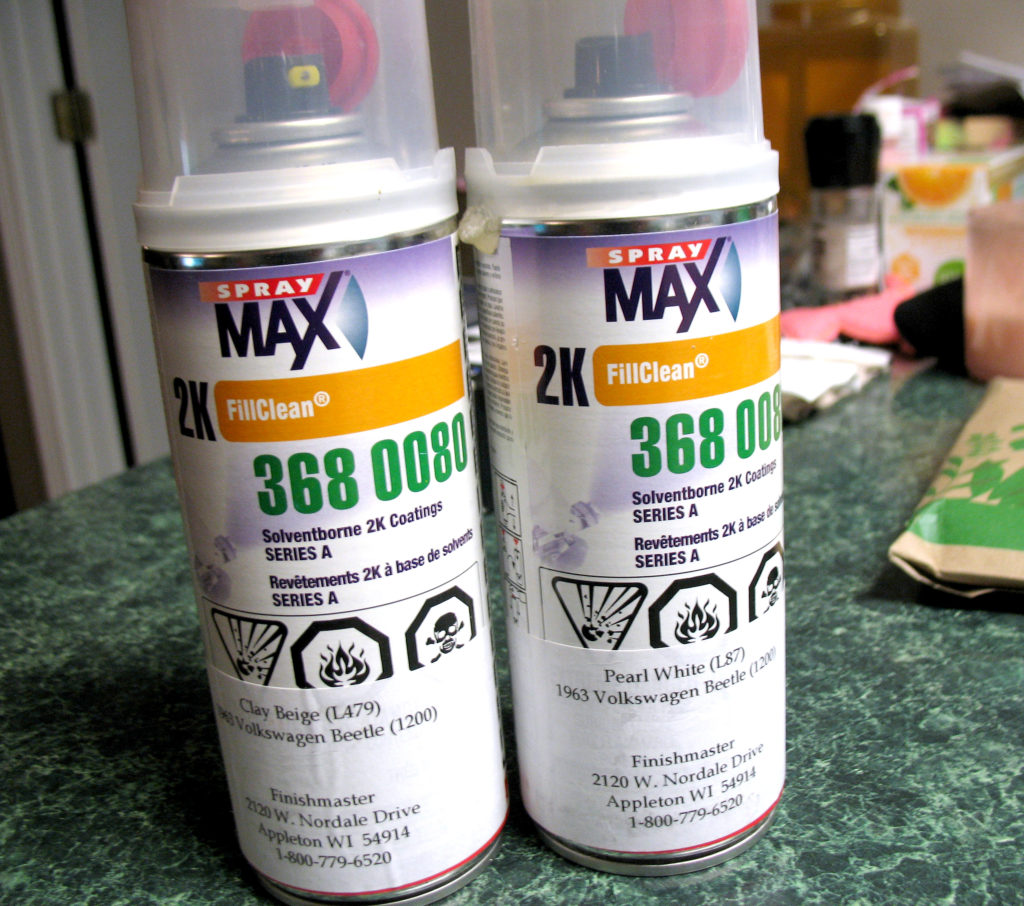
My Volkswagen’s wheels were painted (according to the car’s birth certificate) Pearl White (L87) and Clay Biege (L479). I found a paint company (APSTowerPaint, now Finishmaster) that could mix the VW color codes and put them in a spray can. Since I’m not ready to spray the entire car, I thought I’d try this method for the wheels. The cans are a bit pricey (about $38 each when I bought them).